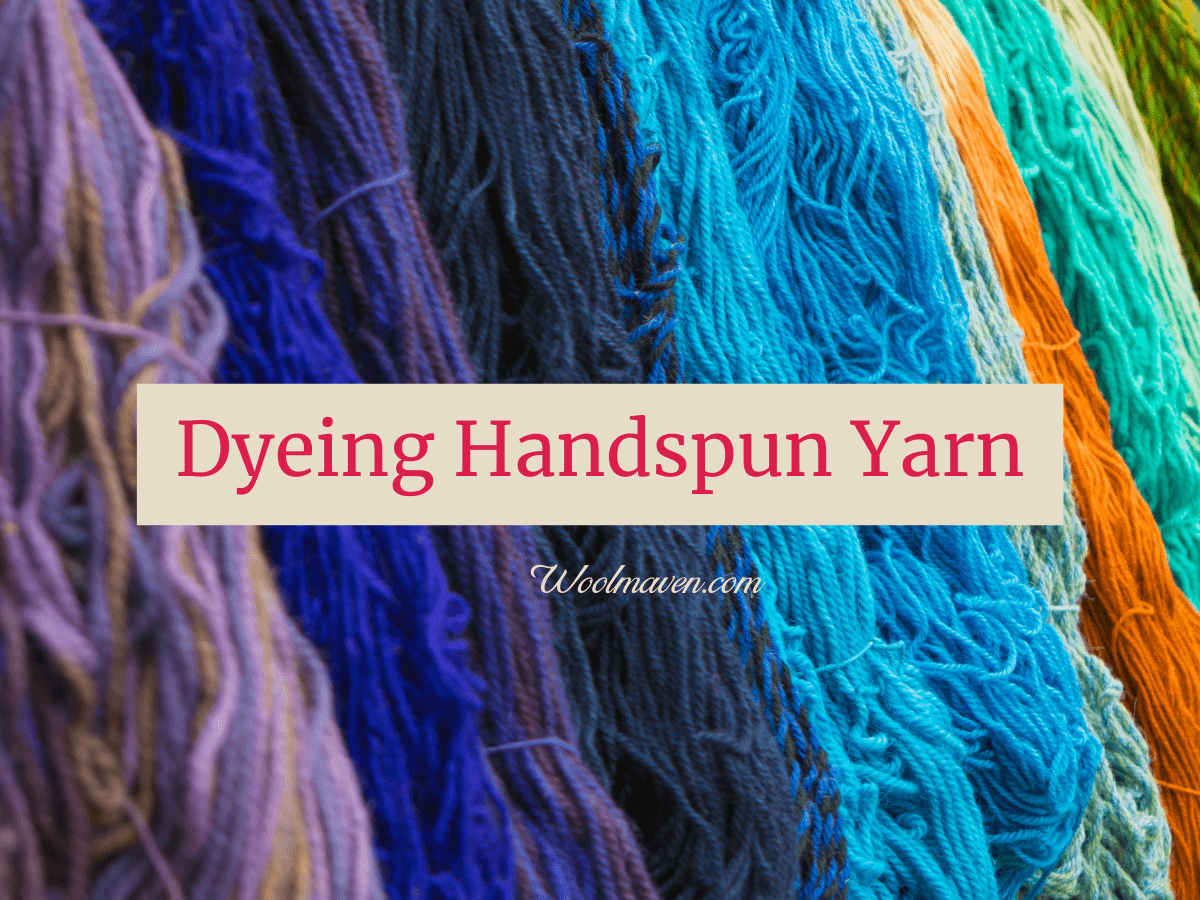
6 Ways To Dye Handspun Yarn
Dyeing your handspun yarn introduces you to a world of color, which, of course, sounds wonderful, right? Especially if you have been eyeing up those dyes for a while now!
We’ll go over the main options for dying your handspun yarn based on the the look you want for your project.
This post contains affiliate links, which means I receive commissions if you choose to purchase through links I provide (at no extra cost to you).
Dye entire skein one color
The easiest way to get started with dyeing your handspun yarn is to dye the entire skein one color.
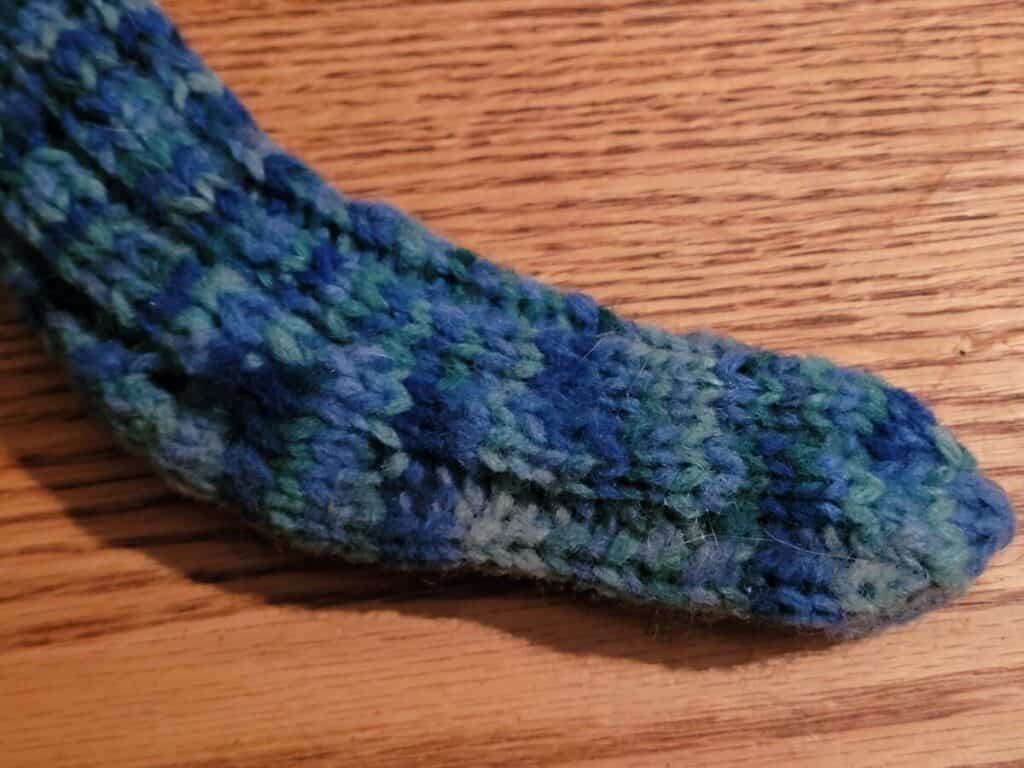
Dyeing the entire skein one color will get you an evenly colored yarn over the whole length of the yarn. If you want your dyed yarn to look the same from end to end, consider this method!
As you are dyeing, you’ll need to use a utensil to poke around and see that the dye has reached all the parts of the yarn, so that you have full color the entire length.
A dye kit gives you a number of color choices and comes with instructions, it’s a simple and fun way to get started with dyeing protein fibers.
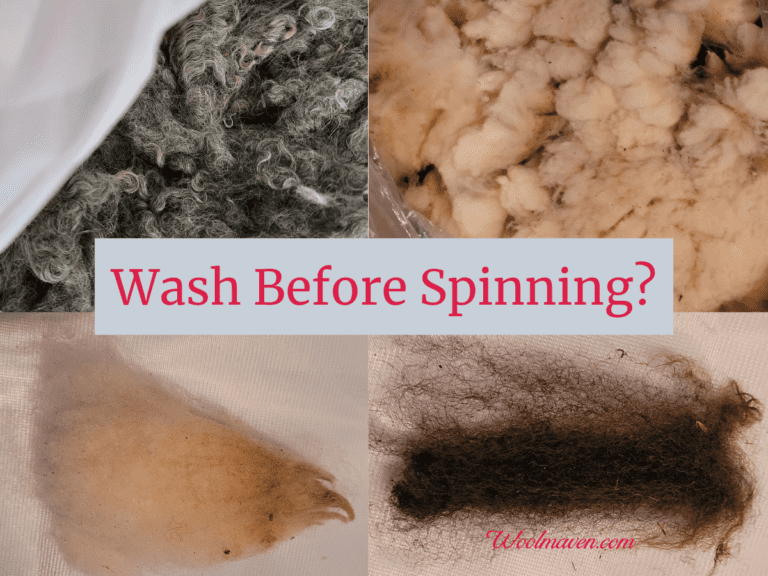
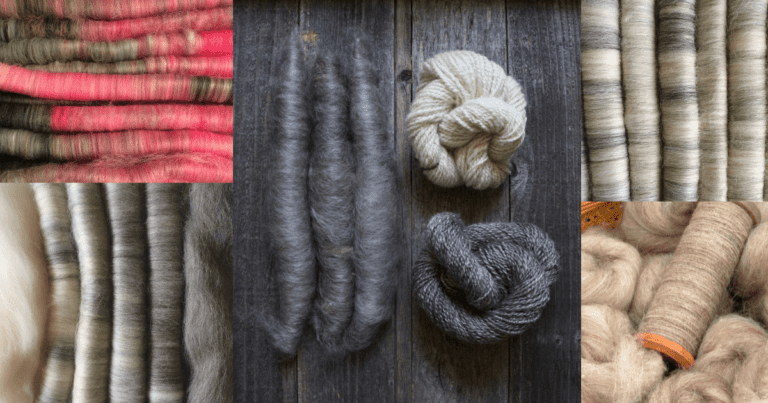
Do You Dye Wool As Fleece Or Yarn? goes over your options of when to dye based on the results you want for your handspun yarns!
Dye skein multiple colors
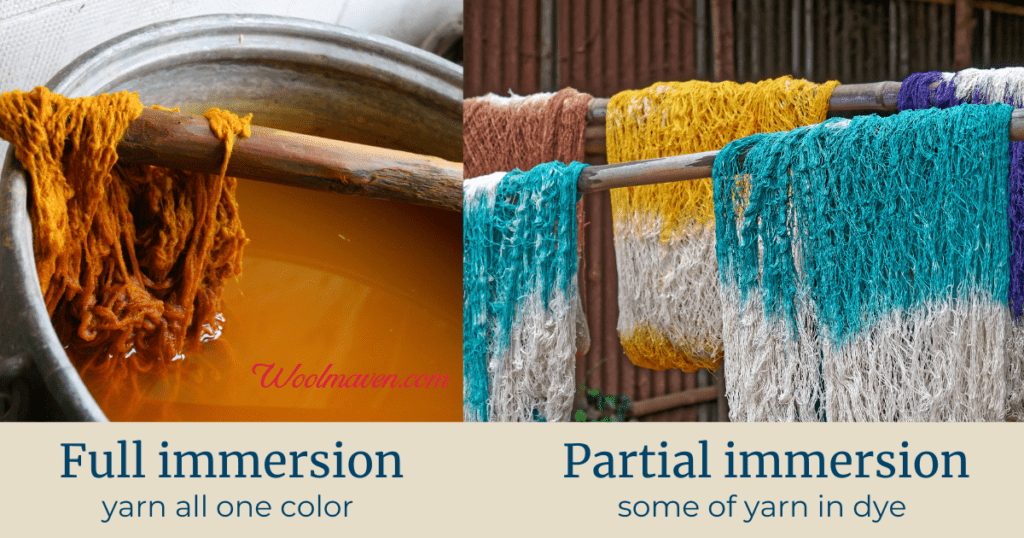
If you are looking for multiple colors in one skein, you’ll need to do things a bit differently than above. To keep colors separate, you’ll need to dye and set the color with lower water levels.
You can do this with stainless steel catering pans or line a low sided microwaveable pan with plastic wrap and heat set in the microwave.
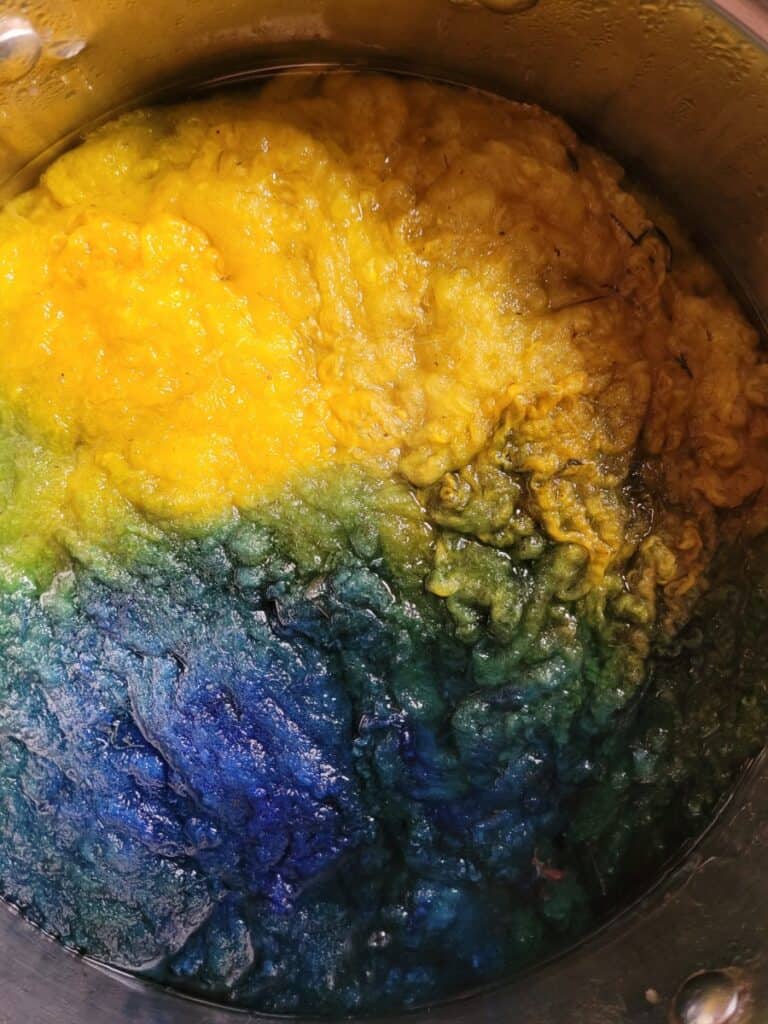
If you are putting in multiple bigger sections of color, where the idea is to color the yarn but not be overly specific on what you get, you can use a low water version of the normal dye pot.
As long as you carefully put on the colors and leave a blank margin for the over run to fill, you can place three or four big splotches of color pretty easily on one or a few skeins of yarn at one time.
This will give you larger sections of color on the yarn that will repeat, making a variegated color pattern.
Chances are the colors will mix a bit at the edges, so keep that in mind as you pour the dye!
You’ll also want to consider that the margin you left may be a bit too large, meaning there are still undyed sections of the yarn.
This can be fixed by reserving a bit of each color of dye until you poke around a bit in the dye bath and make sure that all of the yarn has color.
If the dye has reached all of the yarn, then just pour the dye on the corresponding color section or keep it for another project.
If you only want small sections of color or something more like the occasional splash of color on an otherwise undyed yarn, you’ll want to steam set, rather than immersion set, your yarn.
Immersion setting this yarn will make the undyed section pick up some color, even if you didn’t mean for that to happen!
The more intricate your color pattern or the more important it is to you to keep the dye exactly where you put it, the less appropriate an immersion set becomes.
The more water you have in the dye bath, the more ability the dye has to travel to somewhere you would prefer it not to be.
If you want absolutely all of the yardage dyed then a water bath is the ticket, since it gives the dye the most mobility to reach every last part of your yarn. Of course, you’ll still have to check!
Once you are happy with the dye coverage, it’s time to set your yarn with heat.
Dye part of skein
You can dye part of the skein.
One way to do this is to speckle on the dye and set it with steam. Since you want the speckle to stay in place rather than run you’ll need the steam set instead of an immersion dye and set.
You can dye one section of the skein only by hanging the skein over a dye pot on a dowel or something similar, so that only some of the yarn is in the dye.
You can keep the yarn partially dyed or repeat the process by hanging the undyed section in another color of dye.
Dyeing half or three quarters of the skein to one color will give you a very regular, repeating pattern in your yarn.
Dye singles then ply
Another option to dye your handspun is to dye the singles that you’ll then ply together.
This would give you a nice lengthwise striped yarn, if you used two or three colors and plied them end to end.
A second option with plying differently colored singles would be to take the singles and treat them as one long single in order to chain ply larger color blocks.
In this case you would have multiple singles, each of a different color, then you would chain ply one, then add the next when you get to the end of the first, putting multiple bobbins in one yarn.
Of course, you’ll need to have only partially filled the bobbins or be plying onto a jumbo bobbin to hold all of the yarn!
This would be a way to get blocks of color in your work with a fairly simple dying process, since both options start out with dyeing singles then plying them.
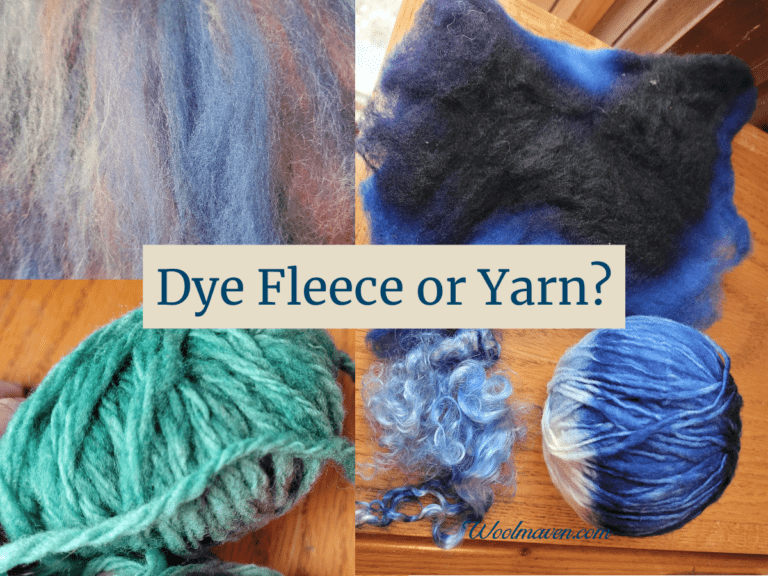
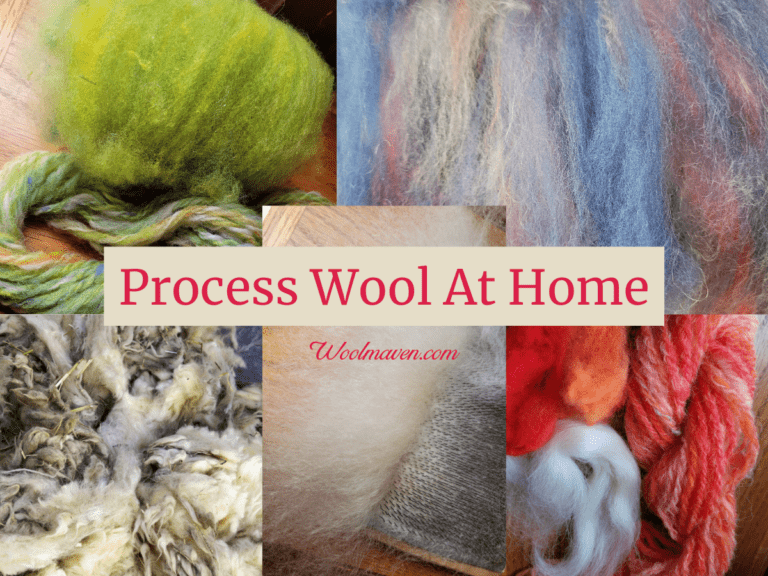
Dye fiber then spin
Your other option for getting color into your handspun yarn is to dye the fiber before you spin it. I know that, strictly speaking, this is not dyeing yarn, but let me explain a bit.
Starting with dyed fiber then spinning is my preferred way to get a beautifully colored yarn. When color is used this way, the resulting yarn is by far the most visually interesting.
Spinning with dyed fiber gives you infinite options on making your yarns unique and richly colored.
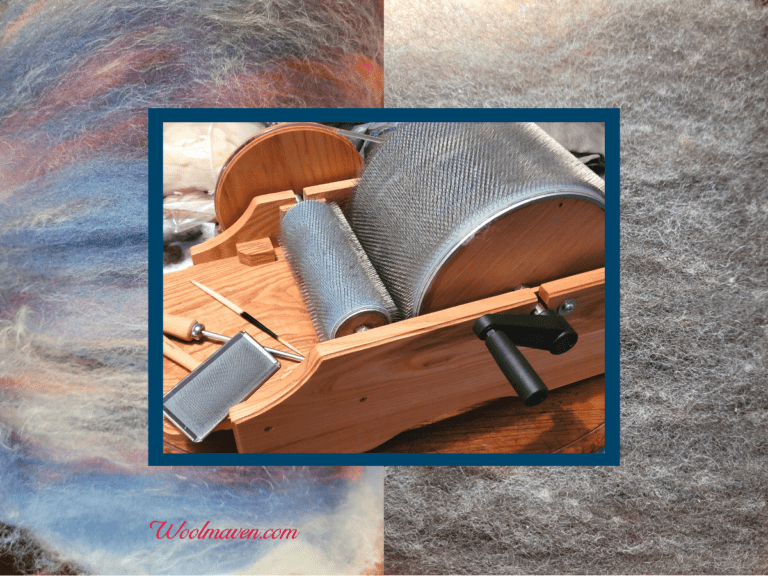
You can blend the fiber by hand or on a drum carder or you can spin from sections of dyed wool. I prefer to dye the fiber then make cool blends on a carder or with a hackle.
If you decide to work with dyed fiber instead of dyeing the yarn, the only thing that really changes is you’ll need to set the twist after spinning.
Easy Ways To Dye Wool For Handspinning goes over some easy ways to get started dyeing fiber.
Re dye or over dye handspun yarn
A final option you may have not considered is to re dye or over dye a handspun yarn.
I consider this to be a fixer option, meaning you are working with a color that didn’t quite turn out the way you wanted it to.
When one of your dye projects turns out differently than you had hoped it would, you can give up and use it ugly or you can adjust the color by re dyeing it and see if you can create something that you’ll be happy with.
I can see this being a great option for “gifted” fiber, meaning something one of your friends got too much of or dyed and didn’t like the resulting color but the fiber itself is something you like.
Re or over dyeing could really make a difference here!
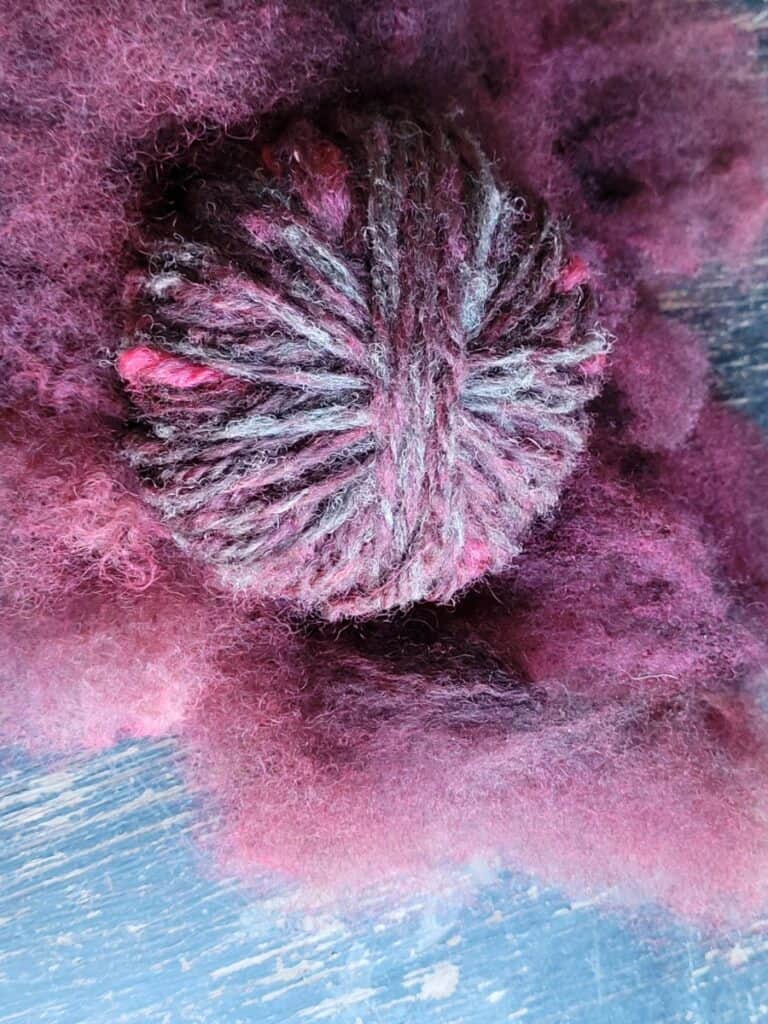
Over dye naturally colored fiber
Another option is to over dye a naturally colored fiber, meaning you are dyeing an undyed yet already colored fiber.
While overdyeing can be used to hide or fix a mess up, in this case you are adding color to complement the natural coloration of the fiber.
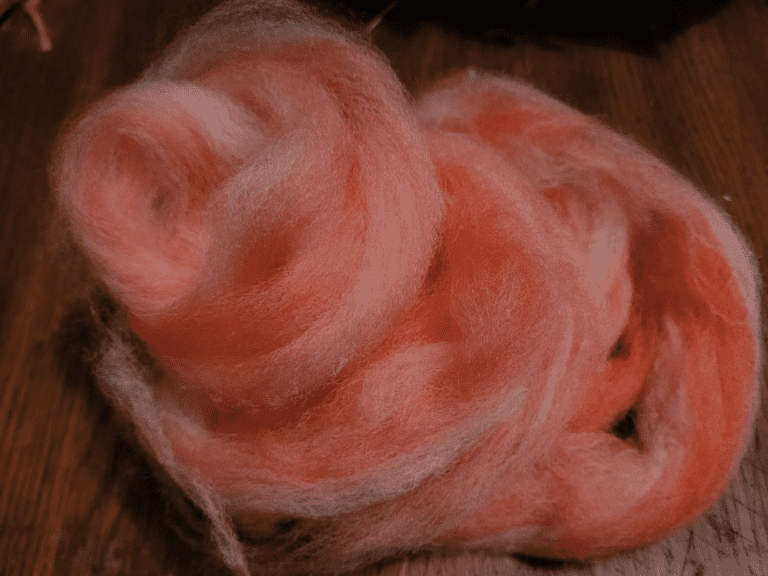
I overdyed the naturally colored wool above, which was a nice brown from our one and only colored Finn cross ewe.
I had some hot pink dye, so I thought why not give it a try. It turned out to be quite lovely and a more interesting coloration that I was expecting. I like it and it gets me thinking of other overdying options!
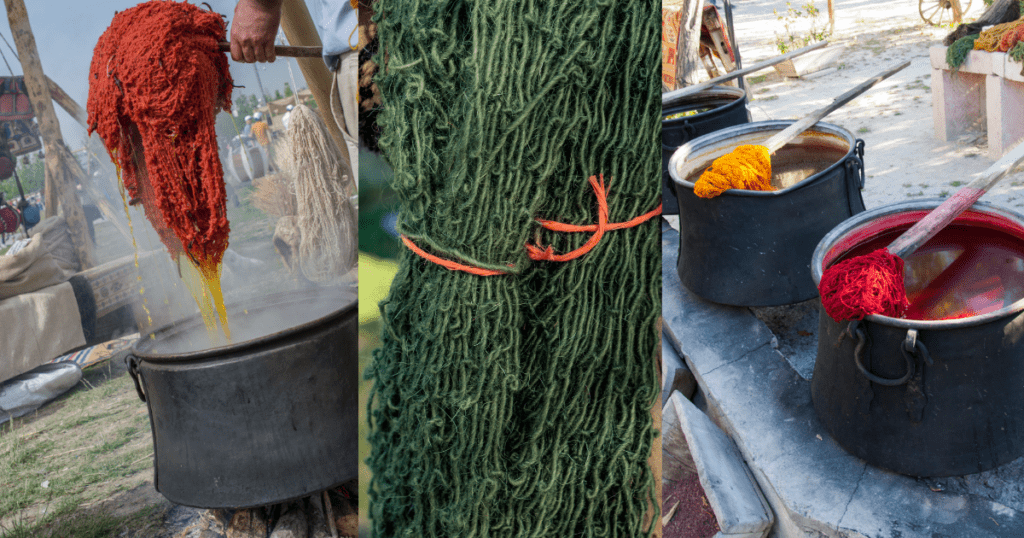
Basic dyeing instructions for handspun yarn
Tie yarn: To dye your yarn, you’ll need to put it into a skein, which means you’ll take the handspun yarn off of the bobbin and put it onto the niddy noddy, then tie it in 4 or more places.
Make sure your ties are loose so the dye can get to all of the yarn.
Soak it: Now, you’ll want to soak your yarn for a half hour or so in vinegar water. If you used a fiber with luster you’ll want to soak the yarn longer to let the acid penetrate the fiber.
Start dyebath: You can now get your dye bath going. You can dye in multiple ways, basically immersion or low water with the yarn in a shallow pan or in plastic wrap to be microwaved.
Usually, the plastic wrap is used for multi color dyeing, so most folks would probably pot dye a yarn with one color.
Follow the directions that came with your dyes for information on how long to dye the yarn and when to add the mordant.
In immersion dyeing, what you’ll end up with is your handspun fully submerged in a dye pot of color that as you add the mordant, the dye will leave the water and strike or attach to the yarn.
Eventually, the water will be clear and all of the dye will be on the yarn and you’ll add heat to set the dye in the yarn. After a rinse or two, all you need to do is to let it dry!
To dye with less color travel, go with less water volume and place the dyes more specifically. If you have very specific color placements, heat set the yarn in the microwave in plastic wrap.
Aunt Jenny has a great article on How To Dye Yarn, with quite a few pictures showing the steps taken and the finished yarn made into various swatches including knit, crochet and woven.