How Do You Process Wool At Home?
It’s a big moment, you’ve got a freshly shorn fleece that you love and are excited about using. But…it’s probably not looking very usable as is. Now you are wondering what to do with it!
How do you get from fleece to processed wool, all done at home?
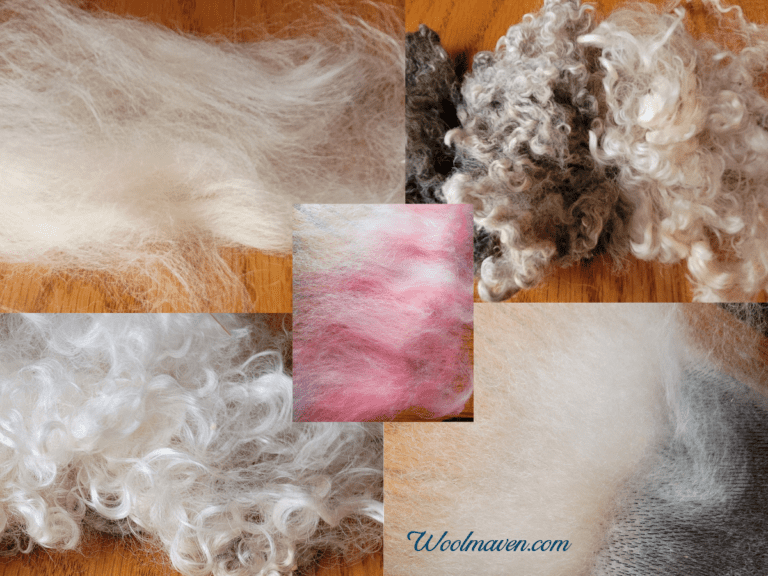
There are a few possibilities of what you have purchased with the most common fleece options being straight off the sheep (also called as shorn) or washed but not combed or carded.
If you bought an as shorn fleece, start with skirt the fleece.
If you purchased a washed fleece, you can skip on down to dyeing, if you are interested in that possibility, or go straight to the combing or carding section.
7 Places To Buy Wool For Handspinning gives you some ideas of where to get your wool, both online and in person.
Skirt the fleece
The first step to processing wool at home is to skirt the fleece which means you pick out the parts of the fleece that you do not want to be processing!
You’ll be sorting off any short fibers, little bits of hay, dirt or other contaminants that are in the fleece.
Even if the fleece you purchased listed that it was skirted, you’ll want to take the fleece out of the bag and see if there are any additional parts you want pulled off.
Some folks skirt quite heavily, sending only top notch parts of the fleece, and others skirt lightly giving you the choice to keep or toss the lower value sections.
You are also looking for any not so great looking sections of wool, like matted or straggly bits or any second cuts (extra short sections of wool). Pull all these off.
You can toss them out for the birds or keep them in a separate bag, in case you want to tackle them later.
Chances are good that there will also be some manure, if the fleece is straight of the sheep. Lightly skirted fleeces should have had the poo balls sorted off earlier.
Pull of any poo balls that you see and toss them in your flowerbeds.
This is a potential stopping point for your processing. If your fleece is fairly clean, low in grease and has lock that you can easily open up by hand, it is a candidate for spinning raw.
If you are interested in trying your fleece “in the grease”, now is the time. Most folks prefer to wash or at least suint soak before spinning.
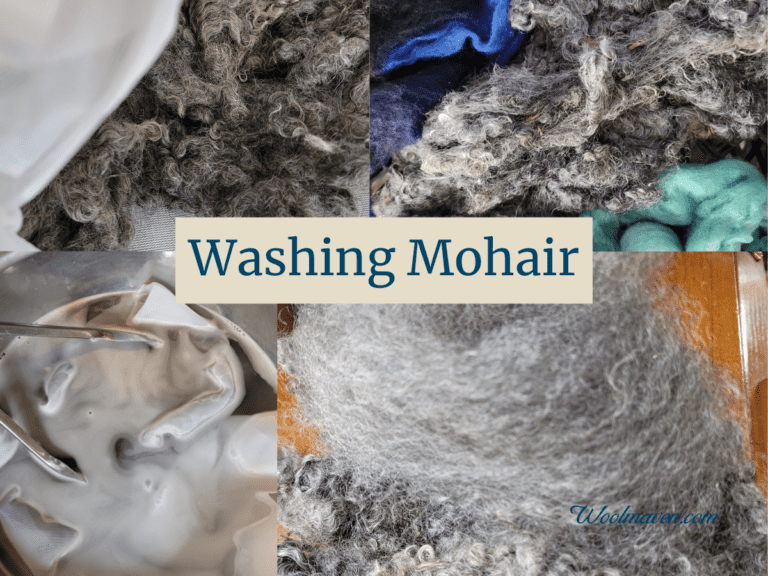
Wash the fleece
To wash the fleece, you’ll need a container that will hold the fleece and have room for the fleece to expand in the wash so the water can get to the entire fleece.
You can wash the entire fleece or choose parts of the fleece to wash separately.
I tend to wash sections of fleece, simply due to it being easier for my set up to handle smaller sections of wool rather than the whole fleece.
You may want to use a mesh laundry bag, especially if you are working with a wool that felts easily or is very fine.
You can do a suint soak, which is just an overnight soak in lukewarm water. This removes the dirt but leaves the lanolin. If your fleece has a good amount of grease, you’ll need an actual wash.
How To Wash Raw Wool Before Spinning will give you the step by step instructions to wash your wool. No worries, it’s easy and can be done with just basic kitchen items and a fiber wash.
This post contains affiliate links, which means I receive commissions if you choose to purchase through links I provide (at no extra cost to you).
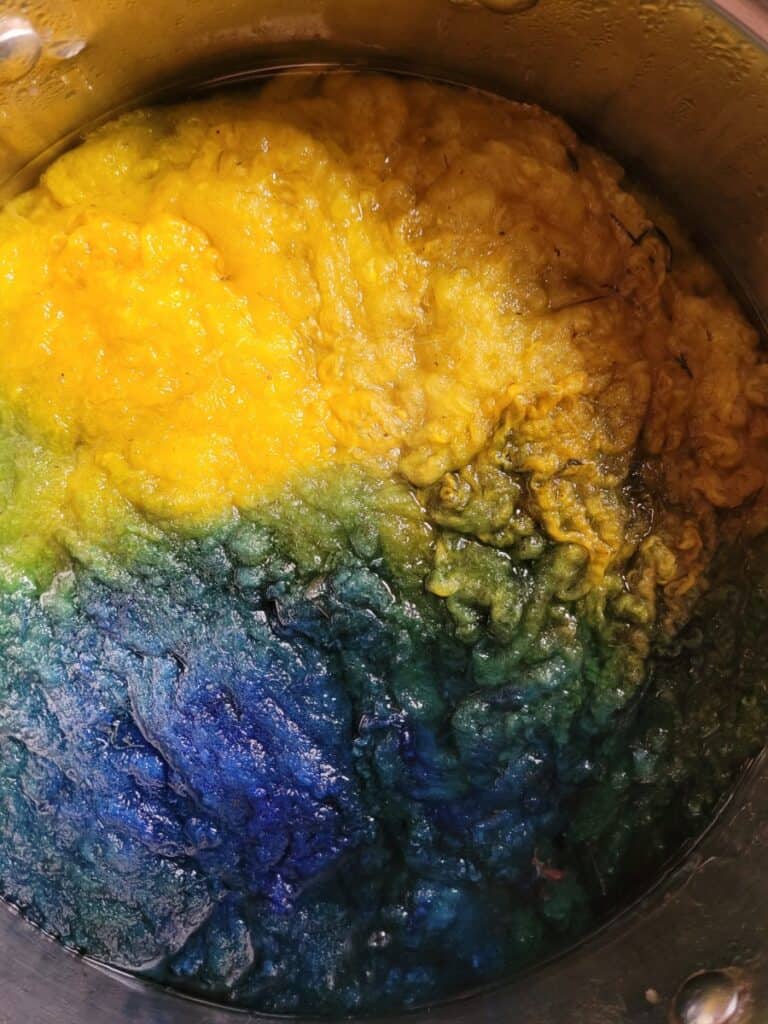
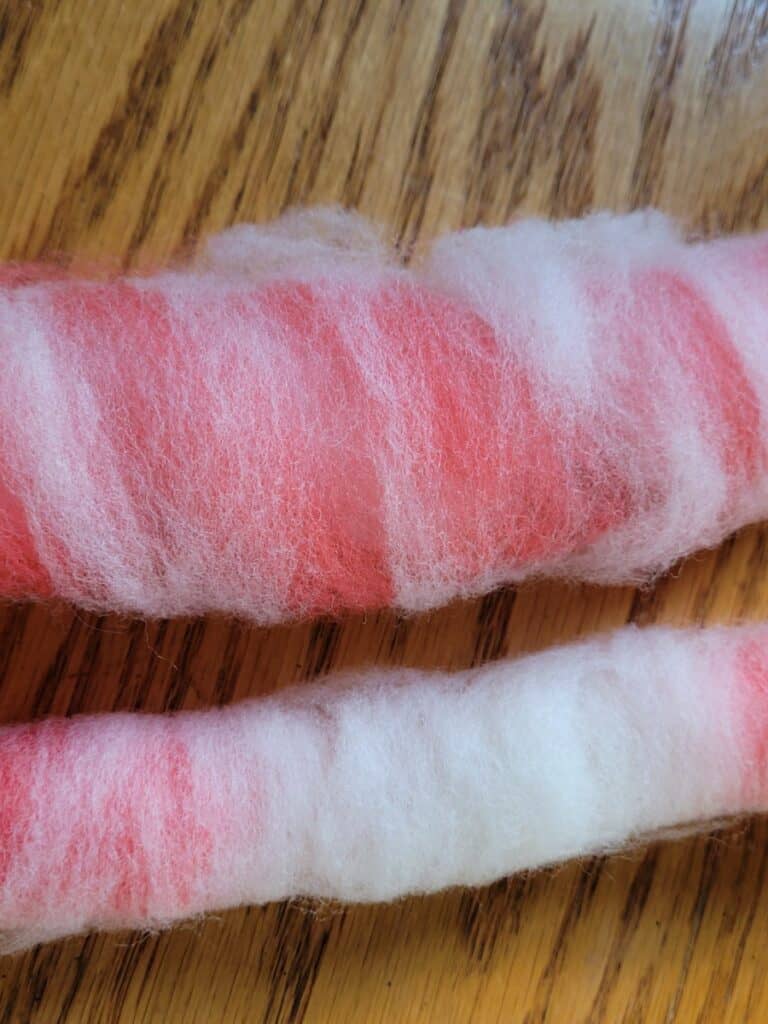
Dye the wool
The next step in wool processing is to dye, if that is your plan for this wool.
The reason you would dye it now is that since the wool is wet it saves you the additional drying and it is grease free due to the wash.
You can dye at another step in the process, for instance after carding or after spinning, you can work with undyed wool or you can dry the wool out and dye it another day.
A dye kit gives you a number of color choices and comes with instructions, it’s a simple and fun way to get started with dyeing protein fibers.
For instructions on how to dye, read How To Dye Wool.
If you want to look into your options as to when to dye wool, read When Should You Dye Wool? (fleece to finished project).
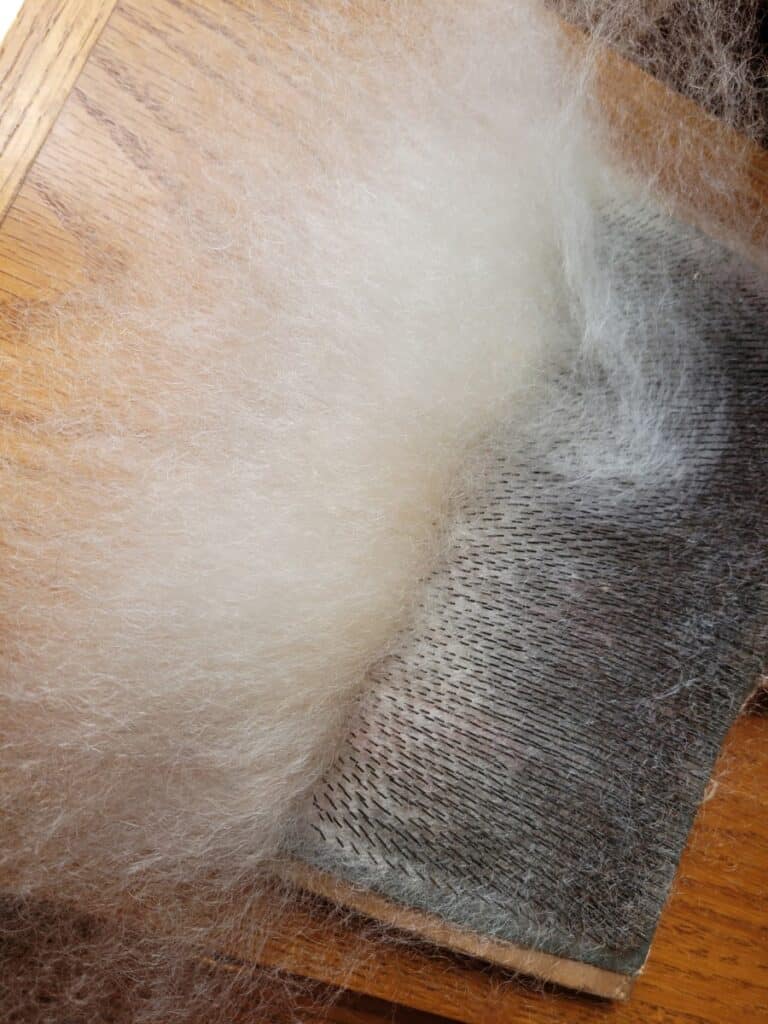
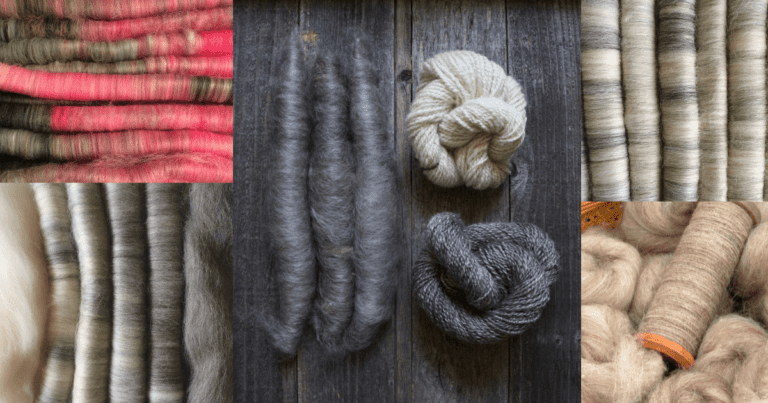
Comb or card the wool
Chances are good that your wool will need some sort of carding or combing to separate out the fibers so that they are easy to work with when you are spinning.
You’ll want to be sure that the wool is completely dry before you start carding or combing.
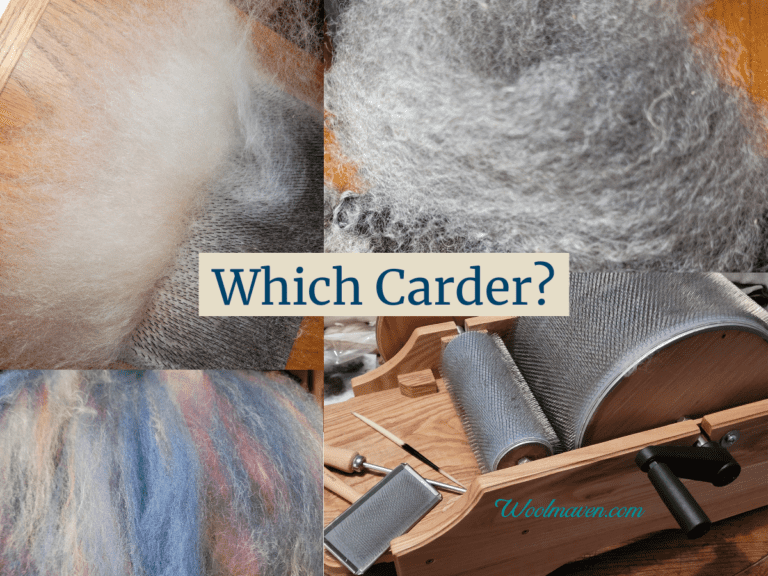
Should you comb or card your wool? If you only have cards, then you’ll be carding and vice versa and that’s fine. Chances are it will work. If you have the choice here are some things to consider.
Card wool that is shorter
Wool that is prepared by carding will produce a yarn with more poof than wool that has been combed. If your wool has a shorter staple length, you’ll want to card it.
Wool that can be carded is:
- shorter staple length
- to be spun into a yarn with loft (puffy, airy yarn)
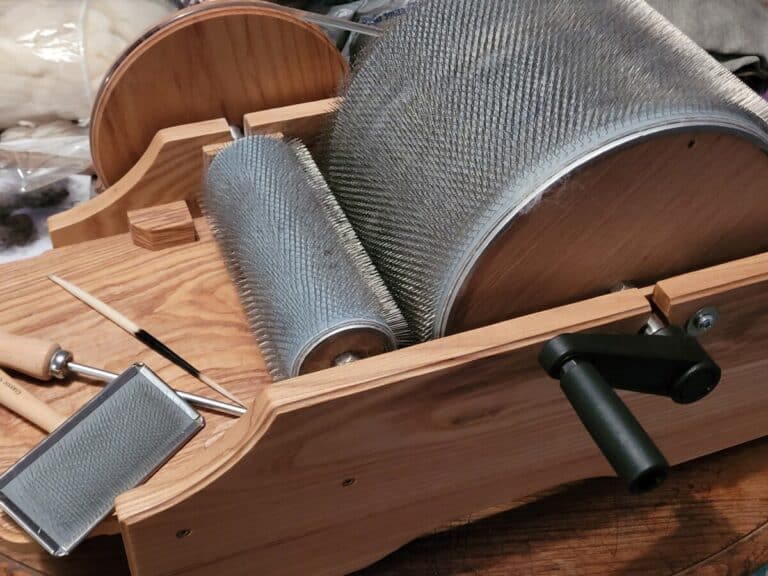
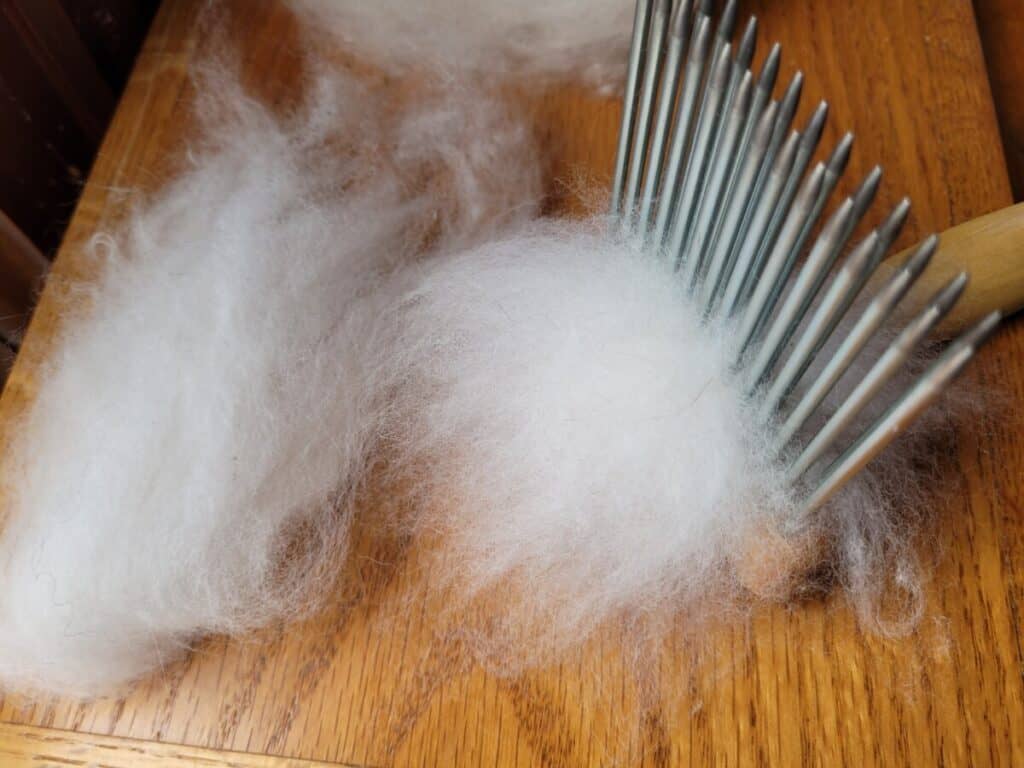
In case you are not aware of your options, there are a few different types of cards you can use.
There are flick carders, hand carders and drum carders, all of which prepare the wool in a bit of a different way.
The hand cards that I use are Clemes & Clemes Curved Back Wool Cards. I’ve had them for almost 20 years and use them for all of my hand carding.
To read more about your carding options, read Hand Carders vs Drum Carders.
Comb wool that is longer
Wool that is prepared by combing will be smooth and produce a yarn that is more dense, meaning it has less loft, and make a more defined stitch or be stronger for weaving.
Combing is the preparation of choice for longer stapled wools is an option for medium length wools.
Wool that can be combed is:
- longer staple length
- to be spun into a yarn that is well defined (dense)
There are a few different types of wool combs, as well, but the differences are more about how you hold the combs rather than the resulting wool being all that different.
This wool comb set looks the most beginner friendly to me, and, as a bonus, they come with a holder. I purchased a different set, which are fine, but if I had it to do over again, I’d get these instead.
You can mix and match or combine wool prep methods
Of course, you can mix and match your wool and your preferred preparation to get an in between type of yarn, for instance you could card a longer stapled wool, it’s up to you.
You can also combine methods, as in start the wool on the drum carder then put it onto the wool combs for get a smoother spinning combed top.
I tend to use the flick carder and try spinning from there. If it works, super, if not, then I put the flick carded locks through the drum carder.
Here is an example with wool from one of our sheep:
I have a black ewe that has a lovely fleece, I’m a huge naturally colored wool fan, but this fleece is tippy (tips are knotted up) and she tends to have more than her fair share of VM (vegetable matter).
If I put her fleece on the hand cards, I end up with the tips staying in the batt (the carded wool that comes off the cards) and it puts lumps in the yarn, fine if you want them, but I don’t.
When I flick card her fleece then put it through the drum carder, which takes some time, it is a whole new world. It makes such a wonderful wool to work with!
The reason I’m telling you this is that I had to experiment around to see what I could do with the wool to make it turn out the way I wanted it to.
After two or three attempts, I finally got what I was looking for with flicking then drum carding. That handled the tippy ends and the noticeable VM.
Keep working with your wool if you do not like how it turns out the first few times you work with it.
You could need a bit more practice with your combs or cards or need to do an additional step to get your fleece to comb or card into wool that you will enjoy spinning.
Whimsical Ewe has a great article on Carding Or Combing Wool, specifically focusing on getting rid of the slubs then putting carded wool onto combs to make top.