How Do You Make Rolags Without A Blending Board?
Need to make a few rolags for your next spin, but you don’t have a blending board? I’ll give you three ways that you can make your own fauxlags (fake rolags) with the supplies you already have!
This post contains affiliate links, which means I receive commissions if you choose to purchase through links I provide (at no extra cost to you).
Make rolags with hand cards
You can make rolags with your hand cards and it’s pretty easy!
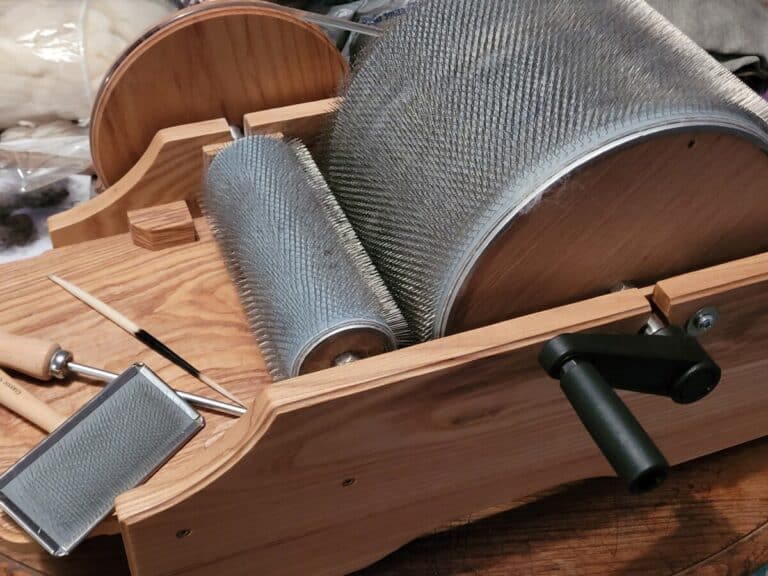
The hand cards that I use are Clemes & Clemes Curved Back Wool Cards. I’ve had them for almost 20 years and use them for all of my hand carding.
This is the classic way to make rolags and really the only way that actually makes what are technically rolags, the other two methods are modern versions of the classic rolag.
The steps are a slightly different if you are actually carding the wool or if you are using pre carded wool, but both ways are fast and easy.
If you are looking to make the “rolags” that are shaped around knitting needles, those are actually fauxlags or punis, which you can read about in What Is A Rolag And Why Make Them.
Are you a beginner looking to get started with spinning? Try my Spinning Course! It will take you from total beginner to confident spinner!
Starting with uncarded wool for rolags
If you are starting with wool that has not been carded previously, you’ll want to section off small amounts of the fleece to work with and begin to card it out one lock at a time.
This fleece will need to have been washed then fully dried before you begin carding.
7 Best Places To Get Handspinning Wool gives you some ideas on sourcing your fiber!
You’ll want to keep the sections of the fleece separate, meaning if you have a wide range of fibers in the fleece, make sure to card like with like, so finer with finer and coarser with coarser.
If you do not keep these sections separate, you can end up with noticeable differences in the feel and maybe even the look of the yarn as you move along the length of the spun yarn.
This was the case with a Jacob fleece that I got from my dad, the white spots have a very different feel than the brown, which is the main color of the fleece.
When I’d mix one rolag of white then a rolag of brown when spinning, at least on this fleece, I could feel the difference in the yarn. I like the color change but not the prickle change!
Raw Wool vs. Washed Wool shows you how to prep your fleece so you’ll get the best out of it!
Using previously carded wool for rolags
If you purchased a bagged fiber, like combed top, the initial carding has been done for you so all you are doing is using the hand carders to lightly card out and hold the wool.
Put a small amount of top on the carding cloth on one card. Card the wool to smooth it and separate out the fibers.
Combed top is likely to be compacted down when you get it, so you are not carding it as much as just fluffing it back up and out so that your rolags are light and airy.
When you get enough fiber on the cards, you can either roll up the rolag with the edge of the working card or use your hands and roll up the rolag.
The traditional way is to use the other hand card, this takes practice and I’m still working on getting this to be reliable for me! I end up cheating and using my fingers to form the rolags.
Once the rolag is off of the hand card, you start again and keep repeating until you have enough rolags to finish your yarn.
Test spin once you have made your first rolag
You’ll want to take a few minutes to do a test spin with your first rolag, just to see if it has enough fiber for you and if you like the density that you rolled it into.
Remember, the whole point of rolags is light and airy, so keep it fluffy!
If you like the rolag as you made it, keep on trucking and make up the rest that you need.
If you would like your rolag to be a bit different, make a few changes and see how you like the next one.
Keep test spinning in between changes until you get a rolag that you like, then make up the rest of your batch of rolags.
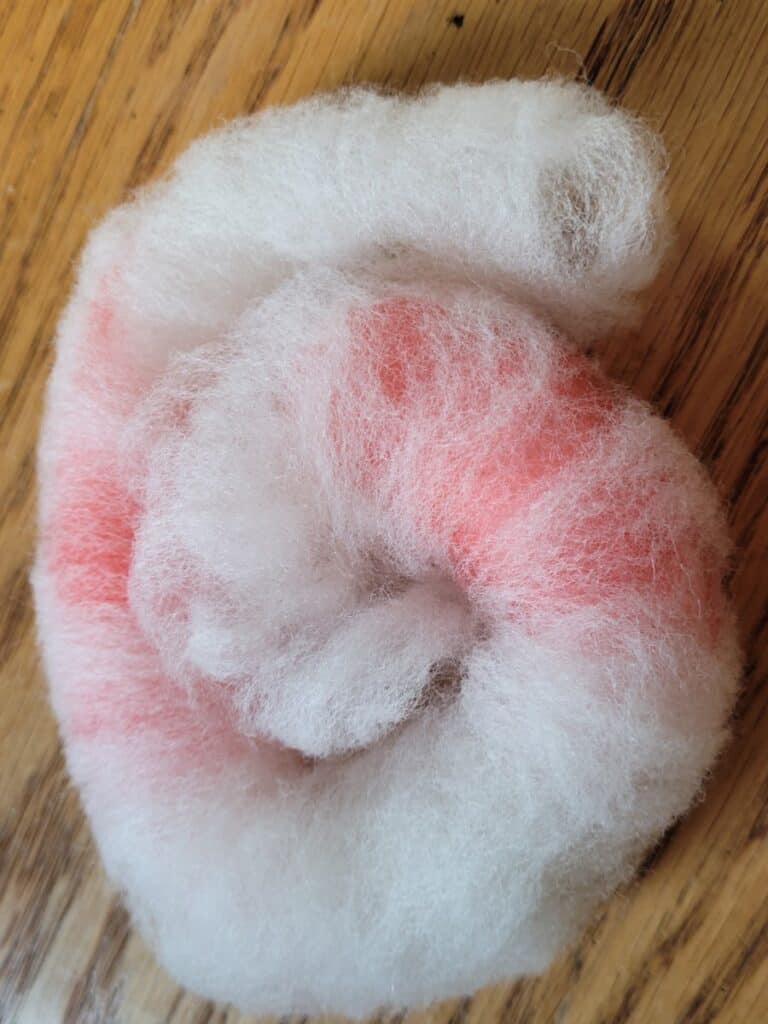
Make faux rolags with carded batt
You can make fake rolags out of wool that you have carded into a batt, for instance a batt that you have taken off of your drum carder.
To make a fauxlag from a carded batt, simply take a small section off of the end of the batt and place it on a table top. Now, roll the wool up like a jelly roll. Ta-da, that’s a fauxlag!
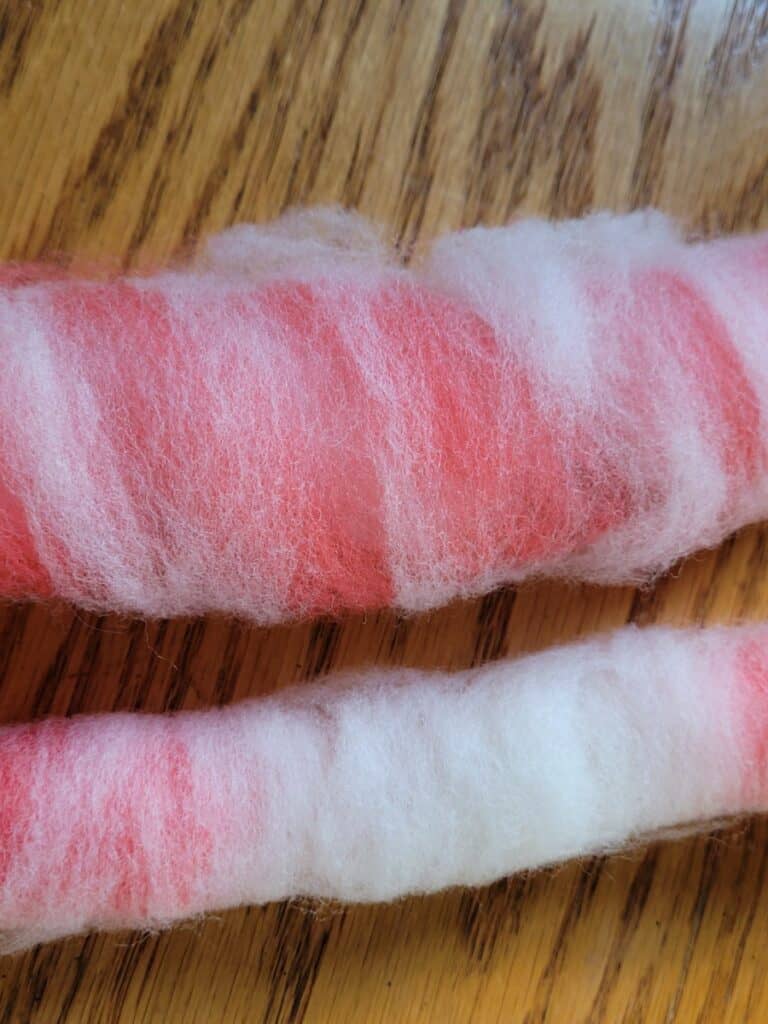
If the batt is still on the drum carder, you can doff off a small section at a time, tear it off and roll it, as above, or you can use two knitting needles or dowels to wrap and pull the wool into a puni.
If you are careful about what fibers you pick up, you can also use the drum carded fiber to make fauxlags while keeping the colors of the batt separate, like in a widely striped batt.
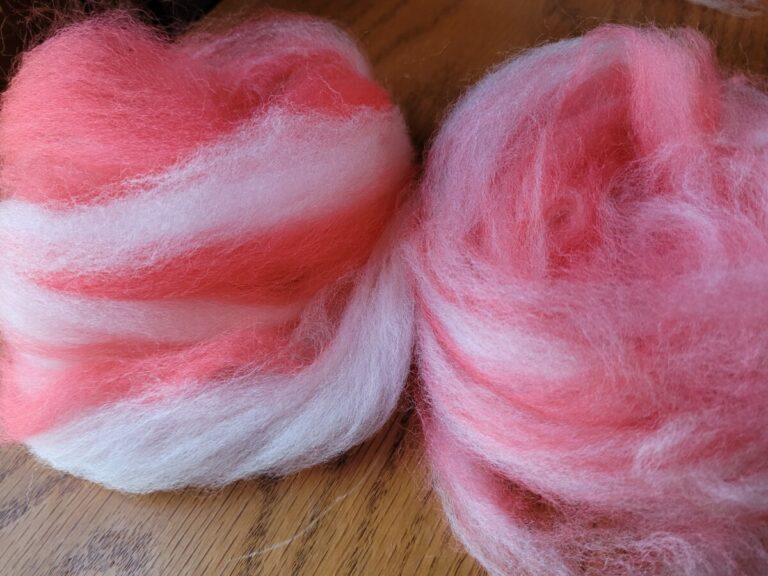
Make faux rolags on table or counter top
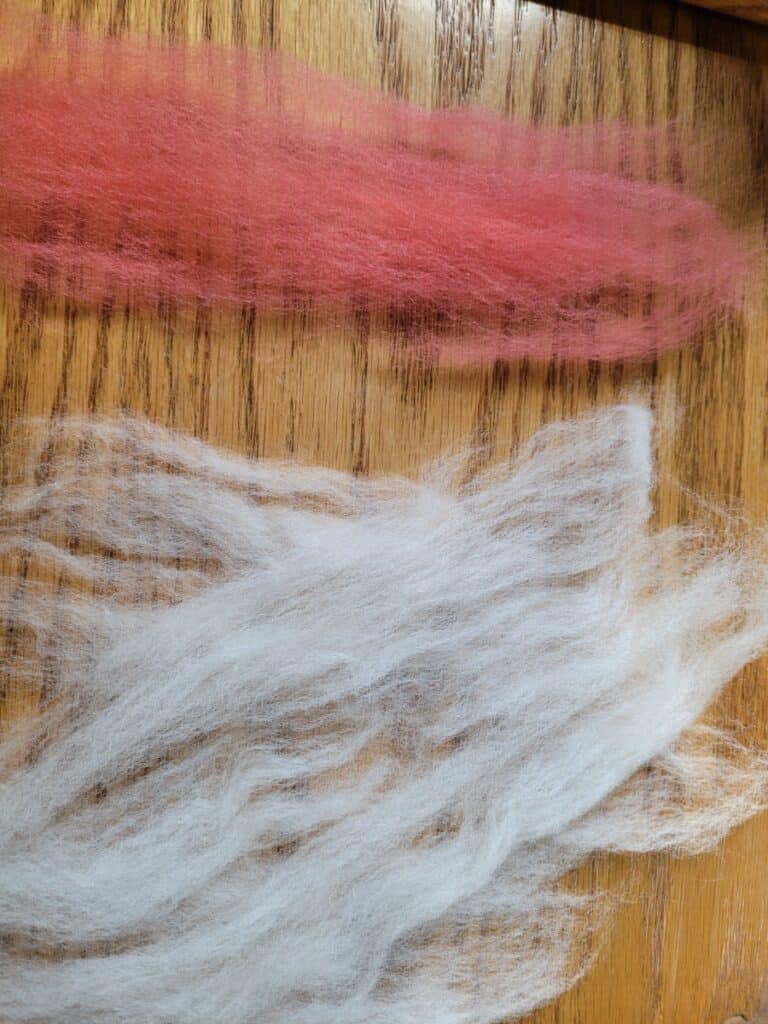
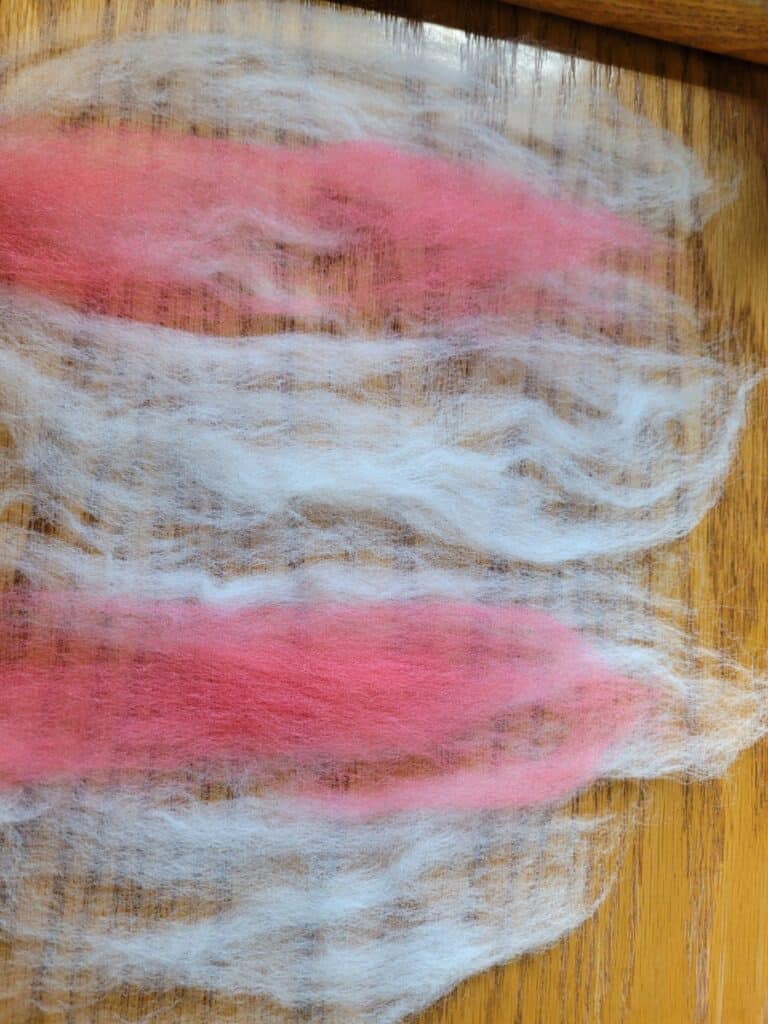
The third way to make a fake rolag is to lay out the combed top on a table top in sections that overlap. You are basically just forming the tube without any carding cloth to hold it in place.
The white wool shown here is Corriedale Combed Top. The coral I purchased dyed and in a smaller amount but also from The Woolery.
Place thin sections of fiber down on the table top, roll it up and give it a test spin. You can make the next one with more fiber if you want to, but go lightly at first.
It’s all too easy to overload your table top are then have a hard time keeping the fauxlag together.
If you are going to put together fauxlags this way, be sure you use ready to spin wool as your fiber source and overlap the sections so the fiber roll will hold together.
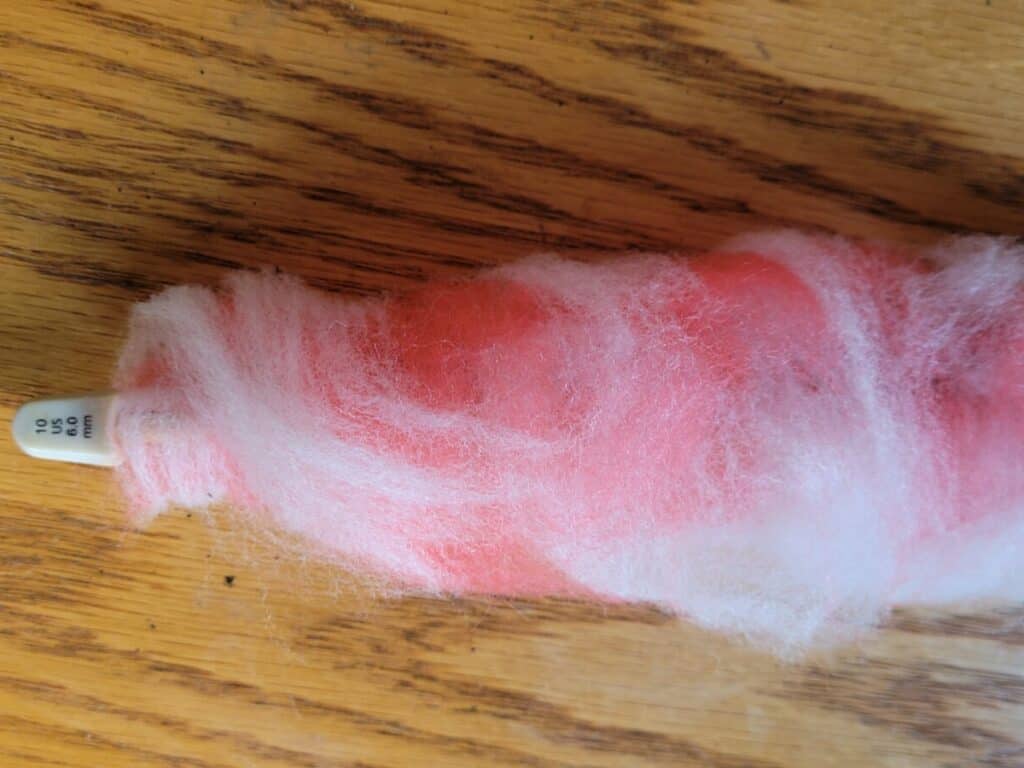
Once you have the wool laid out so the sections overlap, take two knitting needles or small dowel rods and use them to pinch together the wispy ends of your batt.
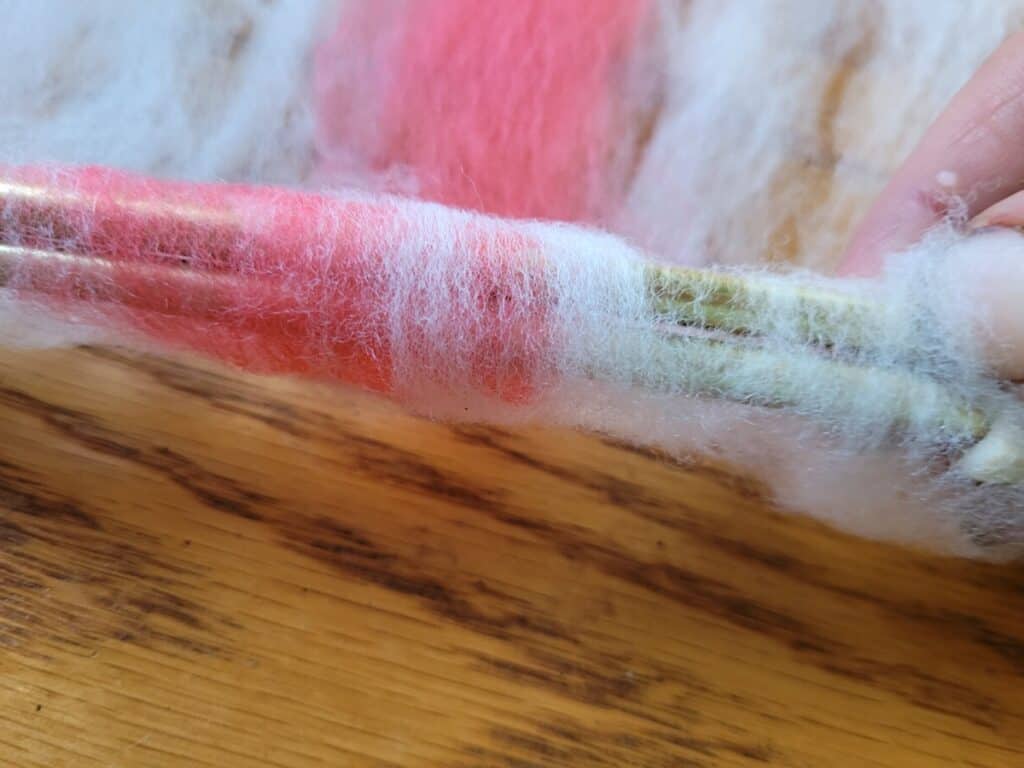
With the ends pinched, roll the fiber around the needles until you have all of the fiber in the fauxlag.
Now, slide out the needles and roll the fauxlag on the table or your thigh to seal it together a bit more. The tighter you roll the tube the more dense the yarn you’ll spin from it.
If you want to make a fluffy yarn, be sure to roll loosely or better yet, go with making actual rolags with handcards.
Carding Rolags goes into more specifics on carding a large amount of rolags (more than 500!) for sweaters by Josefin Waltin Spinner.
Are you a beginner looking to get started with spinning? Try my Spinning Course! It will take you from total beginner to confident spinner!