Continuous Wool Roving: What is it and how to make it
When you are spinning your own yarn, joining more fiber can be the least fun part of your spinning! The longer the section of fiber you are working with, the less you join, so what about a continuous roving?
What is continuous roving and can you make it at home?
Continuous roving is a long, consistent section of ready to spin fiber that is made by professional fiber mills. While long sections of homemade roving can be made off of hand cards, combs and drum cards, it will not be continuous like the roving from a fiber mill.
Does Spinning Your Own Yarn Save You Money? goes over the cash costs to spinning yarn so you can decide if you should spin or buy your yarn.
Continuous wool roving is professionally milled roving
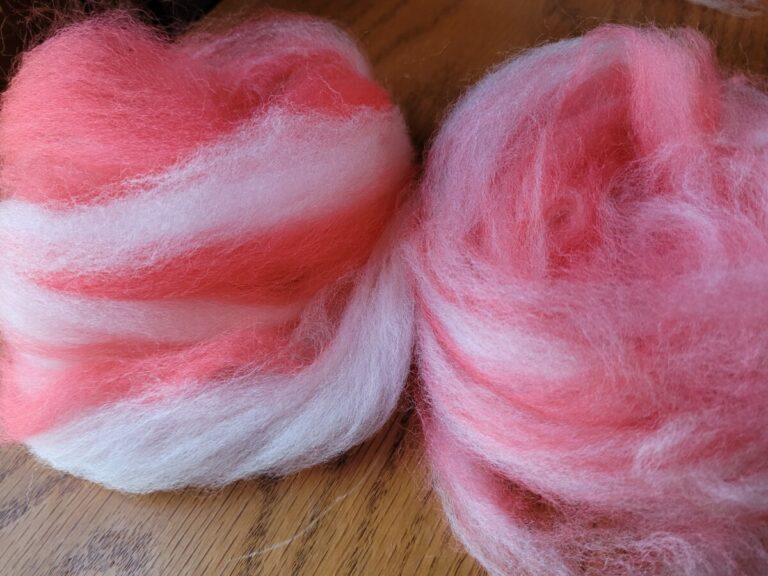
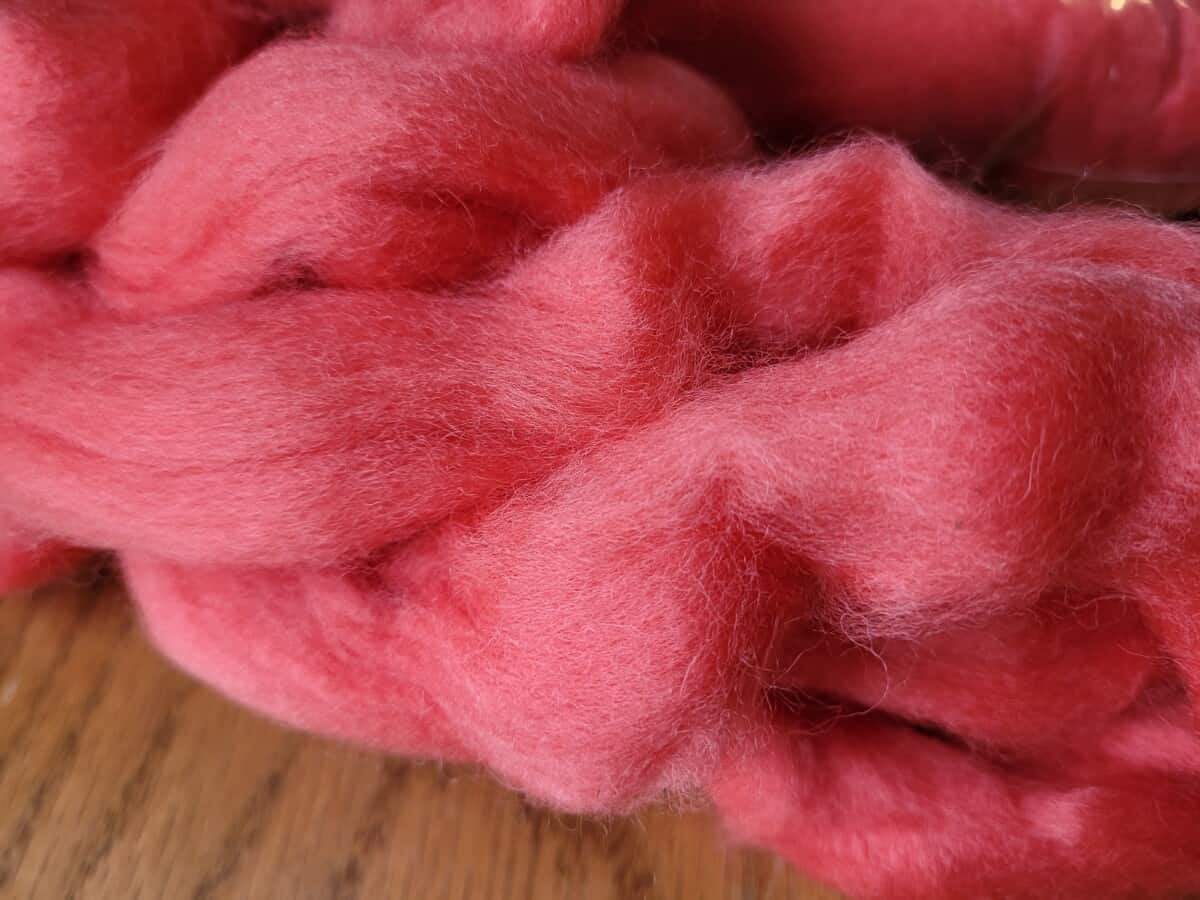
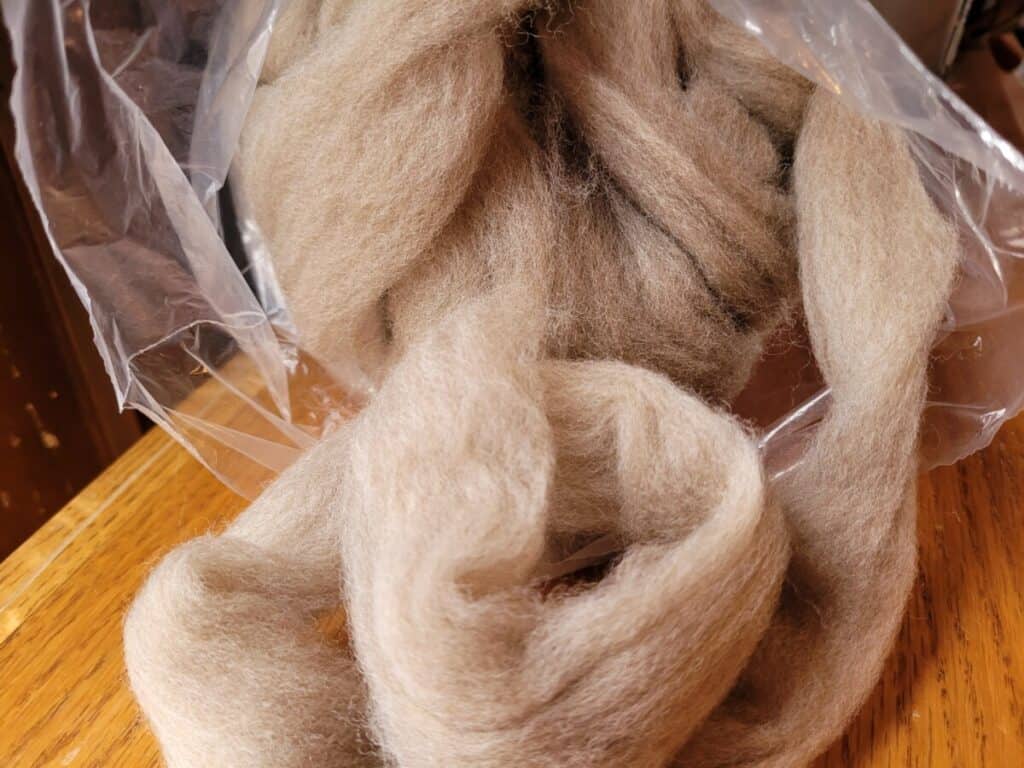
Continuous wool roving is roving that is purchased in one long section. This is the roving that you buy from fiber mills or that you see put into braids and dyed by fiber artists.
If you were to take all of your purchased roving out of the bag and stretch it out across the floor, it would be one continuous length.
Benefits of continuous roving
The benefits of continuous roving are:
- you can have the roving in any amount you want, as a seller and as a spinner
- the entire roving is the same fiber mix, whether from one fleece or multiple fleeces, from end to end, which makes your spinning and your yarn very consistent
For the handspinner, using continuous roving makes you the one in charge of how much fiber you are working with at a time.
Since the roving is all one length you get to make the decision of how long the sections that you work with are, or if you want to work right off of the roving as is with no section breaks.
Continuous roving also makes your spinning easier since the fiber you are working with is all one consistency, any variability in the fleece will be evened out within the roving by the milling process.
If you didn’t know, sheep often have variability in their fleeces, usually places like the breech (back of hind legs) are a bit coarser wool and the neck, back and part of the sides are finer wool, for that animal.
If you were to process these sections separately, you would be able to feel a difference in the yarn from each section, even though it all came from the same sheep.
Some breeds also have a double coat, which would be separated out in milling. By putting all the wool together and carding then combing it out, you spin with a uniform roving and, resulting in a uniform yarn.
For the fiber shop, using continuous roving gives you options on selling your wares, for instance making an interesting and eye catching display of the ready to sell fiber, like the dyed braids.
The fiber shop can also choose the amount of roving in each bag, a not so small consideration for the discerning fiber seeker.
Being able to custom order roving lots is a pretty big deal to the handspinning customer who wants specific amounts, especially small amounts for something like colorwork or a fun art yarn.
Best Places To Get Wool For Handspinning gives you some ideas on where to source the fiber for your next projects!
Disadvantages of continuous roving
The only real disadvantages of continuous roving, at least from my perspective are:
- you have a lot of fiber to manipulate when you are spinning, so for most spinners, the answer is to section off the roving. Easy enough to do, but it is one more step before spinning.
- the consistency of the roving is almost too good if you are wanting more of a rustic look to your spinning, this would apply to a minority of situations, for sure, but is a consideration for some.
Clearly, the disadvantages of continuous roving are minimal, and to most folks easily worked around.
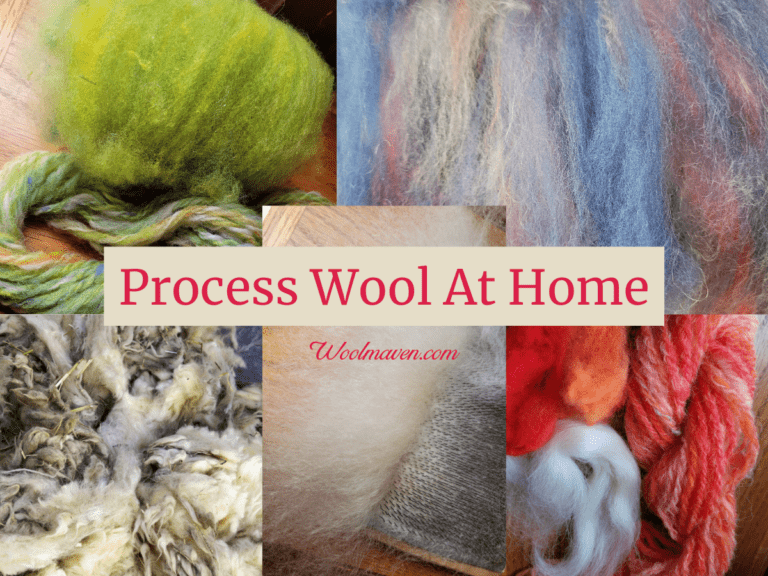
You can make long roving sections at home
You can make long sections of roving at home.
While these homemade rovings will not be continuous, like the roving you get from the mills, you can get some longer sections of homemade roving with a bit of practice and a few tools.

This post contains affiliate links, which means I receive commissions if you choose to purchase through links I provide (at no extra cost to you).
Make roving from hand carders
You can make a longer roving section from hand carders, while this would not be continuous, with a little practice you can make your homemade roving sections fairly long.
The cards I use are Ashford Hand Carders in 72 tpi, if you tend to work with finer or shorter fibers, you’ll probably get better results with the 108 tpi, instead.
To make homemade roving, make sure that your fiber is well carded, no noils or unblended bits still left on the cards. Take your time here and make sure the wool is well separated out and aligned.
Take your diz, a key or button with a small hole will work, and pull a bit of carded wool off of the upper corner of the card through the diz.
If the wool won’t cooperate, give the few fibers you want to go through the diz first a bit of a twist then put them through the hole, or just try to grab them with a crochet hook.
Now you need to secure the card so you can pull against it, an easy way to do this is to put it between your knees when you are sitting.
Gently pull the wool through the diz, slowly going back and forth across the entire top of the card.
The wool on the card should “grab” onto the wool heading through the diz and follow the leader off of the card and into a pile on your lap.
If you pull too much and the roving breaks, just restart a new roving section. You’ll soon have the idea.
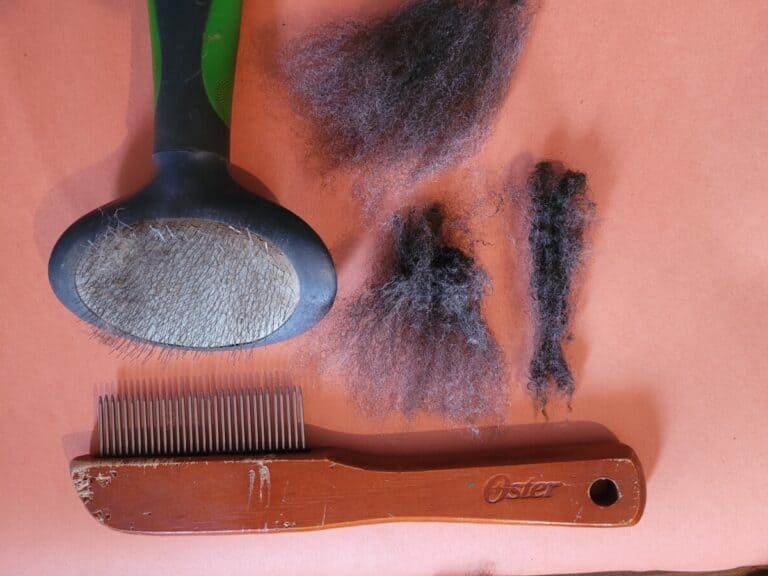
Make roving from combs
Making your own roving from combs is nearly the same as making it from cards, with the exception that you need to clamp down the loaded comb and diz off of it.
Once again, go slow and move the diz back and forth to try to get as much of the combed fiber off of the comb as possible.
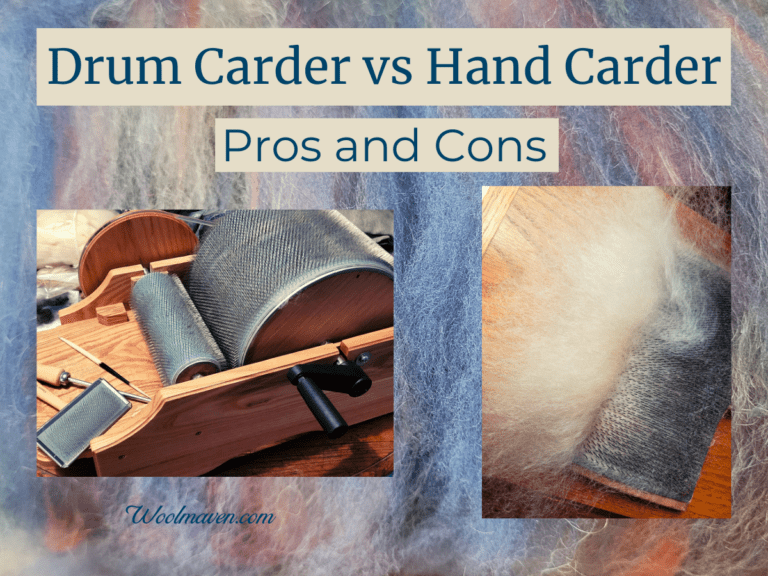
Make roving from a drum carder
Making roving from a drum carder is a bit different, since once you get the roving started you can go around the drum and get a pretty long roving, which is as close to continuous roving as you’ll get!
Card your wool on the drum carder until it is well blended. What is well blended is your call! The more well carded the wool, the smoother your roving and resulting yarn will be.
Pull off a small section of wool up on one edge and run it up through a diz. Now start peeling the wool off the drum.
As you take the wool off the drum, you’ll go around and around the drum, like peeling an apple. Be careful to keep the roving away from the teeth of the drum, they will grab it as the drum moves!
Interestingly enough, if you were to take an inch wide section off of your 7″ drum carder (10″ circumference) and you keep it all in one roving, you should be able to get roving 70″ or 5.8 feet long!
While that is not actually continuous roving, it’s pretty long!
For a great series on drum carders, check out Classic Carder’s How To Use A Drum Carder.