How To Prepare Mohair For Spinning (Combing or carding)
What are you going to do with all of that mohair you just purchased?
The beautiful lustrous yarn you were thinking of when you clicked the “buy now” button is only a few steps away, but how to get there?
How do you go from the raw mohair that came in the box to a lovely cloud of ready to spin fiber?
Mohair needs to be combed or carded to separate out the fibers and remove any contaminants before spinning. Normally, mohair is washed before processing it into a more spinnable form but it can be used raw.
7 Tips To Easily Spin Mohair Into Yarn gives you a list of things that you can do to make spinning with mohair easy for the beginner.
Washed vs unwashed mohair
Most folks would wash mohair before spinning it.
I’m figuring you are starting with a few ounces of unwashed fleece, since that was the easiest mohair for me to find when I was looking around for mine!
Mohair is easy to wash, the whole process will take you about an hour, it’s mostly hands off time and then you just let it dry overnight.
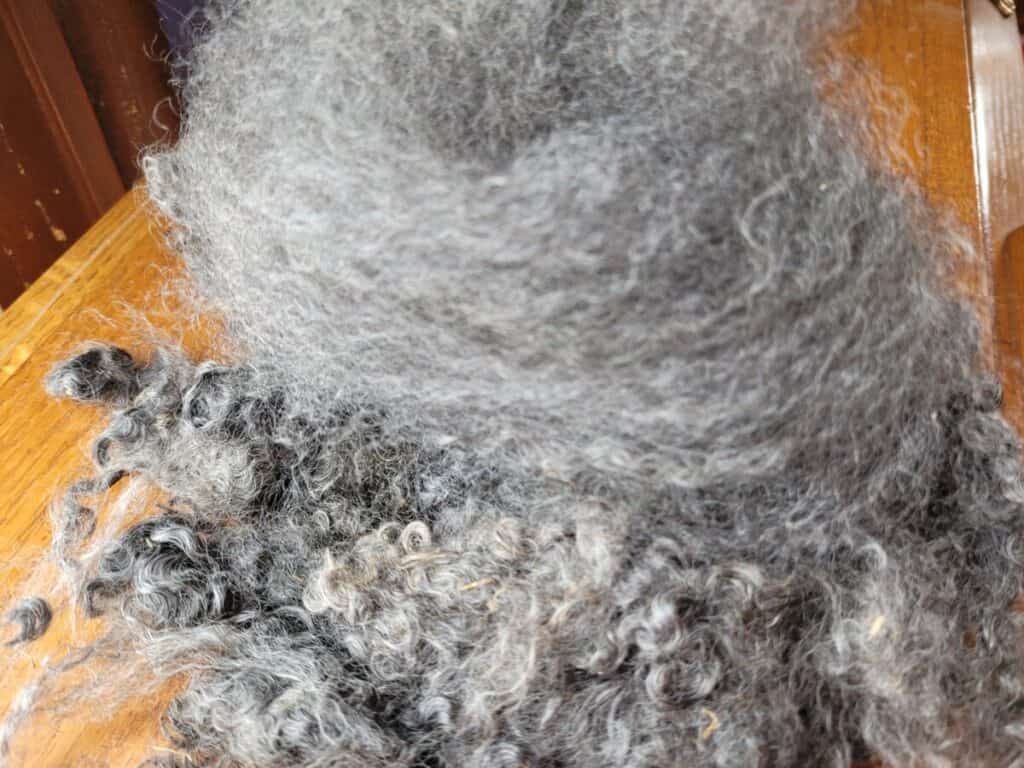
You can use raw (unwashed) mohair
I did some experiments with combing out unwashed mohair and it combed well, but it did leave most of the dirt in the mohair.
The nice part of working with the unwashed mohair was that it did not build up so much static, the not so good news is that I feel it is noticeably dirtier.
The unwashed mohair yarn was thinner after I washed it than I thought it was before it hit the wash, but, other than that, using unwashed mohair was fine.
However, given the choice, I prefer using washed mohair and adding the combing milk.
If you have roving, no prep is needed
If you purchased mohair roving or combed top, you are good to go, it’s going to be washed already.
All you might consider doing is splitting the roving to make drafting easier on you.
This post contains affiliate links, which means I receive commissions if you choose to purchase through links I provide (at no extra cost to you).
Mohair is generally combed
Mohair is normally combed to get it ready for spinning, mainly due to the longer length of the fibers.
Combing mohair is fairly straightforward, lash on to the combs and work from the tips of the mohair lock slowly towards the tines on the stationary comb.
I had to do multiple passes, about 3 or 4, to get a nicely separated out cloud of mohair on my combs. Then I just pulled it off into roving (top) with my hands.
For me, since the mohair fibers are slick, my roving will fall apart in smaller sections rather then coming off in one piece, but I’m working that out!
This wool comb set looks the most beginner friendly to me, and, as a bonus, they come with a holder. I purchased a different set, which are fine, but if I had it to do over again, I’d get these instead.
Combing mohair makes static
The process of combing through the mohair fibers is what makes the static.
To get the fibers well separated, you have to do multiple passes with the combs which means adding to the static problem to get the results you want with the mohair.
You may need combing milk
The easy answer to dealing with static while combing is to use a static controlling spray called combing milk.
Combing milk can be a lightly misted spray of water, water and fabric softener or water and hair conditioner. The important part is lightly misted, not wet!
Another option is to put just a touch of oil on the mohair before you start combing. Anything that you are willing to have on your hands and fiber will work.
I’d go with some olive oil or some coconut oil that you have warmed up a bit in your hands, to make it liquid again.
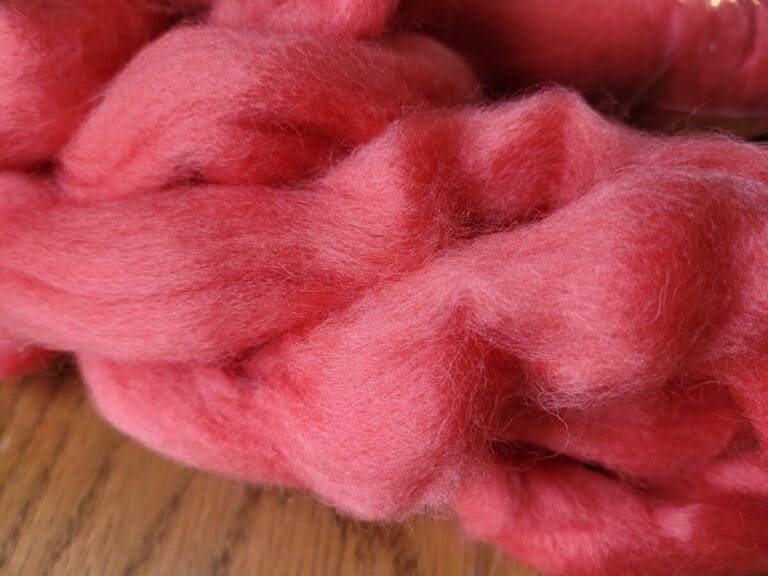
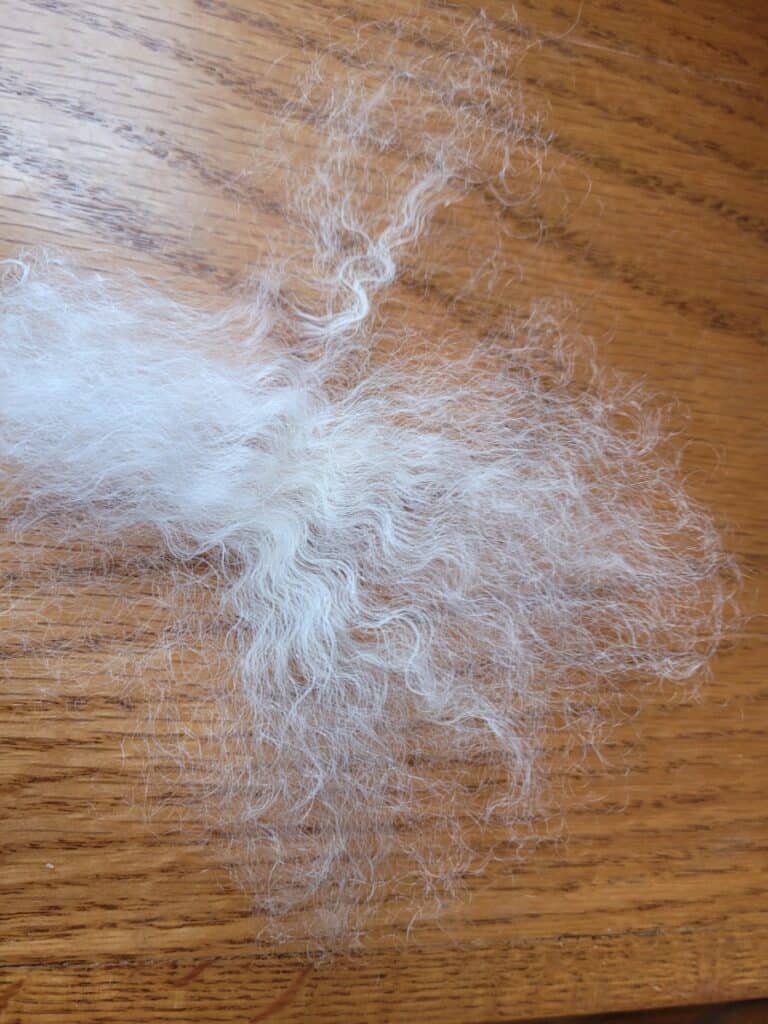
I used olive oil on the mohair below, it worked well but is all to easy to get too much oil, go very light with the oil!
How to comb mohair
Mohair is pretty easy to comb, you will be lashing on the locks of mohair just like you would lash on wool, with the cut end barely on the tines of the stationary comb.
Put on a few locks, just enough to fill the comb, then pull them up on the tines so they are sitting more in the middle of the comb (further away from the table or counter).
Move your working comb in a swoop that barely catches the edges of the mohair. You will be making a lot of swoops, so take your time here and barely creep up the fiber.
If you get the whole lock coming off of the stationary comb at one time, you bit in too far on your swoop. Take smaller sections.
Anytime when you are combing, if you feel the mohair is building up too much static, just give it a quick mist with your combing milk and carry on with the combing.
Swoop the working comb until no more fiber comes off the stationary comb, now go a different direction with the swoop, not towards any part of you!

Once you get all the mohair off of the stationary comb that you can, all the short fibers left are waste. Put them aside for another project or just put them outside for the birds.
Now it’s time to switch combs and go for another pass of combing.
Keep combing until you feel the mohair is well separated out. This will be around 3 passes, but it’s more important to suit yourself than take exactly three!
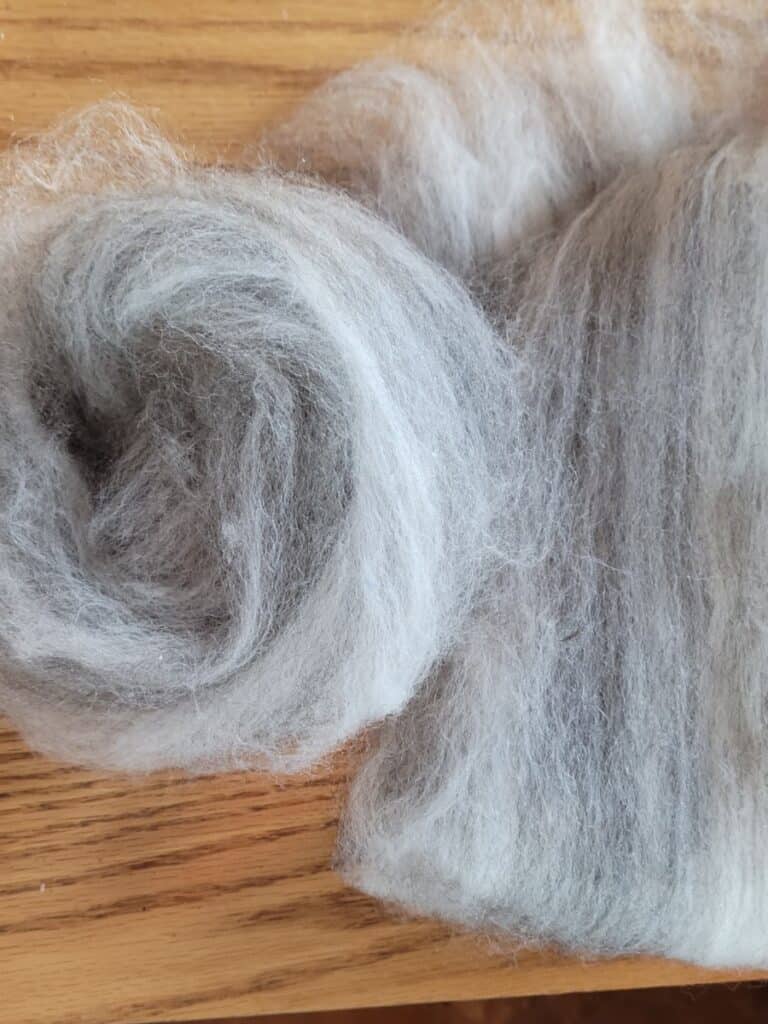
When you are satisfied with the combing you have done, you need to pull the combed top off of the combs. You can do this with your hands or through a diz.
I just used my hands, by pinching a little bit of the fiber at a time and pulling. As I pull I travel sideways across the comb to pick up all the mohair.
There will be some fiber left on the comb and it’s the same as before, save it for another project or put it out for nest material for your local birds.

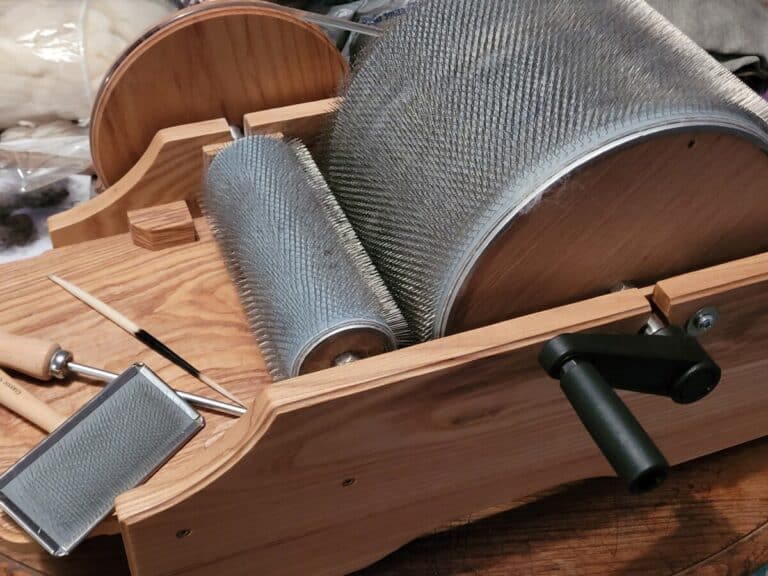
You can card mohair
Interestingly enough, my preferred method, so far, is to use the handcards for preparing mohair.
The hand cards that I use are Clemes & Clemes Curved Back Wool Cards. I’ve had them for almost 20 years and use them for all of my hand carding.
I find that I can do a better job getting the fibers separated out and can easily add in other fibers, like some wool, to make a bit of a different resulting yarn.
It also seems that the static is less pronounced when carding. It could easily be that there is less total mohair on the cards at a time so there is also less static!
Either way the real gem to be found in carding is the ease of adding in additional fibers to the mohair.
It could easily be that I am just more capable with the handcarders, so that’s why they work better for me now and as I get better with the combs, they will take over as my favorite mohair preparation tool, but for now, it’s the cards!
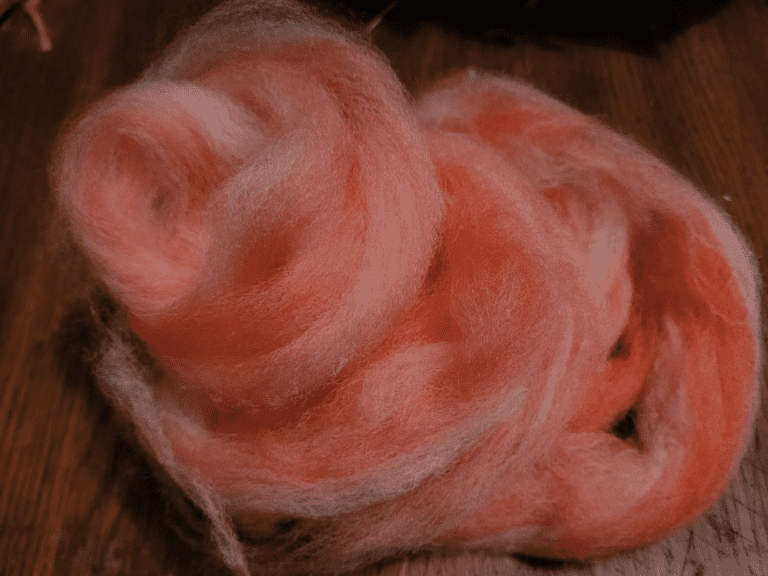
When the mohair is fully carded, you can diz it off the card into roving or pull the whole thing off in one piece, called a batt.
You can work from the batt whole or in sections, it works better for me to use sections, so I rip the batt into 3-4 sections and spin from these.
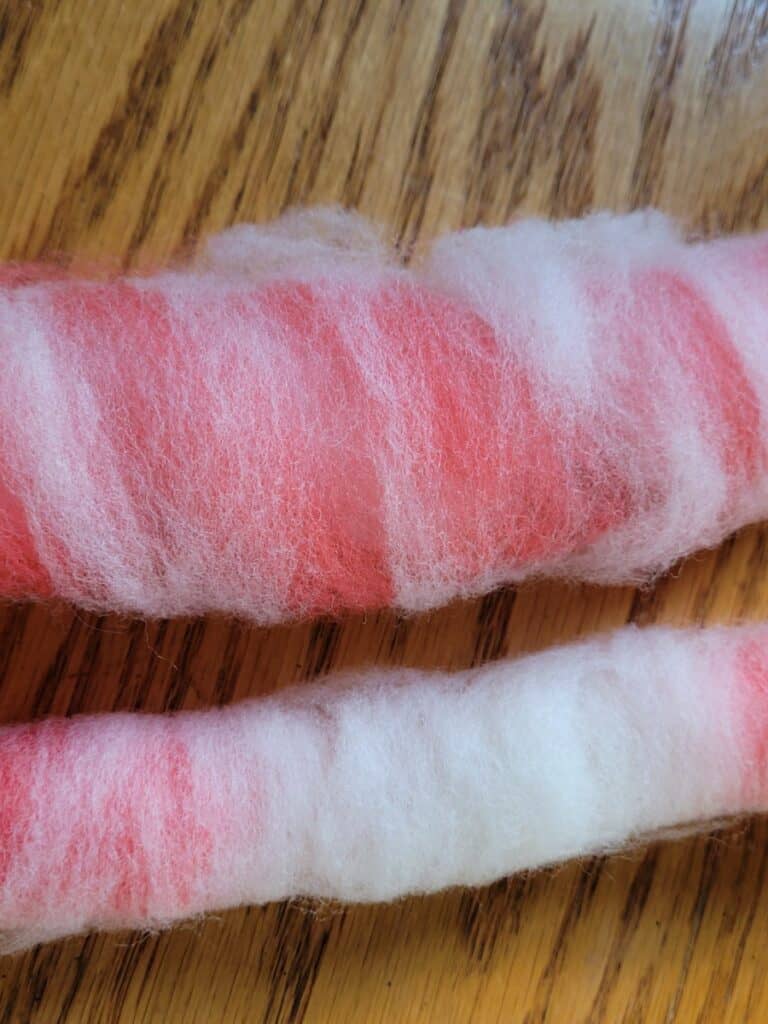
You can flick card rather than comb mohair
I also tried out flick carding the washed mohair, worked great! It was fairly easy to get the fibers to separate out with the flick carder.
The pros of flick carding are that it is easy, you could definitely flick card your mohair while watching a video or chatting with a friend, and a flick carder is cheap to buy.
The down side of flick carding is that you are working with small amounts at a time, so flick carding enough to make a good start on your spinning fiber will take a while!
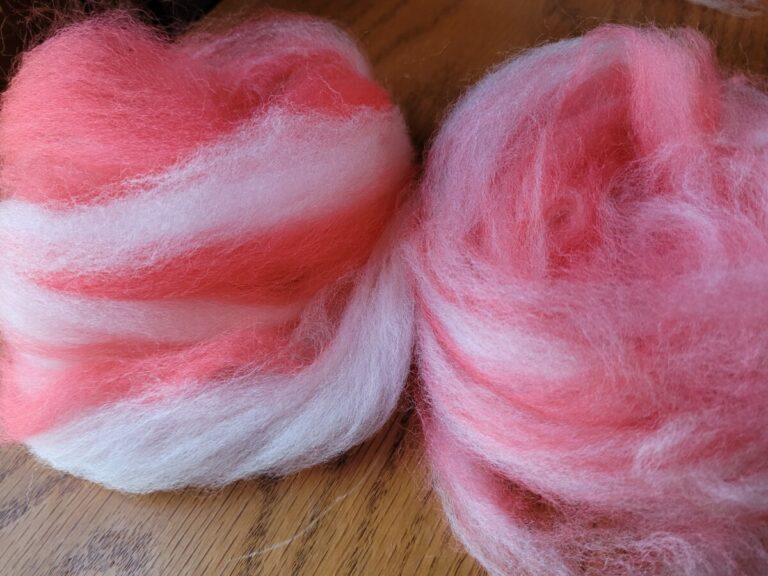
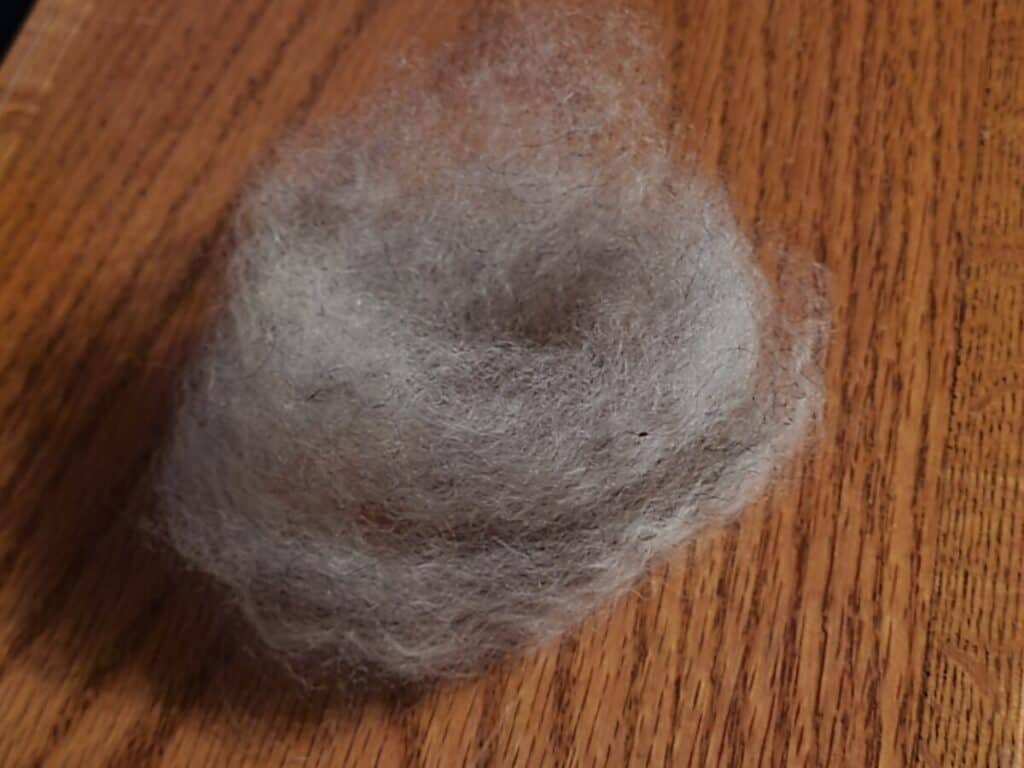
I noticed the flick carded mohair did not have quite the poof of the carded mohair, even though both of these yarns are chain plyed and 100% mohair, the same mohair, actually!
MohairUSA.com has some interesting articles on mohair and this simple yet informative chart with the fleece grades and weights for mohair in the U.S.
While this site is more focused on the mohair industry, overall, this chart will help you when picking out your specific mohair fleece or roving for handspinning.