How To Use A Drum Carder
Get ready to love carding your fiber!
I truly enjoy using my drum carder and, once you learn a few simple tips for using your drum carder and removing that beautiful fiber batt, so will you!
To use a drum carder: turn the handle clockwise as you place small amounts of fiber on the feed tray at a time. Continue adding fiber until batt is full, then doff batt using the doffing tool to split the batt at the doffing strip. Peel off the batt.
We’ll go over everything you need to know about using your drum carder, from fiber preparation to removing the batt.
Is A Drum Carder Worth It? goes over the benefits and costs of buying and using a drum carder.
New to spinning and want some help? Try my Beginning Spinner Course, it has simple, step by step instructions and is designed to take you from beginner to confident spinner!
This post contains affiliate links, which means I receive commissions if you choose to purchase through links I provide (at no extra cost to you).
Prepare fiber before drum carding
The first thing you need to do is to prepare your fiber for drum carding.
If you are using commercially prepared fiber, like combed top, you are good to go already!
I buy my bulk spinning fiber from The Woolery, they have a great selection, fast shipping and good prices. Give them a try if you are looking to add to your stash!
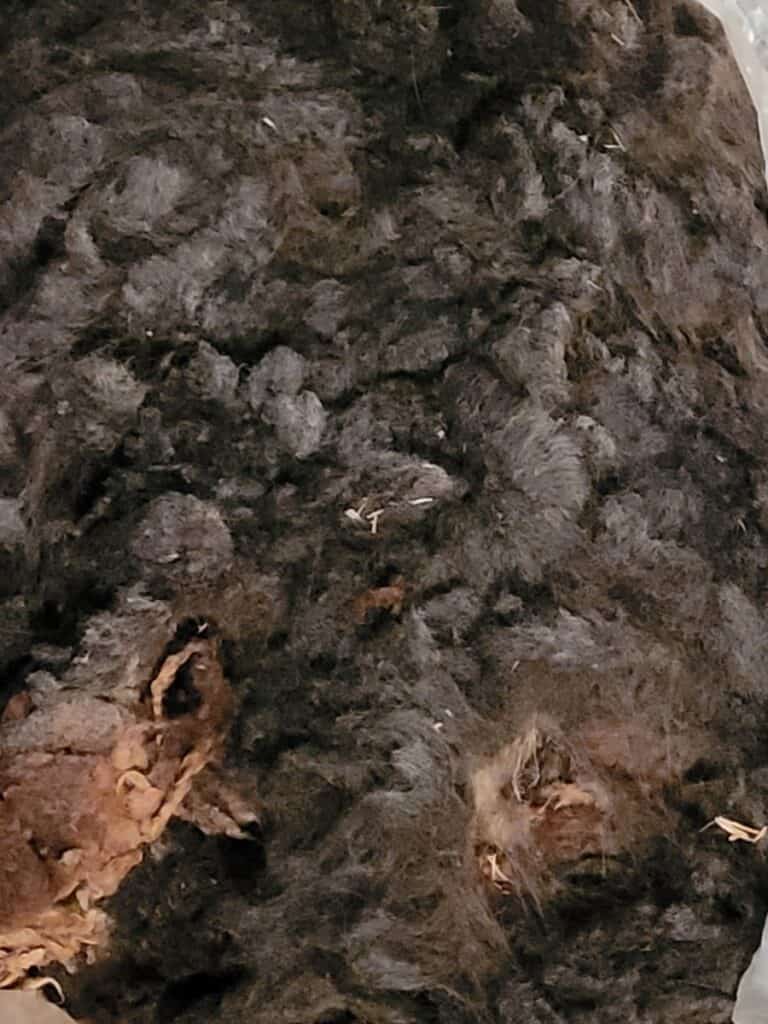
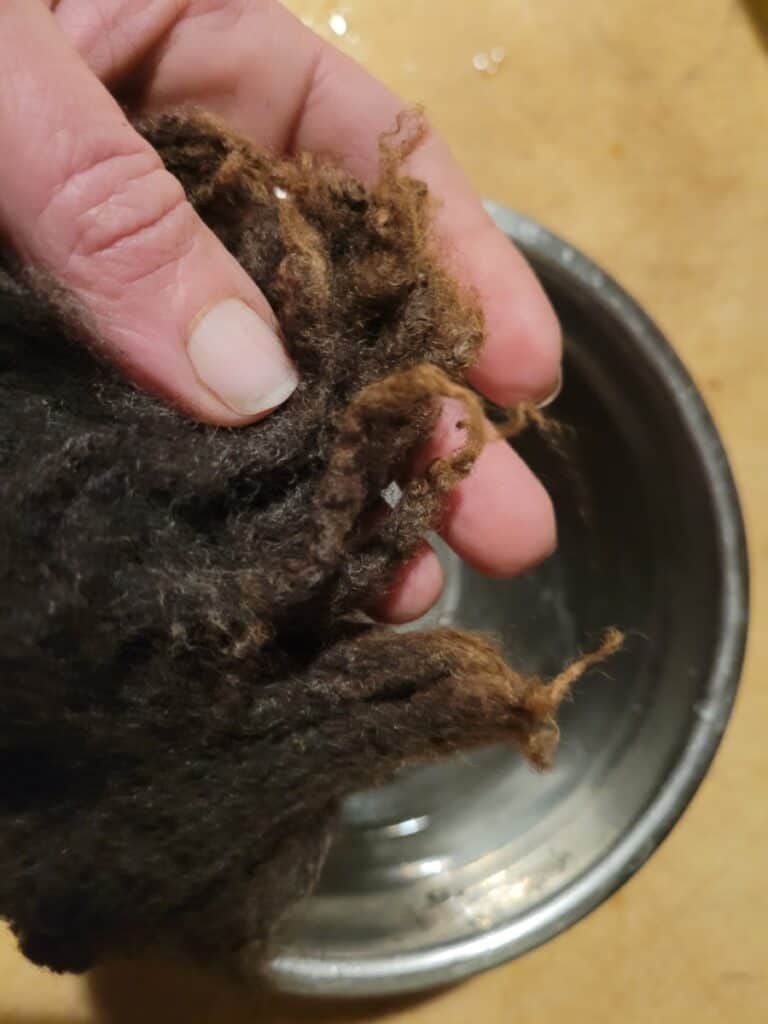
If you are using fleece, open up the locks a bit with your hands so they will feed into the carder in a thin layer, rather than lumps that will be hard on your carder.
If your fiber has any debris, like VM (vegetable matter) in it, now is the time to get it out.
If you leave these little bits in the fiber, you’ll come across them later as you spin. Granted, some bits will drop out while carding, but not all.
If you see anything in the fiber that you do not want in your yarn, pick it out.
You’ll be picking out bits that end up on the drum, as well, so it doesn’t have to be perfect, but the more debris you get out now, the less you need to remove later.
How To Choose The Best Drum Carder For You gives you some direction for finding the drum carder that is ideal for you and your fiber needs.
Carding unscoured fleece
You can card fleece that is not scoured, a scoured fleece has been washed with a detergent that removes the lanolin.
Normally, you would soak this fleece overnight in a lukewarm water, called a suint soak, which will remove a lot of the dirt but leave the lanolin intact.
After the soaked fleece is dry, it can be carded and spun in the grease, since the lanolin is still in the wool.
Of course, you can also card a scoured fleece! That would be what most folks are doing with their drum carders.
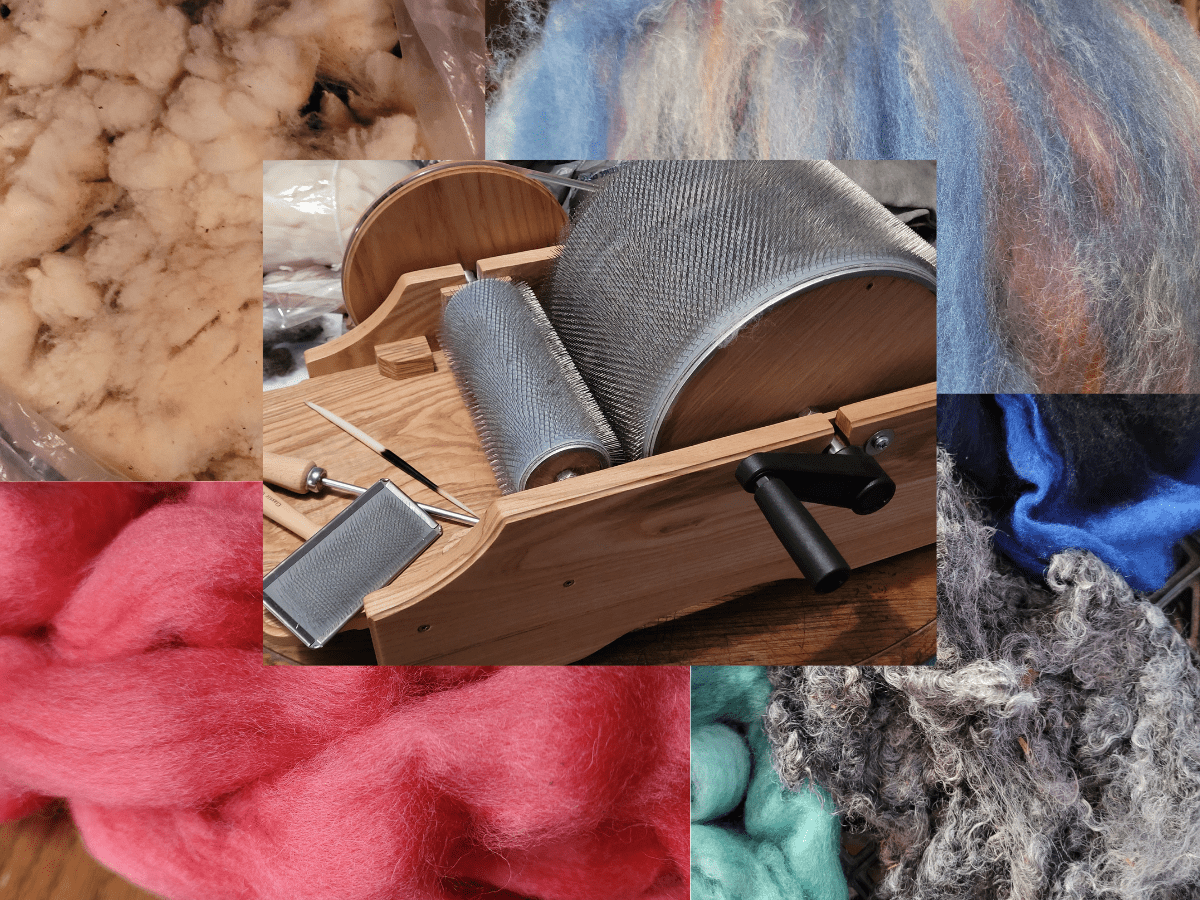
Set up drum carder
To set up your drum carder, you’ll need to have a clear space on a table or counter top to place it and that’s it. It come already set up, drum wise, for you.
Most drum carders will need to be used at the straight edge of a table or counter, so the handle can easily be turned.
Some drum carders are made to sit higher, so it can be used in the middle of a table, but many require an edge for handle clearance.
My drum carder sits higher, so it can be used in the middle of a table, which is one of the “nice to have” things I was looking for in a carder.
If you don’t have a drum carder yet, consider the Ashford Drum Carder. It’s adjustable for both carding ratios and drum clearance.
Keep sides of drum carder clear
Keep the sides of your drum carder clear. As you card, the belt will turn which will grab anything sitting too close to it.
When I was researching before getting my drum carder no one mentioned this, but I “discovered” this for myself!
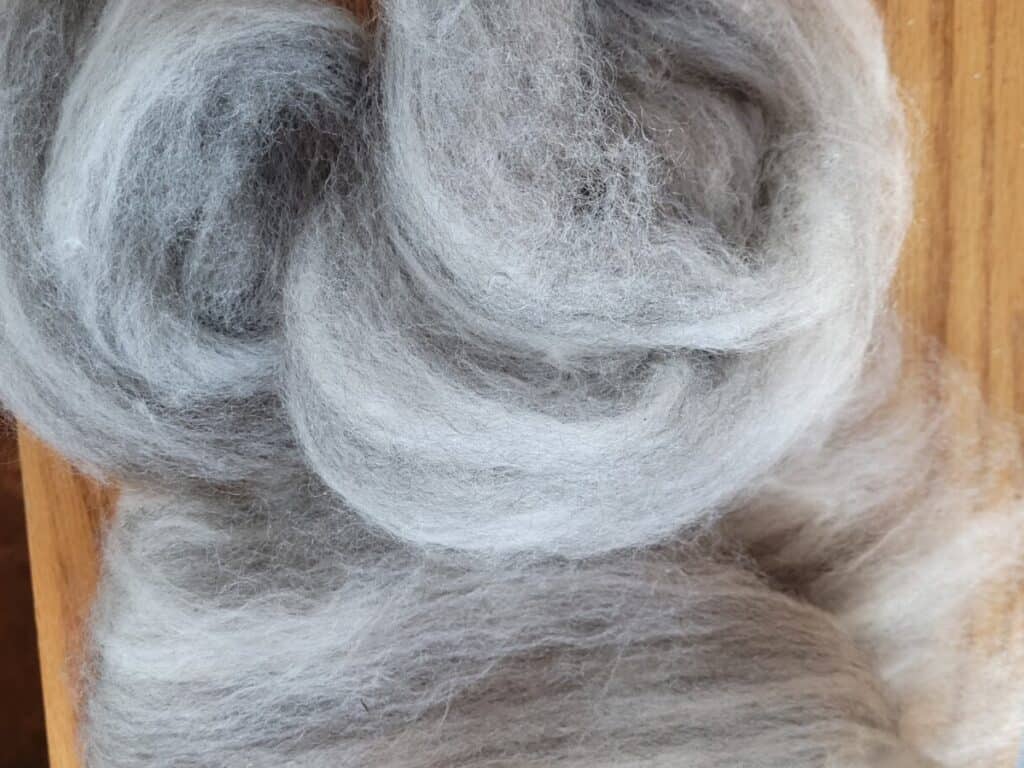
I had made a bit of a naturally colored roving that I wanted to blend with some mohair. I put it within easy reach, but now was wondering where I put it.
I thought it was right there beside the drum carder. It was, wound up into a wad since it had caught on the belt and was a twisted up mess!
Give yourself some clear space on the belt side of the drum carder, too!
Start carding
Now, it’s time to start carding!
Fiber should be in thin layers
The fiber you put onto the feed tray of your drum carder needs to be in a thin layer.
Your drum carder can make a good sized batt, but it makes the batt in thin layers, not big chunks at a time.
The easy way to tell if you are putting your fiber on the feed tray thinly enough is to see if you can see the wood grain through the fibers.
If you can see the grain of the wood on the feed tray, the fiber layer is thin enough.
If you can’t see the wood grain, you may be putting in too much for your drum carder to take at one time.
The common saying is that you should be able to read a newspaper through the wool you have on the feed tray.
Feed fiber in slowly
Feed the wool into the licker in (the small drum) slowly. Let the licker in take the fiber at it’s own rate.
Do not push the wool in faster or hold it back. If you need to change how fast or slow the fiber goes onto the drum, change the speed that you turn the handle.
New to spinning and want some help? Try my Beginning Spinner Course, it has simple, step by step instructions and is designed to take you from beginner to confident spinner!
Keep fiber away from drum edge
As you are carding, remember to keep the fiber away from the edge of the drum.
What can happen if you fill the drum right up to the edge is that some of the fiber can go over the edge and end up tangled around the shaft.
Not only will this make your drum carder progressively harder to turn, it will be terrible to clean out of there!
Keeping a bit of a margin on the drum edge is a habit that is likely to save you tons of work later!
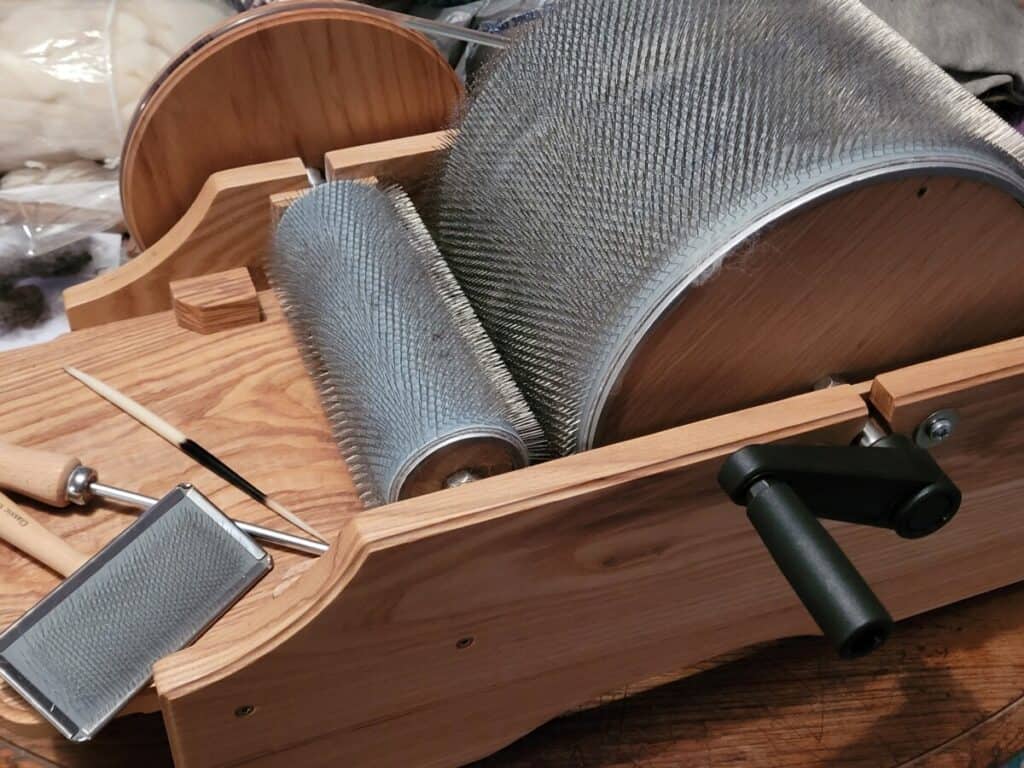
Use packer brush for more room on drum
As you are carding, you’ll be building up layers of fiber on the tines of the carding cloth.
Eventually, it will seem like some of the fibers are sticking out of the drum, rather than being well held on the drum.
This means that your carding cloth does not have anymore space on the teeth for more wool. It’s not exactly full, just out of room, unless you pack down the fibers.
To pack the fibers, you can use a packing brush or a hand held brush.
The packing brush is a long thin brush that sits on the drum and pushes the wool down the teeth as you turn the drum.
The hand held brush looks like a dog brush, the kind with metal teeth, that you hold on the swift as you turn and that moves the wool down to give you a bit more room on the drum.
Hold the brush with the handle up, so that you are turning the drum in the direction that the teeth on the brush are pointing.
This will keep the wool on the drum and push it down. Move the brush slightly as you turn the drum so that you pack the entire surface of the drum.
If you hold the brush right side up, like you would to brush your dog, you’ll end up taking fiber off of the drum rather than packing it down.
Add fine fibers to swift
If you plan to add fine fibers to your batt, consider adding them directly to the swift, rather than putting them through the licker in. This is called painting on.
Fine fibers, like angelina or angora, tend to stick to the licker in drum rather than being carded up onto the swift.
Painting them onto the swift puts the fiber right where you want it and you don’t have to clean it off the licker in.
Card uncarded fibers separately
Consider carding any uncarded fibers separately before putting them into a blended batt.
What I mean is that if you are working with fleece, go ahead and card that first, by itself, then add the carded fleece into the blend you are making.
If you just add the uncarded fleece to your blended batt, it will be harder for the drum carder to get the mix well blended.
This is, of course, only if you want the batt well blended. Maybe you want a bit of a variety in your batt, if so, see what shakes out and card in any order you please!
Removing the carded batt
Now that your fiber is carded, you’ll need to remove it from the drum. Find the doffing strip (metal strip without teeth) on the swift and put that upwards.
You should have a doffing tool that came with your carder. The doffing tool will look like an ice pick or a pointy screwdriver. This is where you’ll use it.
Doffing is taking the batt off the drum
Doffing is simply taking the batt off of the drum. Take your doffing tool and run it down the groove in the doffing strip, under a small section of fiber.
Pull up and the fiber will come apart.
If it is really hard to pull the tool through the fiber, take a smaller section. Longer fibers will be harder to pull through than shorter fibers.
Now, take the loose ends of the batt and start peeling the batt off of the drum backwards.
You should be standing at the back of the drum carder and pulling down and towards yourself.
Picking up left behind fibers
As you pull of the batt, little bits of carded wool will stick to the drum.
Stop pulling the batt and get those fibers picked out of the teeth and added back to the batt with a quill or chop sticks.
As you doff the batt, more fibers will join the ones you are leaving behind if you don’t lift them out of the teeth and encourage them to rejoin the batt.
Do not use your doffing tool for this! It is too big and will bend the teeth on your carding cloth.
Use something small and pointy, that you can use to gently persuade those lagging fibers.
Once the fibers are rejoined to the batt, continue doffing until the entire batt is removed.
If you are going to recard this batt, having a few fibers left on the drum is probably not a big deal.
If you are going to be switching colors, these leftover fibers will show up in your next batt, so keep that in mind when you decide to leave them in place.
Remove batt as roving
Another option is to doff the batt as roving, not as a batt.
To do this, you would start at an edge and pull up a small section of the batt through your diz and roll the drum to work your way around.
You’ll end up spiraling around the drum multiple times, until all of the batt is removed as one long roving.
For me, this is a lot of work for a roving that I will end up pulling apart in pieces anyway, so I just split the batt and work from there rather than making a continuous roving.
Recarding the batt
The final thing you may want to do with your fiber is to recard the batt.
To recard, you’ll need to pull apart the batt, so it is in a thinner layer as it goes on the feed tray.
I like to split the batt in half, stack the halves, then pull off smaller sections of the stack that I pull apart to thin out a bit more before I refeed it into the carder.
You would recard the batt:
- to have more well carded fiber than you have with putting it through the carder once
- to increase the blending, color or texture, of the fibers in the batt
- to add other fiber if you are using an uncarded fleece to start with
Recarding will make the batt more smooth and well carded, which is especially important if you are working with an uncarded fleece as one of your fibers.
The way I incorporate fleece is to put the fleece through the drum carder by itself, since I know it will not be carded well enough for me with one pass.
I do the initial carding of the fleece, then, when it is decently well carded, I make the final batt using the carded fleece, as well.
Of course, if you like a more textured batt, you can do all the carding in one shot.
If you are working with prepared fiber, like combed top, recarding will increase blending throughout the batt, but will not make the fiber more smooth than what you started with.
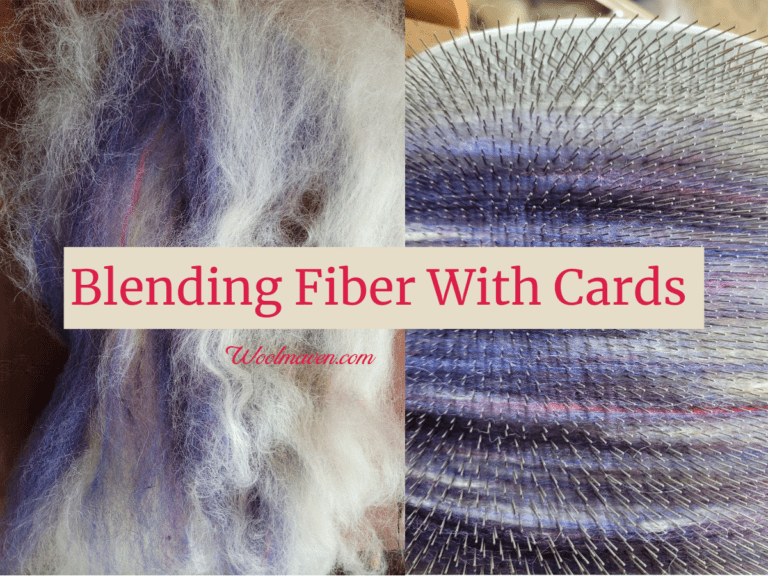
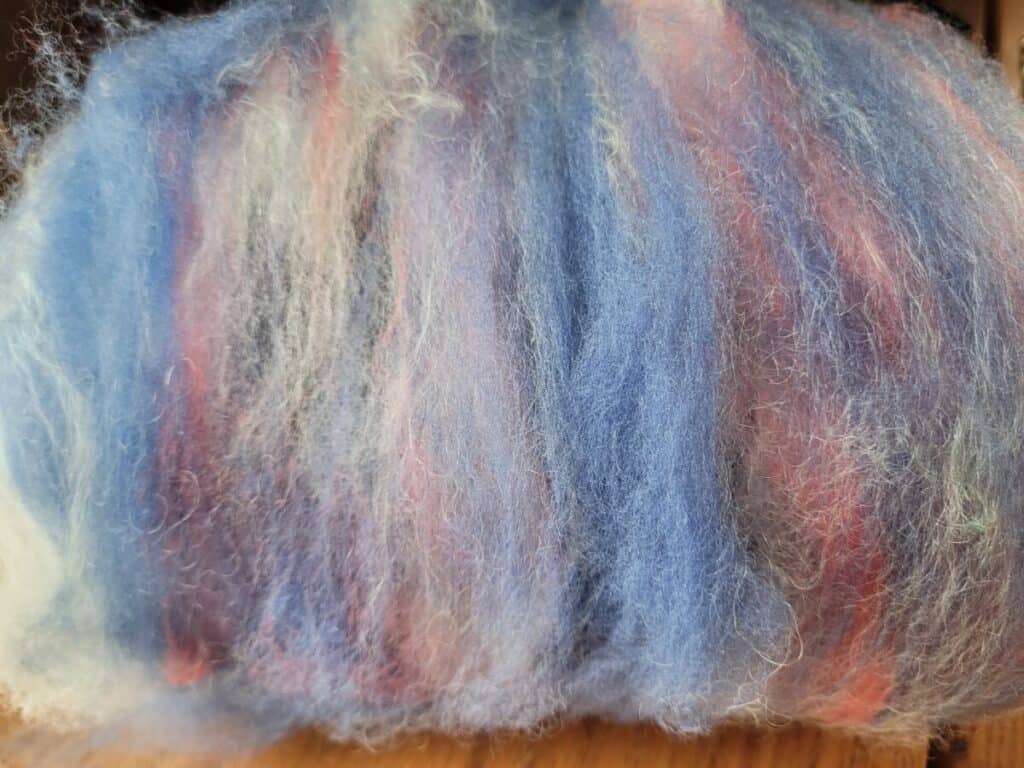
Blending on your drum carder
Blending colors or different fibers are both where your drum carder will really shine!
The reason this is under recarding is that many times, at least for me, when I put different fibers, either different types of fiber or different colors, through the drum carder, I need to run them through again to get the result I was looking for.
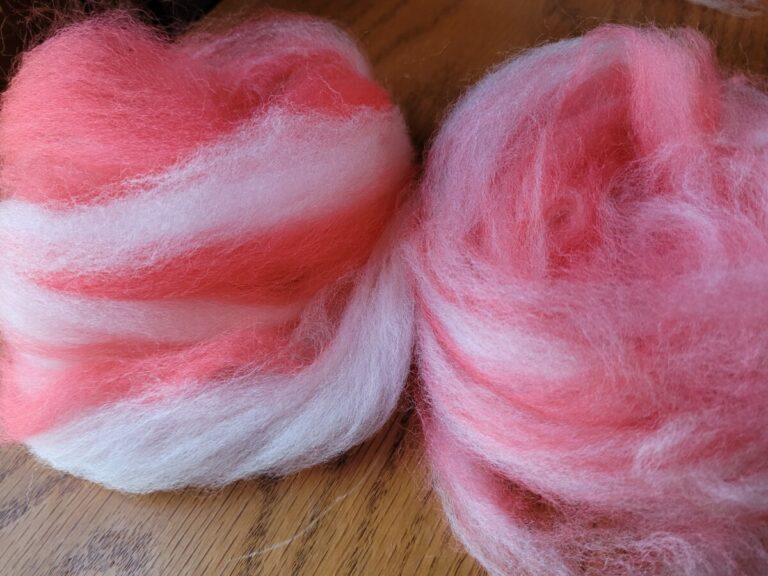
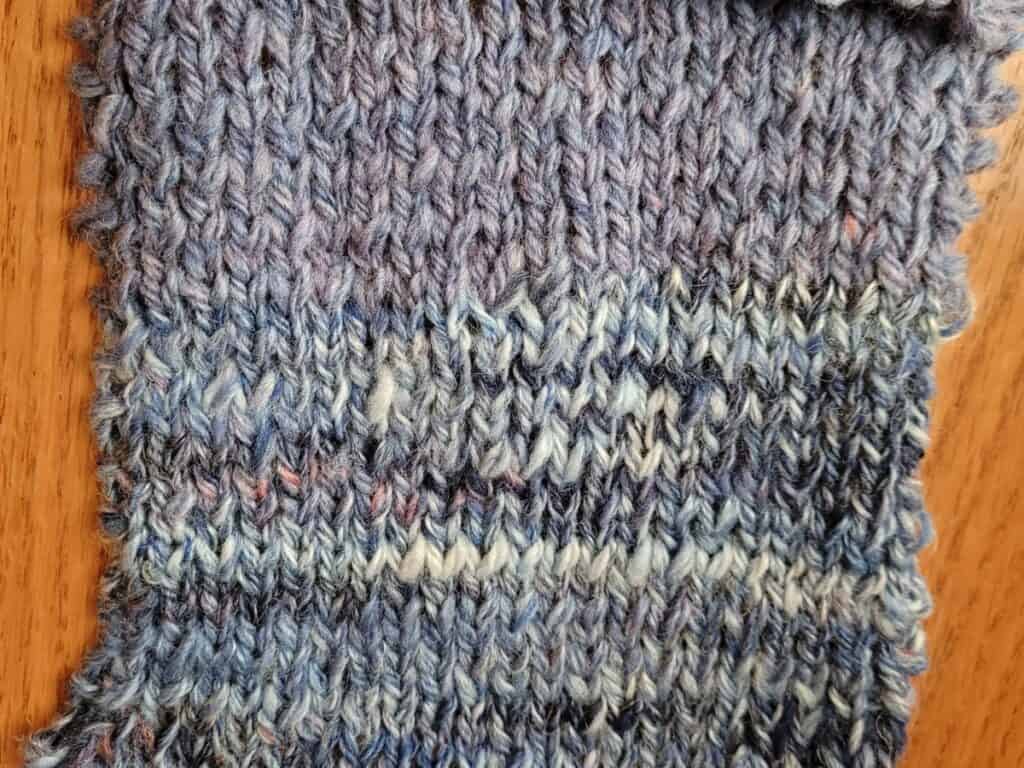
Taking a batt and splitting it, to spin part of it as is and the other part after more carding, will show you the huge difference that more blending can make.
The other aspect of blending on a drum carder that I enjoy is putting together fibers of different lengths, which has been tough for me to do with hand carders.
I also find that fibers that tend to be prone to building up static or being fly away on the hand carders are less so on the drum carder.
If you want to see a batt being recarded, check out Recarding the Batt which has a video along with a short article by Classic Carder.
New to spinning and want some help? Try my Beginning Spinner Course, it has simple, step by step instructions and is designed to take you from beginner to confident spinner!