10 Tips For Using Your Flick Carder
Are you wondering if using a flick carder for your wool is a good idea or not? We’ll go over some tips to help you get the most out of your wool and your flick carder.
Have thigh protection for flick carding
Have some sort of thigh protection before you start flick carding, other wise you’ll end up with carding your pants, or worse yet your leg, as well!
What you are looking for is a piece of thick cloth, a section of leather, thin cardboard or even some card stock to put on your leg to keep those tines working on the wool only.
7 Best Places To Get Handspinning Wool gives you some tips for finding your next project wool!
Strictly speaking, the thigh protection if for your benefit, so if you want to skip it, that’s okay too. It’s your leg, after all!
I tend to just be sure to be wearing a durable pair of pants that I don’t mind getting a bit dirty from any chaff or dirt that falls out of the wool, but do whatever works for you.
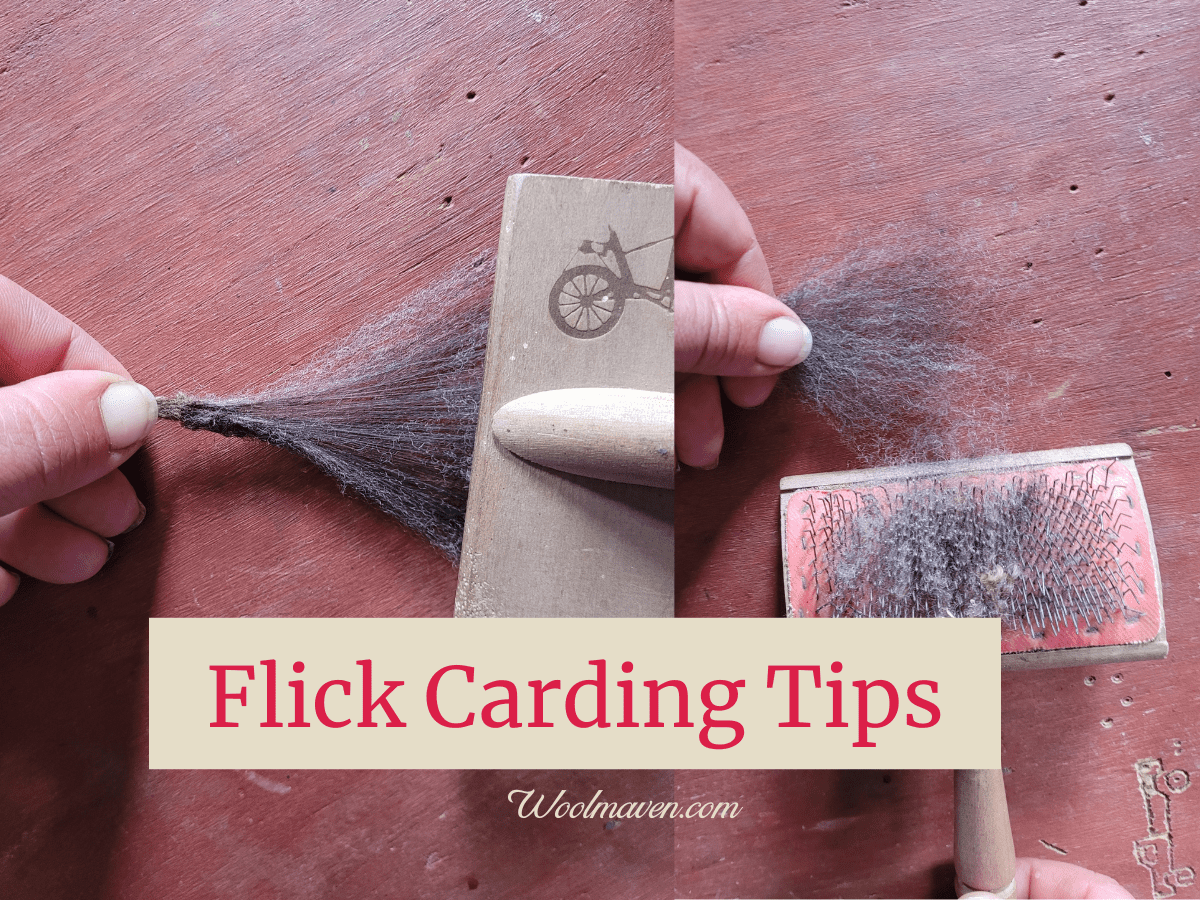
The other option is to flick card on a flat surface like a table, which is how I’m flick carding in the pictures. For just a few locks, the table works well. For more than a few, using my thigh is easier.
Be ready for the dropped dirt and debris
As mentioned above, while you are flick carding the dirt and debris, like hay chaff, will fall out of the wool as you card.
Most of these newly freed bits will end up on your pants or on the floor, so take a few minutes to move your carding to a different spot if you need to.
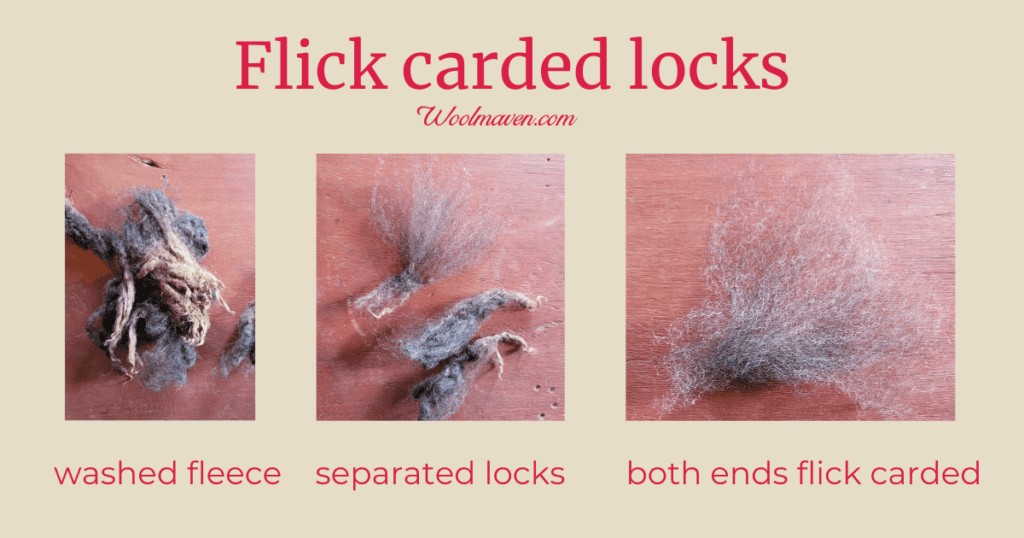
Card small sections of wool at a time
Carding always works best if you use small sections of wool at a time, flick carding is no exception!
If you are working with a blocky fleece, take small sections of wool, maybe as wide as your thumb, and flick card one section at a time. You want to easily card through the wool.
If you are leaving uncarded wool in the middle of the section you flick carded, you are doing too big of a piece at once. Go with a smaller section so that you can flick card through all of it.
If your fleece is in locks, card them one at a time.
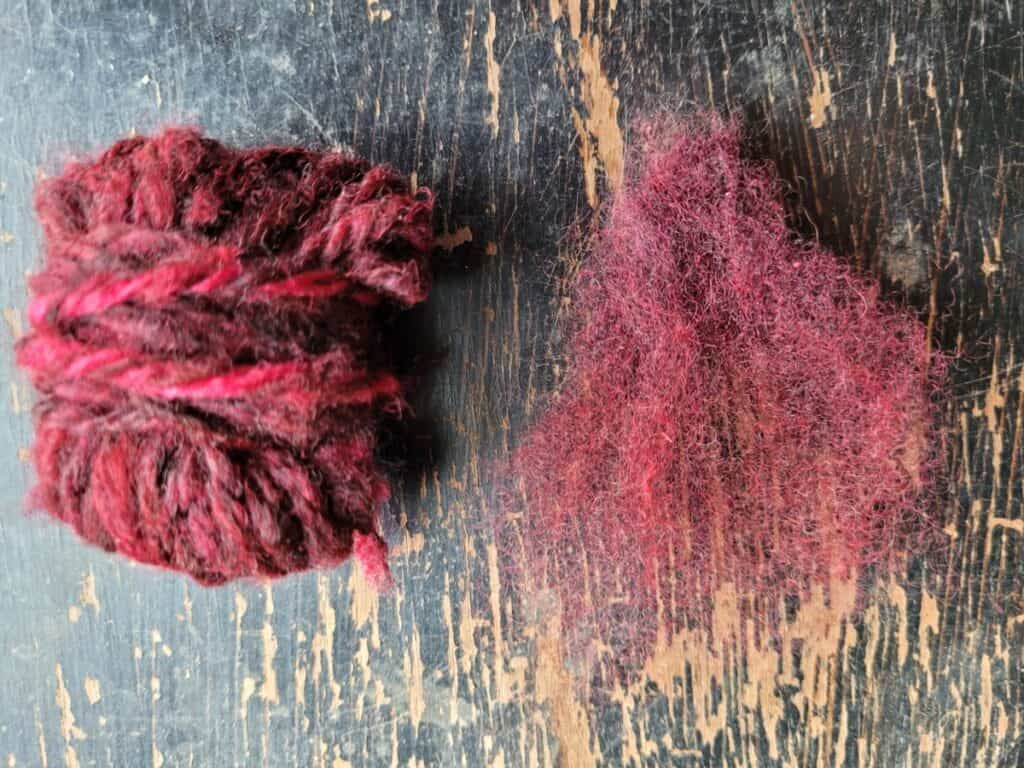
Start carding at the tip
Start your flick carding at the very tip of the wool. Go lightly over the wool a few times rather than trying to dig deep with one pass.
Flick carding will open up the wool into a fan shape. When you card the other side it will open the lock up more fully.
Once the tip side of the wool is carded out into the fan, flip the wool over and do the other end.
You can look at the underside of the wool to make sure that all of the wool is being carded, but this is just for the first few sections to see if you are working with a small enough piece.
If the wool is not carded clear through the lock, then you are working with too much wool at one time and need to separate the wool off into smaller pieces.
Flick carding will only open the lock
Flick carding will only open up the lock, not fully fluff and carefully card it apart like you would get if you used hand carders. Flick carding is a whole different thing!
I like flick carding since it is easy and quick, but it has it’s drawbacks, one of which is limited use depending upon what your fiber preparation needs are.
If you do a bit of flick carding and decide that you need more fiber separation to make the wool spin the way you want it to, you can just card again with hand or drum carders.
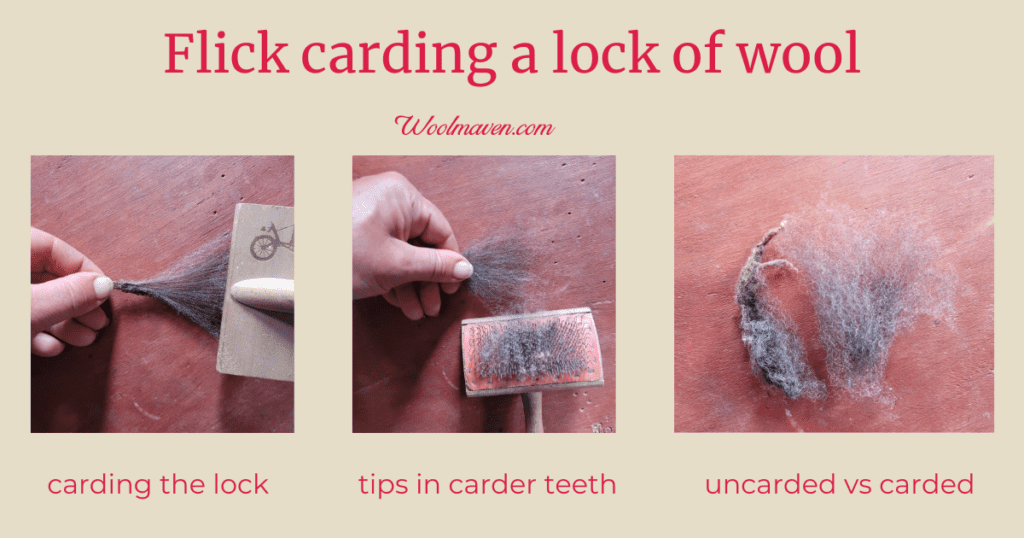
Flick carding is more like combing
Flick carding wool is more like combing, as far as wool preparation results go, than hand or drum carding.
Which Card Do You Use For Your Wool goes over the basics of each method of carding and when you would want to use each.
For true worsted preparation, you need wool combs, but if you don’t have wool combs and want a worsted style fiber preparation, flick carding is going to get you fairly close.
I like flick carding when I am wanting to make a more dense yarn, especially a single, or one that I hope to use in something like a cable where yarn definition, as opposed to fluff, is desired.
Lightly card to keep lock structure
You can lightly card to keep the basic lock structure or just card one end of the lock and see how that works for you.
The way I look at flick carding is to consider it to be very minimal carding that just barely gets the lock fibers separated enough for spinning.
Obviously, this is great for spinning a more dense yarn or a rustic type single, but probably not so great for fine spinning.
I tend to use the flick carder on triangle shaped locks so flicking open the pointy end is really all that is needed if I am trying to make a worsted style yarn.
If I want to get more into the fluffier yarns, so I’d need more fiber separation, I could put the flick carded lock on the hand carders or the drum carder, either of which would further open up the fibers.
You can flick card washed or raw wool
You can flick card either washed or raw (unwashed) wool.
Of course, if you use the flick carder with raw wool it will get some of the lanolin on the carding cloth, but it will also get lanolin on the teeth, which is good for them!
If you are trying to flick card unwashed wool and it is not working out because of dirt or slight matting or felted ends, consider using a suint soak.
How To Wash Wool In A Suint Soak gives you the full scoop on this method of washing wool without detergent.
A suint soak is just an overnight soak in lukewarm water that will loosen up dirt and help with the tippy ends. It will not get rid of the lanolin, for that you’ll need a full wash.
If flick carding is not working because of the amount of lanolin in the wool, consider washing the wool then carding it again.
You can remove all of the lanolin or lightly wash the wool and leave some of the lanolin intact.
I like to leave a bit of lanolin (unless I am dyeing the wool), since I feel that fully scoured wool tends to be harsh and almost crispy, but this is something you can experiment with for yourself.
Like a lot of other aspects of woolcraft, pleasing yourself matters most.
This post contains affiliate links, which means I receive commissions if you choose to purchase through links I provide (at no extra cost to you).
Pre carding with flick carder
Another good to know about option for your flick carder is to pre card wool before you put it on the drum carder.
This is the way I work with my naturally colored ewe’s fleece. I love the color and enjoy using the fleece, but only after I deal with the bleached and slightly felted ends.
Suint soaking then flick carding this fleece makes a huge difference in how well I can card it on the drum carder.
If I don’t use the flick carder to remove the gnarly ends, those ends stay in the batt and make spinning with it kind of a pain.
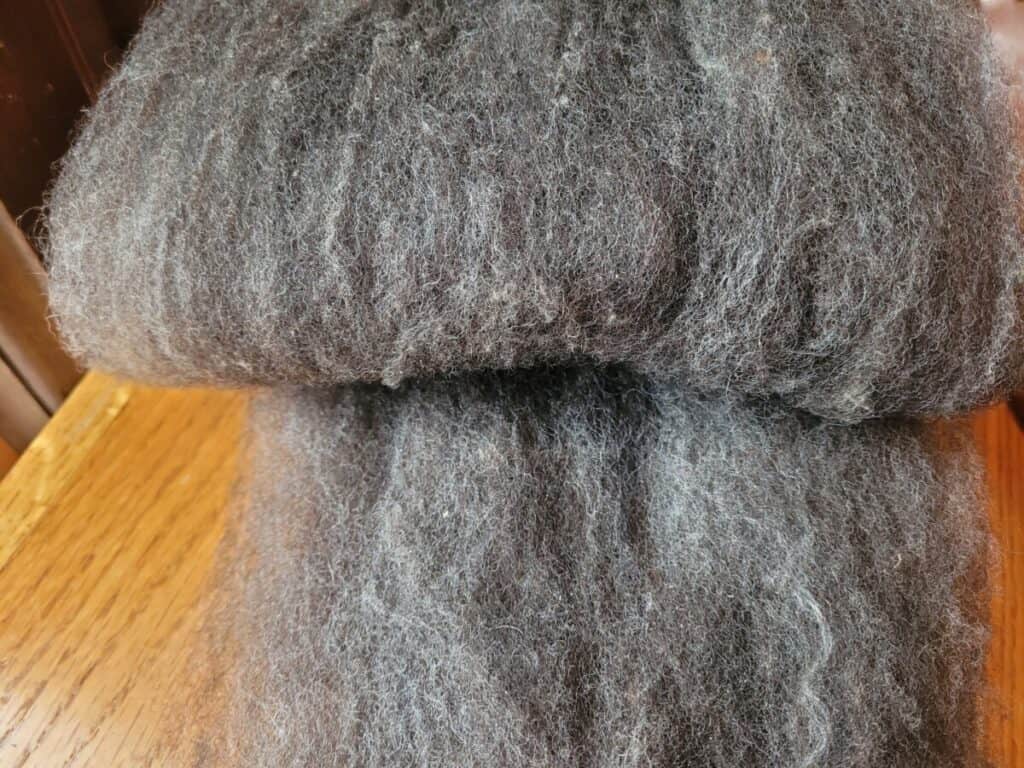
After flick carding the locks then putting them through the drum carder, it spins beautifully.
If you do much carding at all, consider purchasing the Ashford Drum Carder. Drum carders are truly wonderful tools, I love mine!
Flick carding is not ideal for all wool
Flick carding is not for all wool or all of your spinning projects.
There are some situations where flick carding is not going to work well or will not do a sufficient job carding to give you the results you need.
Here are some examples of when a flick carder is not the best option to use:
- you want to spin a fluffy yarn, this is not the ideal preparation for spinning airy yarn
- you are working with a high grease wool, the flick carder will not go through the lanolin
- you have a very short staple length wool, this will be tough to hold while carding
- you need maximum fiber separation, use hand carders instead
For another perspective on flick carding, read Flick Carding by Carol Huebscher Rhoades on SpinOff magazine.

