Easy Ways To Dye Wool For Handspinning
Ready to dye some wool at home? Nothing gets you more color to work with and optionality in your spinning than dyeing wool the colors that you want!
Dyeing wool for handspinning is fun and fairly easy, once you understand a few basics on how the dyeing process works.
The key points to dyeing wool are:
- a mordant is added to the water bath to help the dye attach to the fiber
- the dye will strike (color the fiber) until either the mordant or the dye is gone
- heat is required to set the dye in the fiber
When you get these three key points right, you’ll have fiber that is well saturated with color and keeps that color when you make and use your project.
Helpful tips to use when dyeing:
- soak the fiber in the mordant for 30 minutes before dyeing
- while dyeing add more mordant if some of the dye remains in the water
- dye colors will mix if they touch, leave open space if you do not want mixing
- rinse well after setting to prevent excess dye coming off in later projects
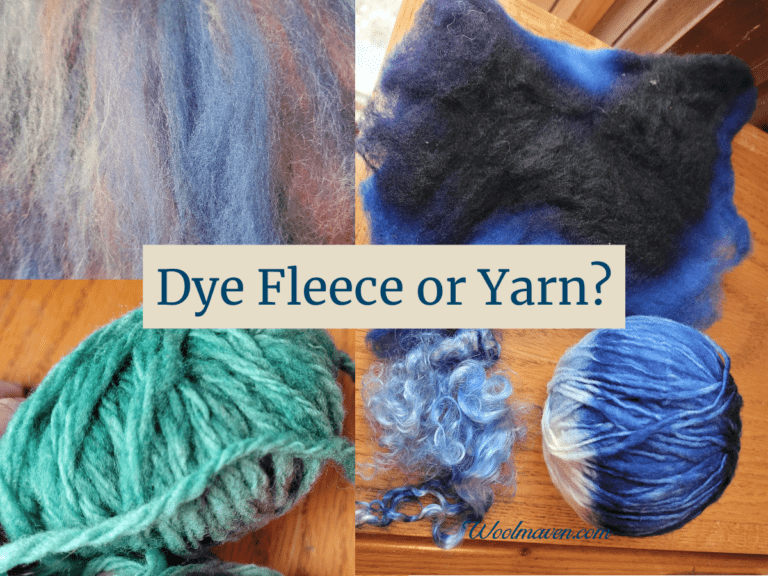
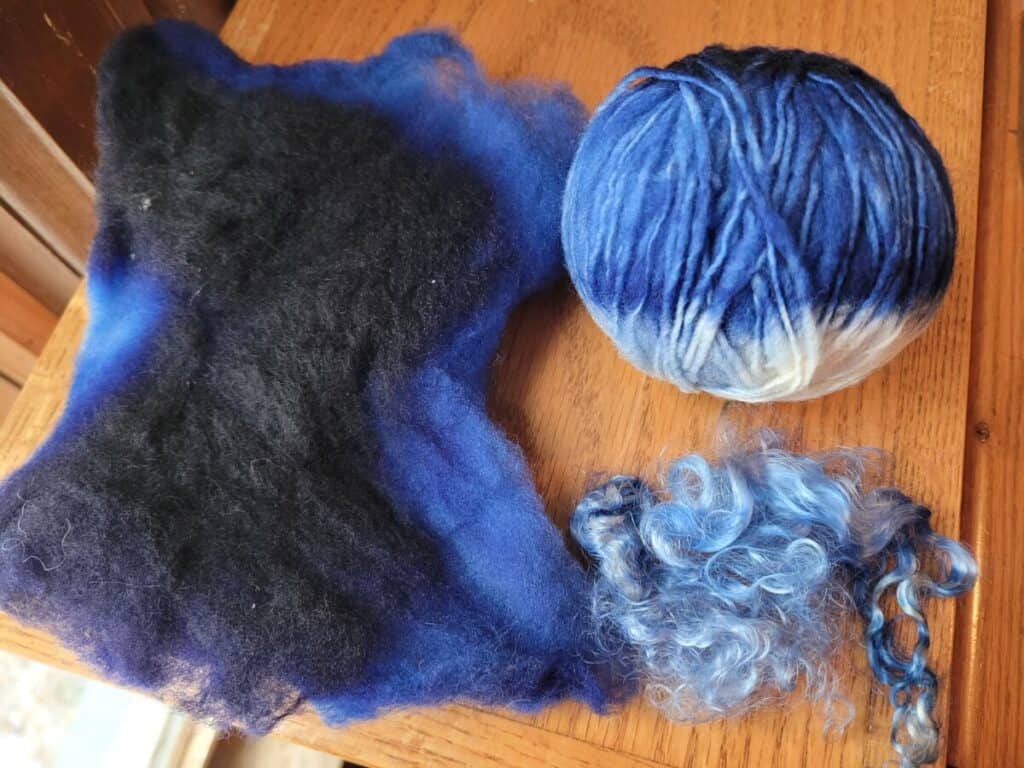
This article will focus on dyeing unspun fiber, like washed fleece or roving, rather than yarn, but the dyeing process works the same way for all.
Do You Dye Wool As Fleece Or Yarn? is a more in depth article on choosing the best time to dye your fiber if your main interest is more with dyeing yarn.
This post contains affiliate links, which means I receive commissions if you choose to purchase through links I provide (at no extra cost to you).
Immersion dye and direct heat
The most common way to dye wool for your handspinning projects is to immersion dye, meaning have the wool swimming in a dyed water bath.
Immersion dyeing works by putting the wool with a mordant (to make the dye hold) into dyed water and adding heat to set the color.
A dye kit gives you a number of color choices and comes with instructions, it’s a simple and fun way to get started with dyeing protein fibers.
To immersion dye you’ll need:
- wool to be dyed
- dye (powder or liquid)
- small dye containers
- dye measuring spoons
- stirring stick per color
- mordant (vinegar or citric acid)
- dye pot (for dyeing only)
- heat (like a stove top)
- safety glasses, mask, gloves
A few things to know before you get started:
Plan on using your equipment for dyeing only, do not put dye in or on anything that you will be using for food.
Mix the dyes according to the package instructions. If something I wrote is different from the dye package instructions, use the dye package directions.
Notice how the water level is sufficient to immerse the wool but that’s it. Sufficient, but not excessive, water in the dye bath helps keep the colors in place. If I was just using one color, extra water isn’t a big deal.
When Should You Dye Wool? (fleece to finished project) goes into the range of options you have for dyeing your fiber!
Steps to dye wool at home
Here are the seven steps to dyeing wool at home:
- pre soak wool in mordant water
- mix dyes
- put clean water with additional mordant added in dye pot
- put wool in dye pot
- add dyes
- heat to set dye
- rinse wool
Soak wool in vinegar water
Take the wool you plan to dye and soak it in vinegar water for at least 30 minutes. This will get the wool ready to take up the dye, which needs the acid to work.
Wools with shine or other lustrous fibers, like mohair, need to soak longer to fully saturate the fiber.
Mix powdered dyes
Mix up the powdered dye according to package directions. This is where you’ll need those small containers, stirring sticks and the measuring spoons.
If you are using liquid dye, it’s ready to go. Just be sure to give the container a good shake before you open it, so you’ll get all the pigment you need.
Heat dye pot
You’ll want to gently heat the dye pot just to get it warm, not hot.
Make sure you have plenty of room for the dye to reach all of the wool. If you crowd the wool, you are reducing the likelihood of all the wool being well dyed.
You will add more of your mordant to the dye pot. Your dye will list out what to use and how much.
Dye all one color
If you plan to dye the wool all in one color, then put the dyed water into the dye pot first, then add the wool.
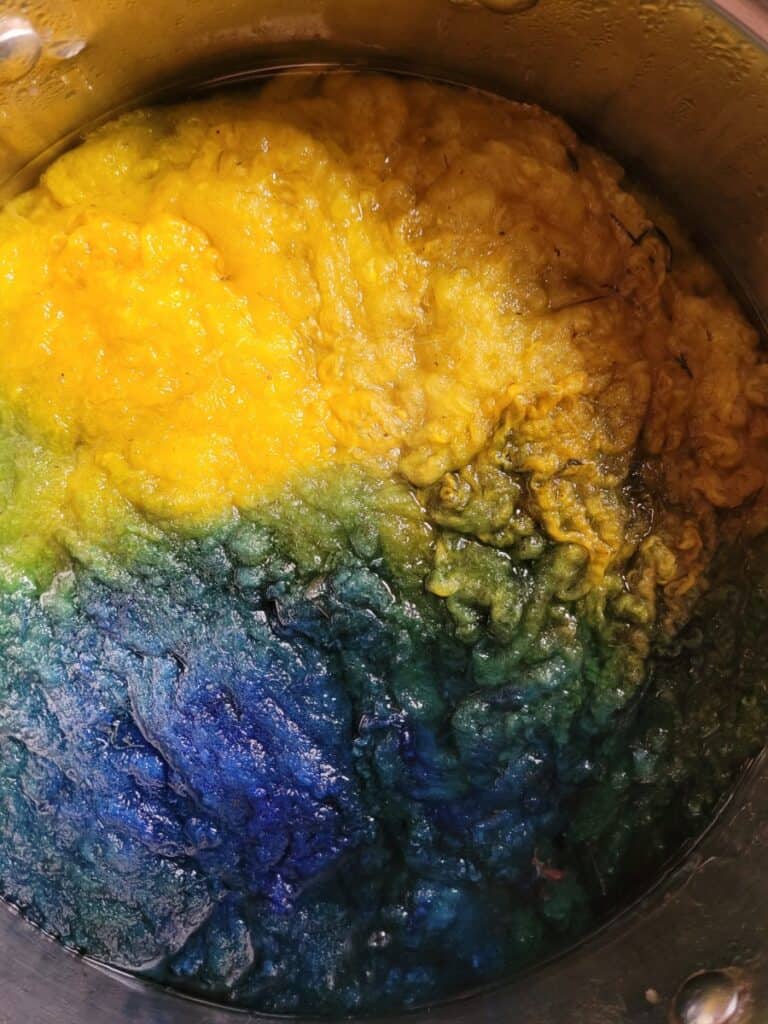
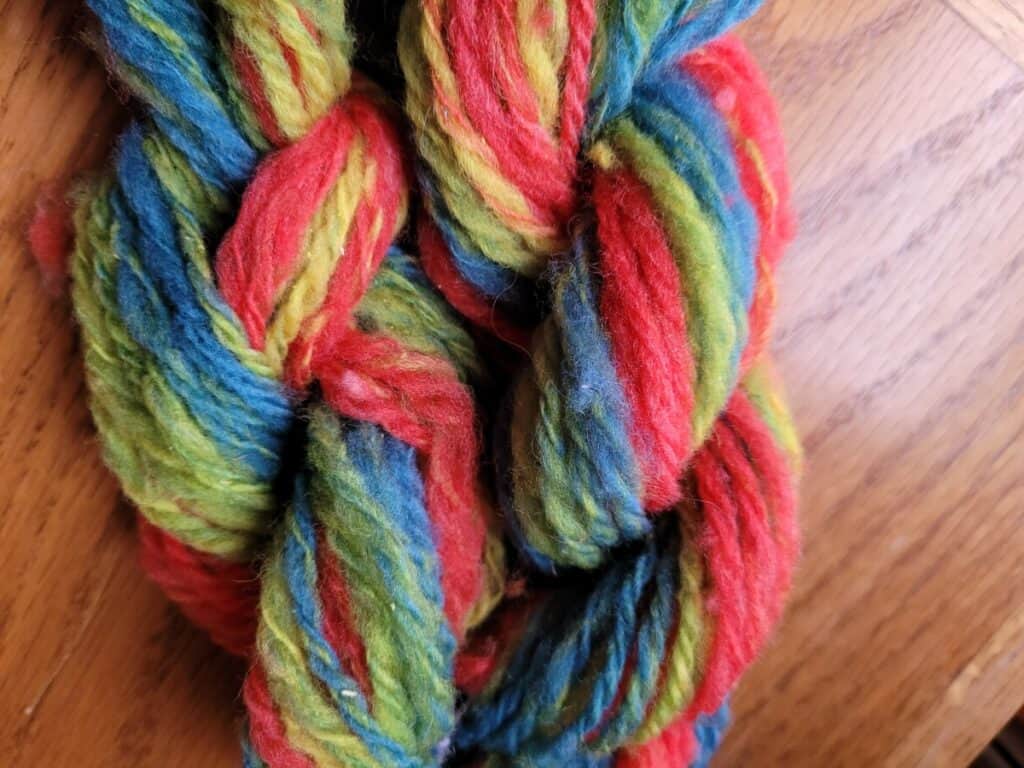
You can mix colors in one batch
If you plan to have multiple colors in this dye batch, you’ll want to get the dye pot ready with mordanted water then put in the undyed wool, then add the dyes.
Keep a bit of space between the dyed sections, at least at first, to make sure the colors do not run together.
If you have white space left, you can add more dye or leave that area undyed. In my experience, the wool will not stay undyed, it will just pick up a lighter amount of color.
The reason you keep the space between colors is that some colors when they run together will make brown, which is probably not what you are looking for!
Add the wool to the dye pot
Add your mordant to the dye pot, then put in the wool. This is to keep the chance of your wool felting to a minimum.
Once the wool is in the dye pot, double check to see if you have enough water. The wool should be covered with dyed water.
If you are using multiple colors, you want the wool to be sticking up out of the water just a bit, to keep the dye where you put it!
If you are dyeing all one color, consider turning over the wool to make sure you get as much even coverage as possible.
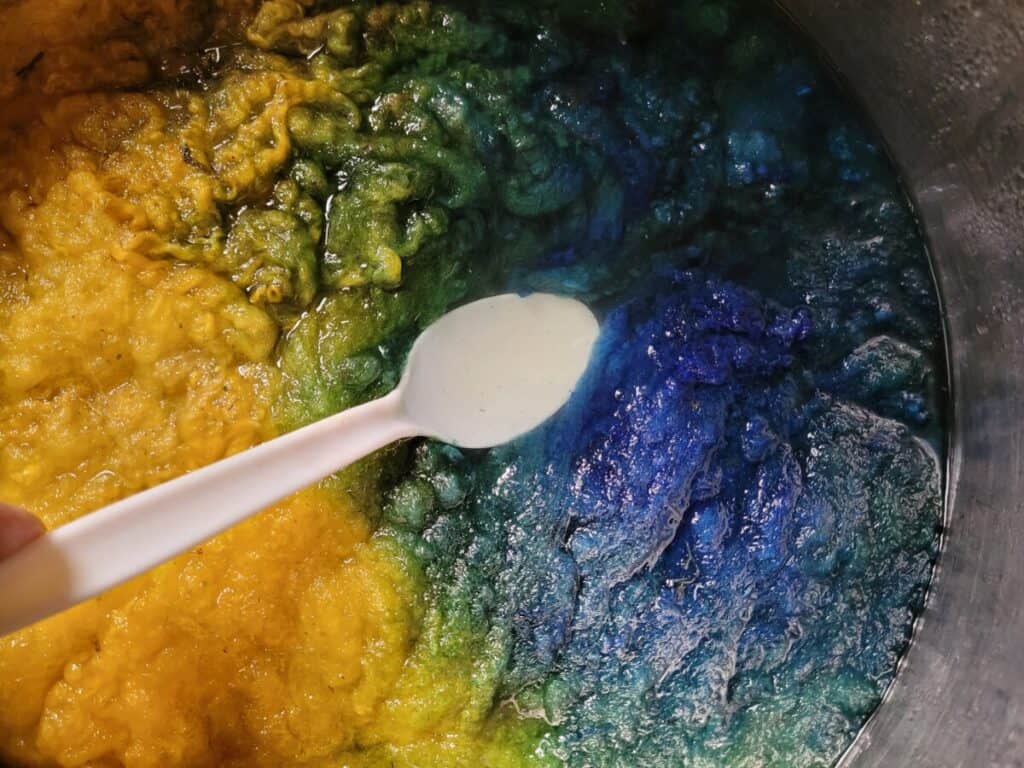
Poke around to see if the dye is working
Now that you have the dye on the wool, how is it looking? Are all parts of the wool getting dyed? You may have to poke around a bit to see.
If you see undyed spots, you can add more dye to that section by pouring from the top or using a syringe (without the needle!) to put the dye right where you want it.
The dye will strike (meaning attach to the wool) early on in the dying process, so turn your wool after a minute or so.
Is the dye water clear?
When all of the dye has moved out of the water onto the wool, this is referred to as the dye has exhausted, then you can move to heat setting the color.
If there is still dye in the water
If you see dye in the water after a few minutes, you need to add more mordant, which will add the extra acid the dye needs to work.
Just put a few tablespoons of vinegar into the dye pot and come back in a minute or two. When the water is clear, you are good to go.
Heat set the dye
Once the dye is exhausted (the water in the dye pot is clear) you have used all of the available dye, so it’s time to heat set the color.
You are going to get your wool up to steaming, close to a simmer, but not a boil! The heat will set the dye in the wool.
Heat setting will take about 30 minutes then turn off the heat and let the wool cool down a bit before you handle it.
Rinse and dry wool
Now, you want to rinse the wool in a slightly soapy water, to get out any extra dye, rinse out the soap and dry the wool.
Go easy on the soap! The more you put in, the more you have to get out of the wool.
Keep your rinse at a warmer temperature, this will help you get any unstruck dyes out now, rather than when you are setting yarn and the colors bleed.
Using a microwave to set dye
Another option is to use a microwave to set the dye. Your set up will be a bit different, but you can still get good results.
To microwave dye your wool, you’ll need a pan that can go in the microwave and plastic wrap.
Lay out the plastic wrap on top of the pan you are using to dye and add the wool. Put on the dye and just enough water to make the dye get to all of the wool.
Wrap the wool with more plastic wrap, you need a seal to steam it in the microwave, then put it in the microwave and heat for 2 minutes.
Heat it at 2 minute intervals, 3-4 times. You want it nice and hot, but not burned, which is the reason for the intervals!
Let the dyed wool set in the sealed plastic wrap until the pan cools. Do not open the plastic wrap, that lets out the steam that will set the wool.
Once the wool is cool, rinse the wool in lightly soapy water, rinse out the soap and dry.
Steam set the dye in yarn
Another option is to steam set the dye. The reason why you may want to choose steam setting is if you have color patches that you do not want to mix.
Steam setting is more popular with multi colored yarns rather than wool, mainly due to the bulk of the wool compared to a skein or two of yarn.
I find that when I dye yarn or work with multi colored wool to make a yarn, including some white, if I steam set the yarn then the white sections remain white.
If I immersion set the yarn, then the white spots will end up sucking up any loose dye and I end up with less contrast in my yarn than I thought I would have.
This works the other way too, if you have some glaring white spots that you would like to blend in more, consider immersion setting the yarn and see if any loose dye will color those spots up a bit for you!
How To Spin Yarn Like A Master Dyer is an interesting article from Spin Off magazine going over a few of your options on how to spin your dyed fiber.
What wool to dye
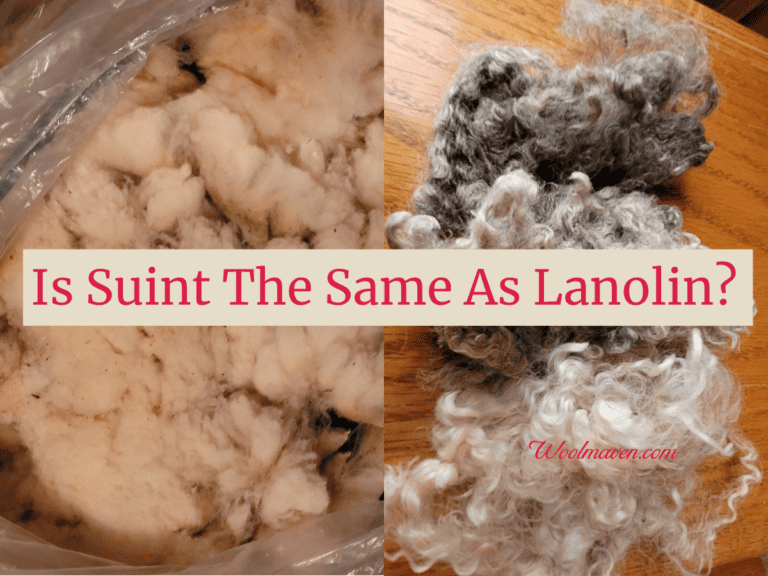
It is important to use clean wool for your dyeing. Wool that is raw, or unscoured will still have the lanolin in it, which will interfere with getting the dye to strike.
Actually, immediately after scouring wool is a great time to dye it, since the wool is already wet, which will save you on the additional drying time.
I like to order from The Woolery, this is their protein fibers page. Pick a wool that catches your eye and read the description to see if it dyes well. If it does, the description will mention it.
Not all wools take dye well. Most wools will dye, but not all will give you the beautifully saturated colors you are looking for.
In order to increase the likelihood of the wool taking up the dye well, you should be doing the pre dyeing soak in mordanted water.
As mentioned above, this is especially important with fibers that have luster. A longer pre dyeing vinegar soak will make dyeing easier.
Dye colored wool and other fibers
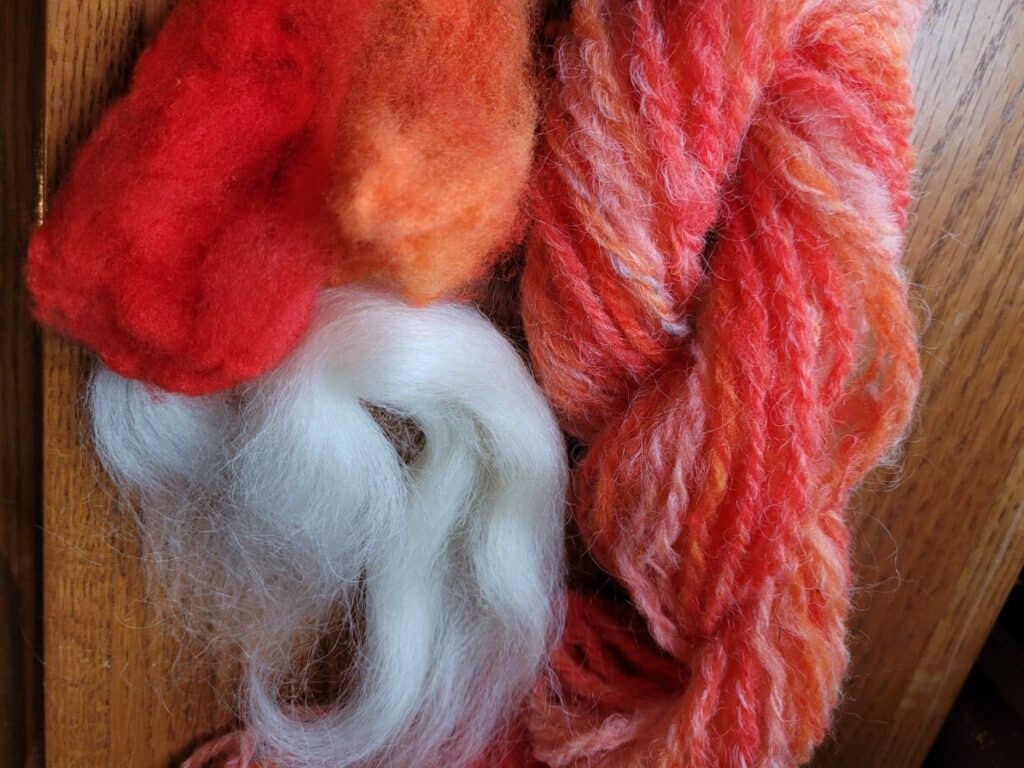
You can also dye naturally colored wools and wool that has already been dyed. Of course, the color you get will be determined by the color you started out with.
Dyeing is also a nice way to use stained wool or other fibers.
I have some mohair that I purchased, which is as shorn, meaning it is not washed or heavily sorted to remove all the debris or stained locks.
There aren’t a ton of them, but there are some stained tips. Not to worry, those tips don’t show at all once the locks are dyed.
Final thoughts on dye pots:
If you don’t want to buy another nice pot for your dyes, grab one at a garage sale or a resale shop. Used equipment is great for your dyeing projects!
Another option would be to take your one of your pots that has seen better days, make it the official dyeing pot and get a nice one for the kitchen!