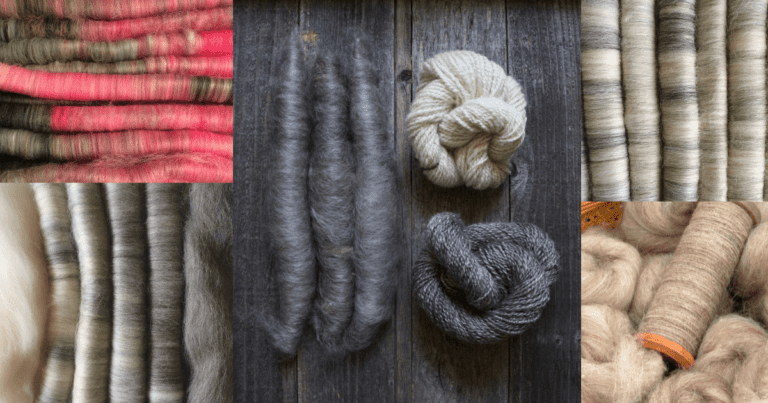
How To Make Wool Roving At Home
So, you want to make your own wool roving at home? Great idea!
Making your own roving is pretty straightforward and definitely doable with just a bit of set up and guidance. Let’s get started!
Does Spinning Your Own Yarn Save You Money? goes over the math of buying yarn versus spinning your own.
Determine which type of wool you have
The first thing you need to do is to determine which type of wool you have.
You are looking for characteristics that will sort the wool into one of three types, which are fine, medium and long.
Which specific type of wool you have is not as important as getting the general idea of whether your wool is on the finer side or the longer side, so you know the best way to start processing it.
Look at the wool you are planning to spin, is it:
- skirted?
- washed or raw?
- clean or has contamination, like VM or dirt
- short stapled, less than 3 inches
- medium stapled, 3-5 inches
- long stapled, over 5 inches
For whole fleeces: is it skirted?
Is your wool skirted? This would apply to raw fleeces, washed fiber has already been skirted pre washing.
If you are working with a whole fleece and the belly wool and other dirty bits have not been pulled off, get those off of the fleece now before the dirt from the dirty parts gets on the clean sections.
If you can’t bear to part with this wool, bag it separately, but either way get it off of the main fleece so you are working with as clean of a start as possible.
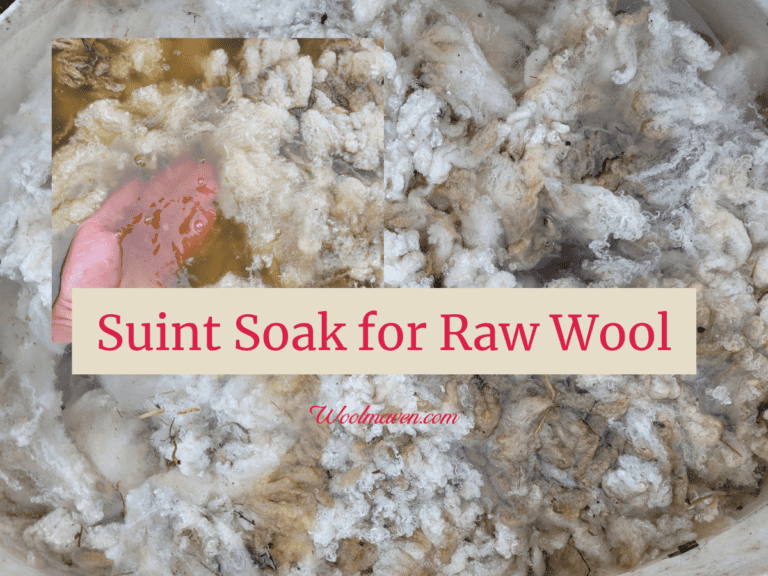
Is the wool washed or raw?
Unwashed or raw wool normally takes additional processing steps, usually washing or scouring, before carding or combing.
Is your wool washed or raw? You can work with either, this depends upon how you like to spin, however, some fleeces that are hard to work with raw are easy to work with after washing.
I like to spin raw wool, called spinning in the grease or spinning grease wool, so I always try fleeces raw first and if that doesn’t suit me, then I move to a suint soak and then if I need to washing.
Is the wool full of debris or clean?
Is your wool clean or full of debris? Clean wool, by clean I mean free of debris, not necessarily washed, is easy to spin and requires little preparation.
Dirty wool, whether actual dirt or VM, requires more work from you to get it into spinnable form.
What is the staple length?
What is the staple length of your wool? Grab a tape measure and see what you are working with.
Generally speaking, if you are under 3 inches you’ll be making a roving from carded wool, from 3-5 inches you have choices of which to make and over 5 inches you comb the wool for the roving.
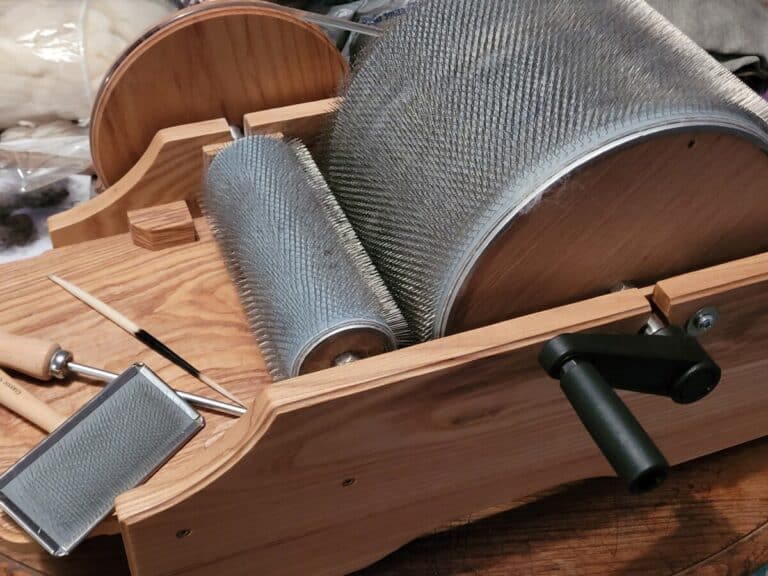
Prepare the wool
Now that you know what wool you are working with, it’s time to prepare the wool for spinning by separating out the fibers with cards or combs.
This post contains affiliate links, which means I receive commissions if you choose to purchase through links I provide (at no extra cost to you).
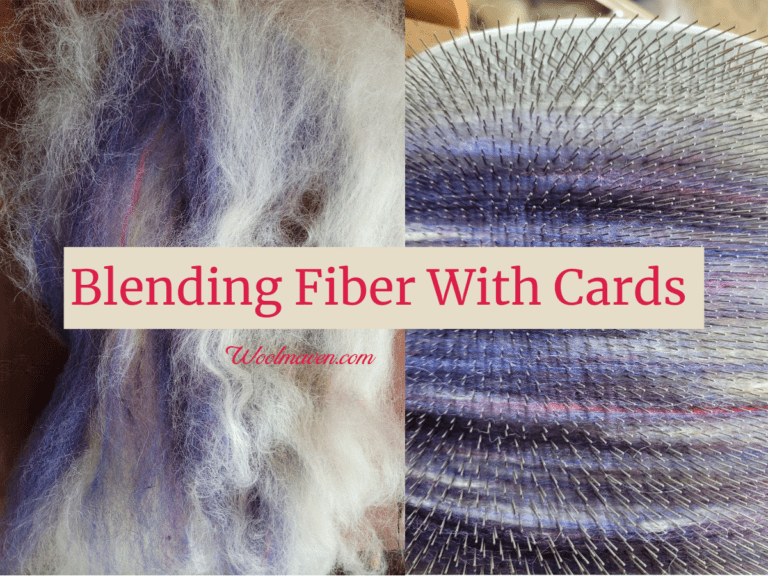
Short and medium stapled wools can be carded
If you have a short or medium stapled wool, you are going to be using hand cards to get the wool ready to put into roving.
The hand cards that I use are Clemes & Clemes Curved Back Wool Cards. I’ve had them for almost 20 years and use them for all of my hand carding.
Take small sections of clean wool, washed if you don’t want your cards to be greasy, and place them on the cards. Now pull one card over the other to separate and straighten out the fibers.
Use more of a rolling motion as you pull the top card across the stationary card and start at the bottom of the card and work your way up to the handle.
Go over the wool multiple times until the fibers are all well separated. Now you can add a bit more wool and card again.
You keep carding and adding wool and carding again until the card is full.
Take your time here and be thorough with your carding.
Each time you add a layer of wool, it is harder to go back down in the wool and further separate out chunks you missed.
If you find that you didn’t card your wool well enough, just take it off the card and recard the wool.
You get the wool off of the card by peeling it up from the opposite side of the handle.
To recard the batt (that’s the wool you just pulled off) attach a little bit of the batt to the card at a time, card the fiber then attach more.
Keep going until you have the entire batt back on the cards and all the fibers are smoothly separated out.
Any imperfections you leave in the carded wool will cause a hiccup in your spinning.
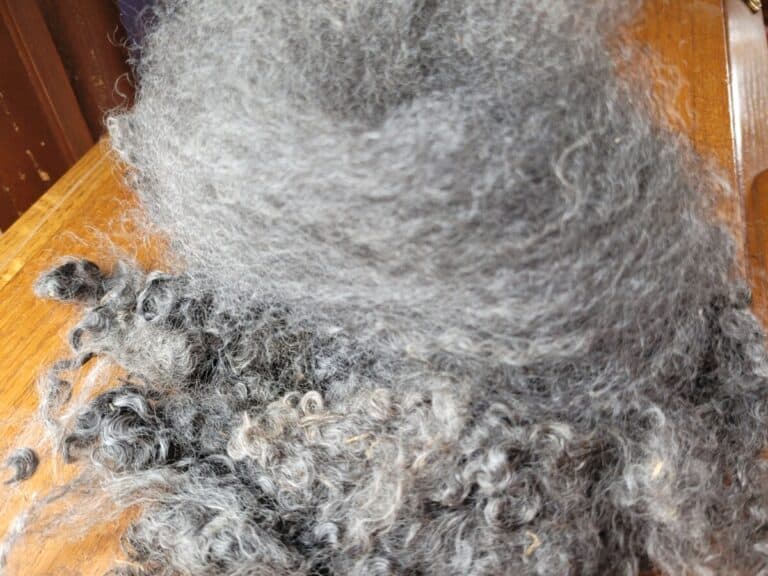
Medium long to long wools can be combed
If you have a long stapled wool, or a long stapled medium wool, you will be best served using combs for your wool preparation.
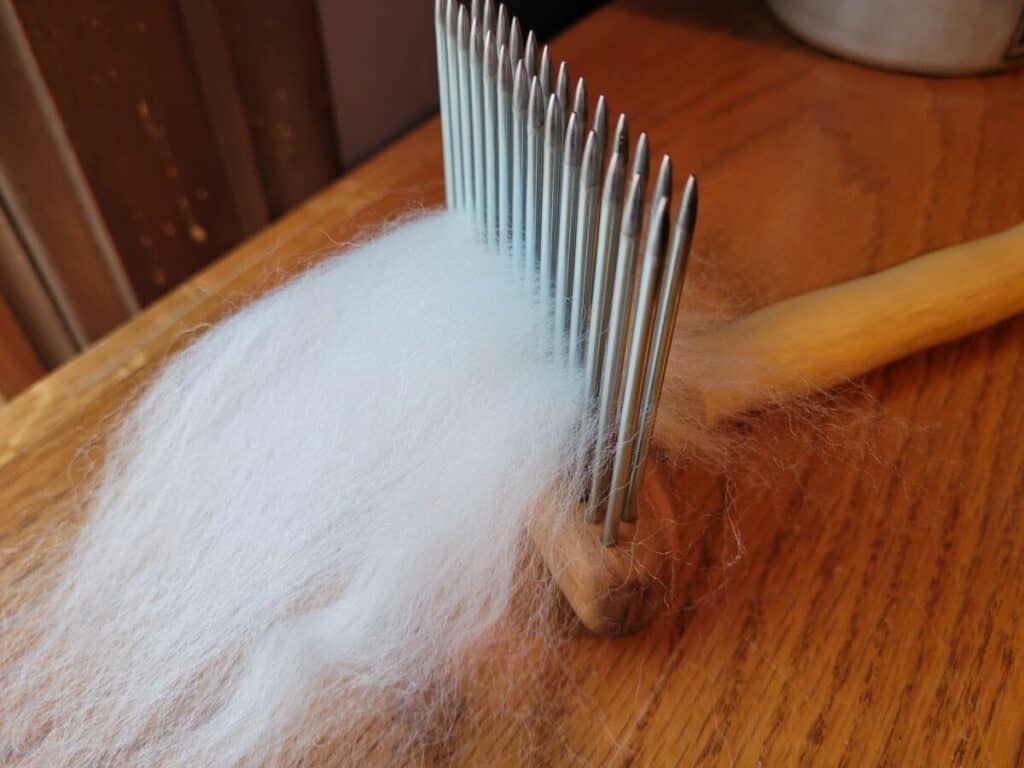
Combs are the wicked looking wooden handled paddles with spikes.
This wool comb set looks the most beginner friendly to me, and, as a bonus, they come with a holder. I purchased a different set, which are fine, but if I had it to do over again, I’d get these instead.
Securely attach the stationary comb to the edge of a table then lash on your locks of wool.
You lash on to combs by taking a lock of wool and placing it on the spikes just far enough for it to hold.
If you are working with an entire fleece, you’ll have to pull the locks of wool out of the fleece, one at a time.
Keep them lined up with the points all in the same direction so they are easy to grab for lashing on.
Make sure the cut end of the lock is toward the handle of the comb and the pointed end is hanging off the front.
Keep lashing on until your comb is reasonably full. Too full will make the wool difficult to work with, go with less than you think will fit on there.
Now take the second comb, this is the working comb, and swing it perpendicular to the stationary comb, this means your swing will follow the edge of the table.
Aim to barely grab the ends of the locks, less is better here. It is easier for you to take multiple swings with the comb than to try to take big sections of the locks at once.
Repeat until nearly all of the fibers have been transferred to the working comb.
Any fiber still on the stationary comb is too short, so pull it off and keep it for another project.
Now, switch the combs and comb through the fiber again. You will keep combing and switching until you are happy with the results, probably three times will do it.
If you get a static build up, just spritz the wool with a bit of water and keep on combing.
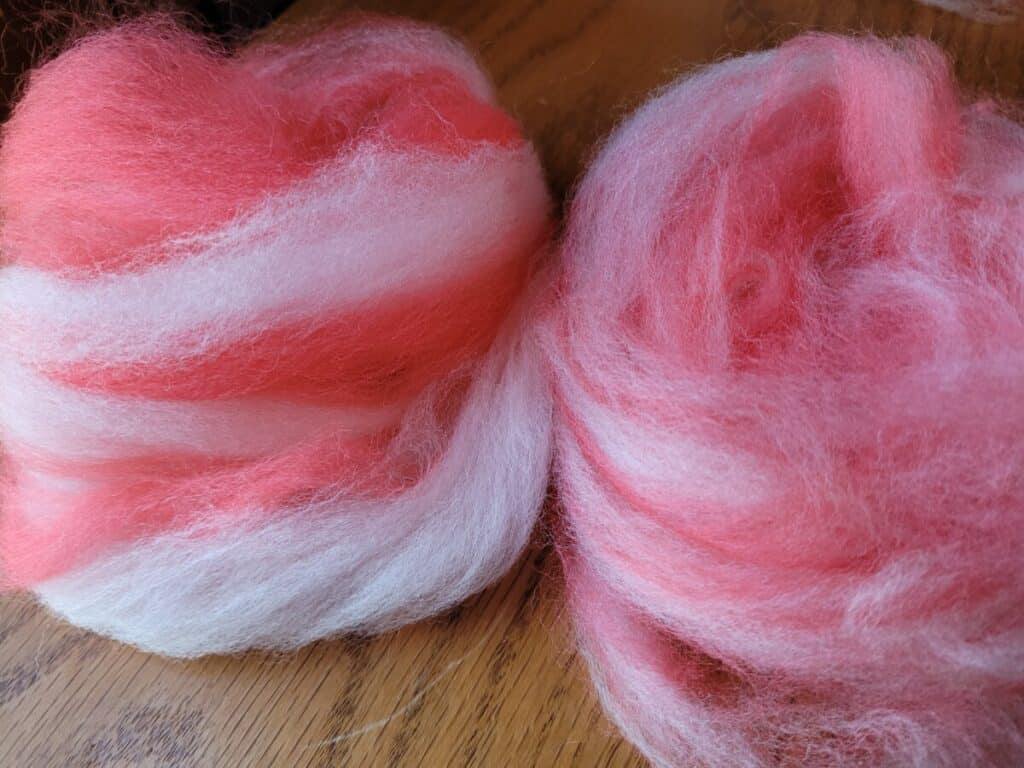
Now that your fiber is combed, you can do two things, pull it off into roving or draw it off into a plank that will be recombed with your other planks for a smoother roving.
For pulling off into roving, read below, for planking and recombing, grab the ends of the wool on the cards, pinch and pull, then pinch and pull again and repeat until all of the wool is off the comb.
You will have a long wide cloud of wool that you’ll put with your other planks in a stack then recomb them as a mix.
For example, if you have 4 planks, take an equal amount from each plank and recomb it so you will now have wool from all 4 planks on the comb at once.
Now, when you make the roving, it will be of a similar consistency across all of the wool, since it is well mixed.
If all of the locks came from the same area of the fleece, planking will make less of a difference to your yarn than if you have planks from different areas of the fleece that have different wool (which is normal).
Once you have the wool combed to your satisfaction, now you are ready to take it off the combs in the form of roving.
How To Spin Long Stapled Wool gives you some tips on working with longer fibers.
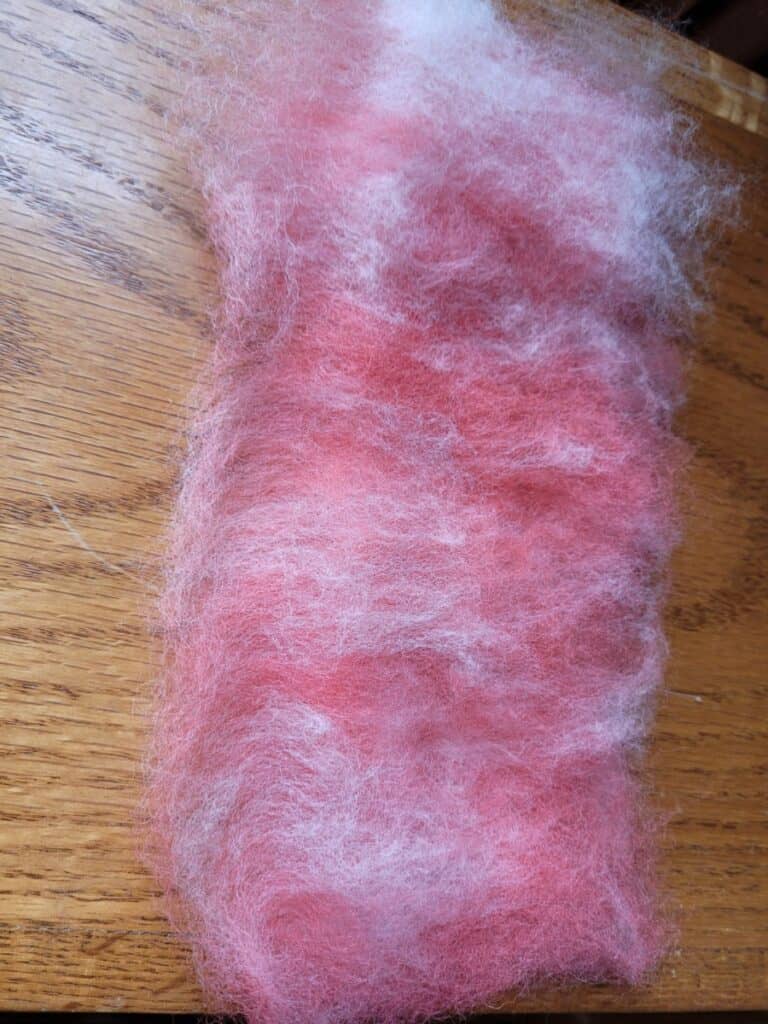
How turn carded or combed wool into roving
Interestingly enough, once your wool is fully carded or combed, the way you get it into roving is the same for both wool preparations!
To make your prepared wool into roving, you need to use a diz or something like a large button with a few holes in it.
A diz is a slightly convex wood, plastic or metal piece with holes in it for making roving.
For the combed fiber, you will be making the roving right off of the stationary comb.
For the carded fiber, you will sit and put the card handle down between your knees so both your hands can work the roving.
Take your prepared fiber and give a few of the ends in a corner a bit of a twist and put the twist through one of the holes in the diz.
Be sure the concave side of the diz is towards the wool, so the diz bends out toward you.
Gently pull the wool through the diz, then slide the diz back into the fiber cloud and pull again.
As you pull the fiber, start to slowly zig zag across the wool, back and forth to get all of the fiber in one roving.
If you pull a bit too much, just restart the wool through the diz and keep going. You’ll quickly get a feel for how much to pull and at what pace to move across the cloud of wool.
That’s all there is to it, just keep repeatedly pulling the wool through the diz until all of the fiber is off of the card or comb and in your roving!
If you are interested Paradise Fibers has an informative article on Wool Roving that links to multiple PDFs for roving related projects.