7 Steps To Wash Raw Wool For Felting
Thinking about felting some raw wool?
The great news is that starting with raw wool will open up a world of possiblities to you for feltable wools that are not commonly available, not to mention, wool from your own sheep!
The less great news is that you’ll need to wash those fleeces, first. Here’s how to wash your raw wool so that it will be easy to work with for your felting projects.
7 Places To Get Wool gives you some ideas for sourcing wool for your next project!
Start with an easy to felt fleece
Start with an easy to felt fleece. This is a big deal and will make the entire felting process much easier if you start with a wool that is known for feltablility.
If you are new to felting, this may sound a bit odd, isn’t all wool easy to felt? Nope, it’s not!
Some breeds, for example the down breeds like Southdown, are not easily feltable wools. Start with wool that you know will be fun to felt once it is clean!
If you know the breed or cross of breeds that the fleece came from, look them up and see what fiber enthusiasts or online shops recommend doing with the wool.
Felting is becoming a popular hobby and lots of folks want to work with easy felting wools, so most descriptions will list out if this wool is felt friendly or not.
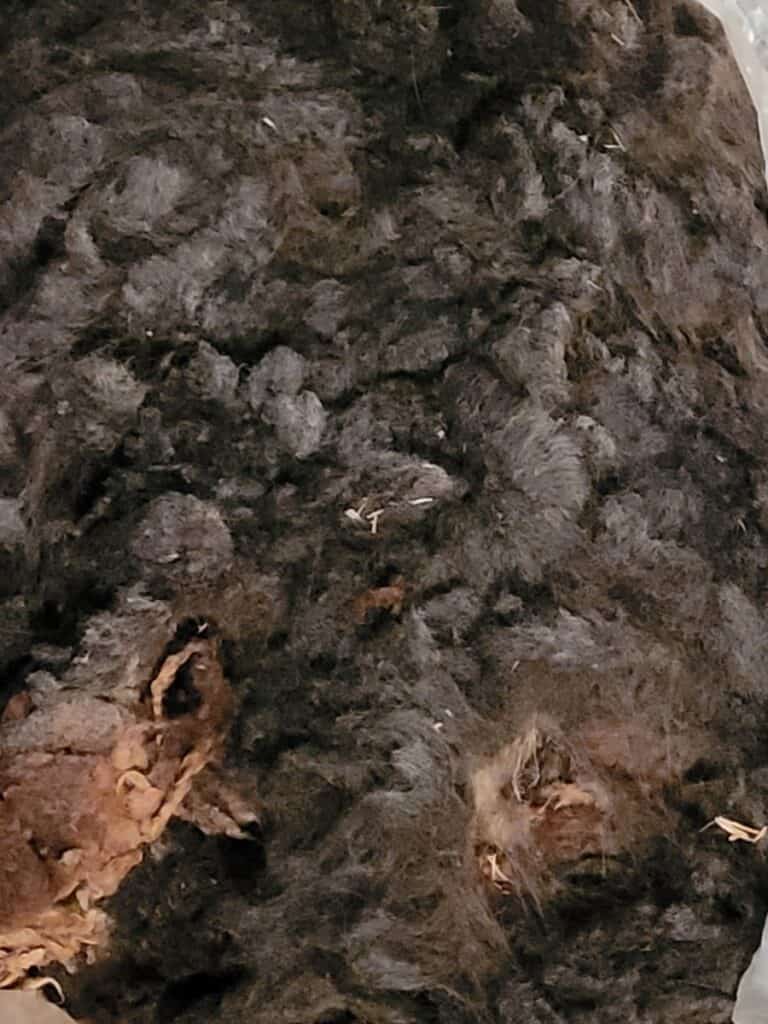
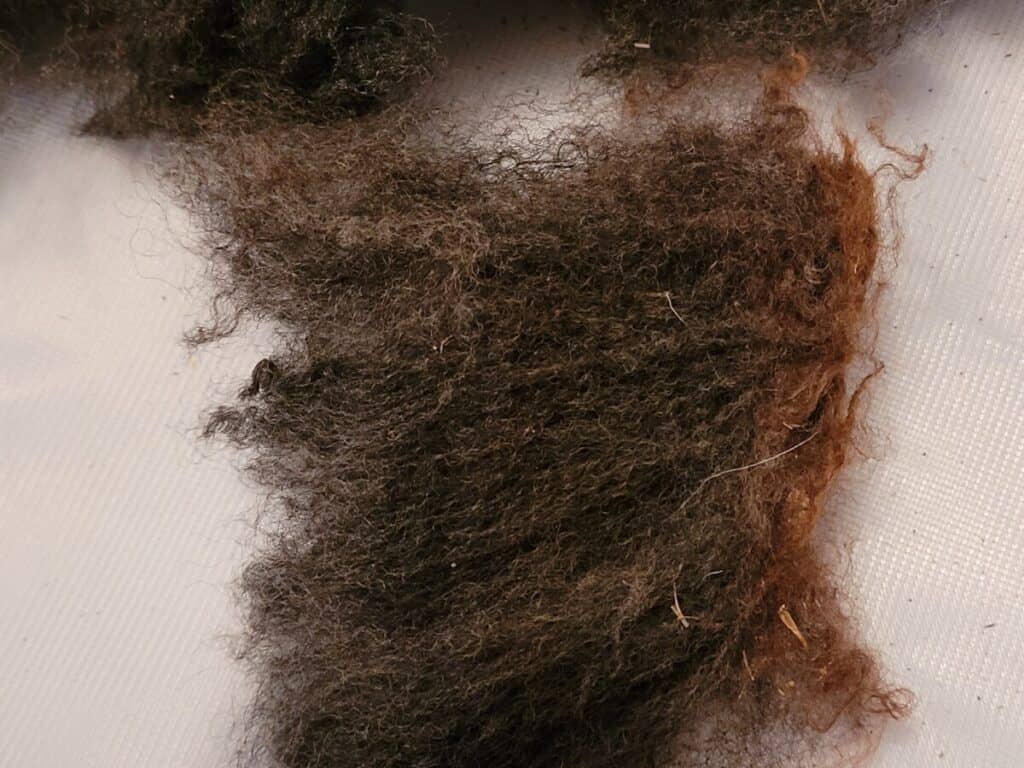
Heavily skirt the fleece
Since you are working with a raw fleece, you are likely to have bits of the fleece that you do not want to wash still attached to the main fleece.
These sections need pulled off, which is called skirting. If you can, do your skirting outside.
A skirted fleece leaves you with only the better parts of the fleece to wash, the second cuts and shorter fibers you’ll be pulling off and discarding.
Take your fleece out of the bag and unroll it in one piece, ideally just like it came off of the sheep, with the cut side up, this will drop off any loose debris.
Pick off any bits of hay or whatever else you see that is not wool. Pull off any sections of wool that are short fibers, super dirty or second cuts.
Flip the fleece over, now you have the tips up. Look it over again and pull off anything that you don’t want to work with.
If in question, pull out that section of wool! Usually, you’ll end up with a ton of wool, even from a smaller fleece, so sort heavily now.
If you are hesitant to get rid of too much, especially if the fleece is hard to come by, bag up the questionable sections and treat them separately.
You can always decide to come back to them later.
This post contains affiliate links, which means I receive commissions if you choose to purchase through links I provide (at no extra cost to you).
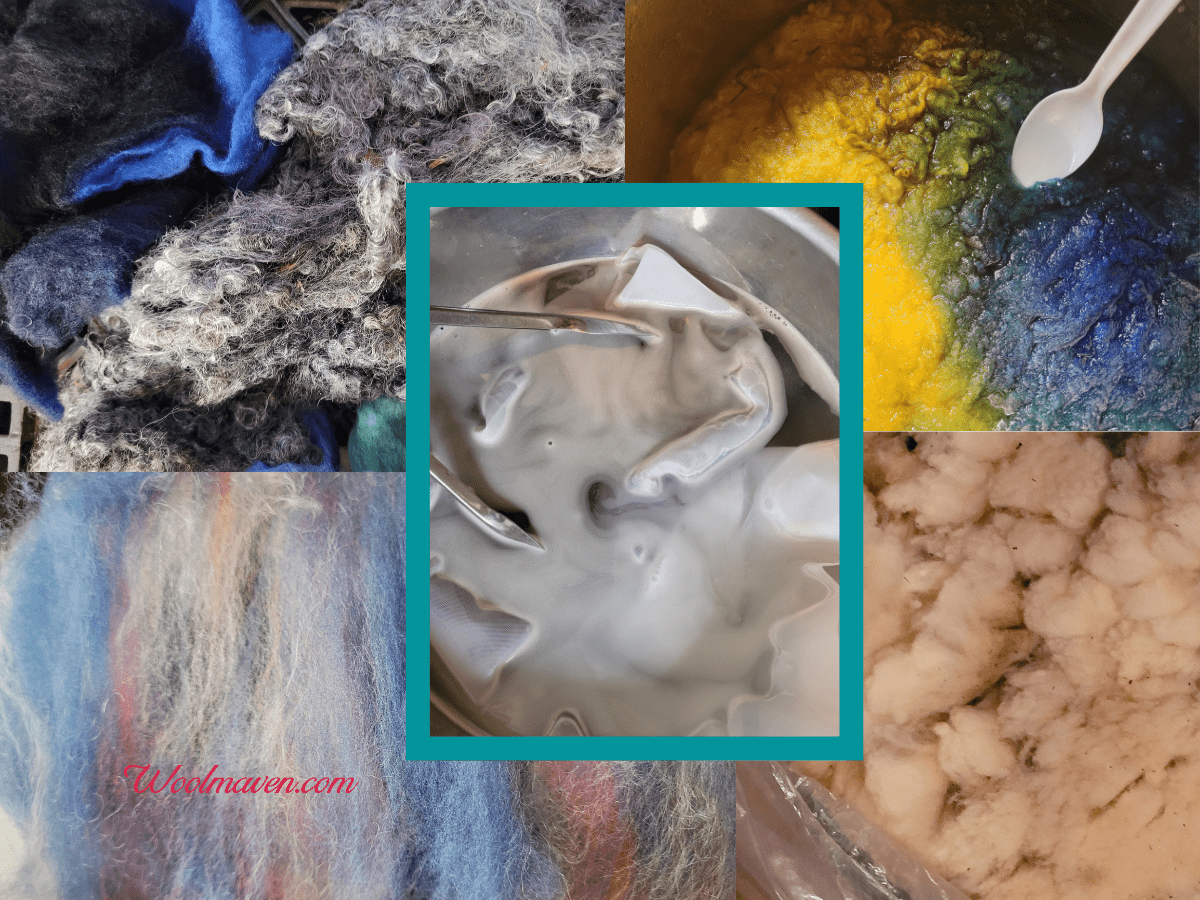
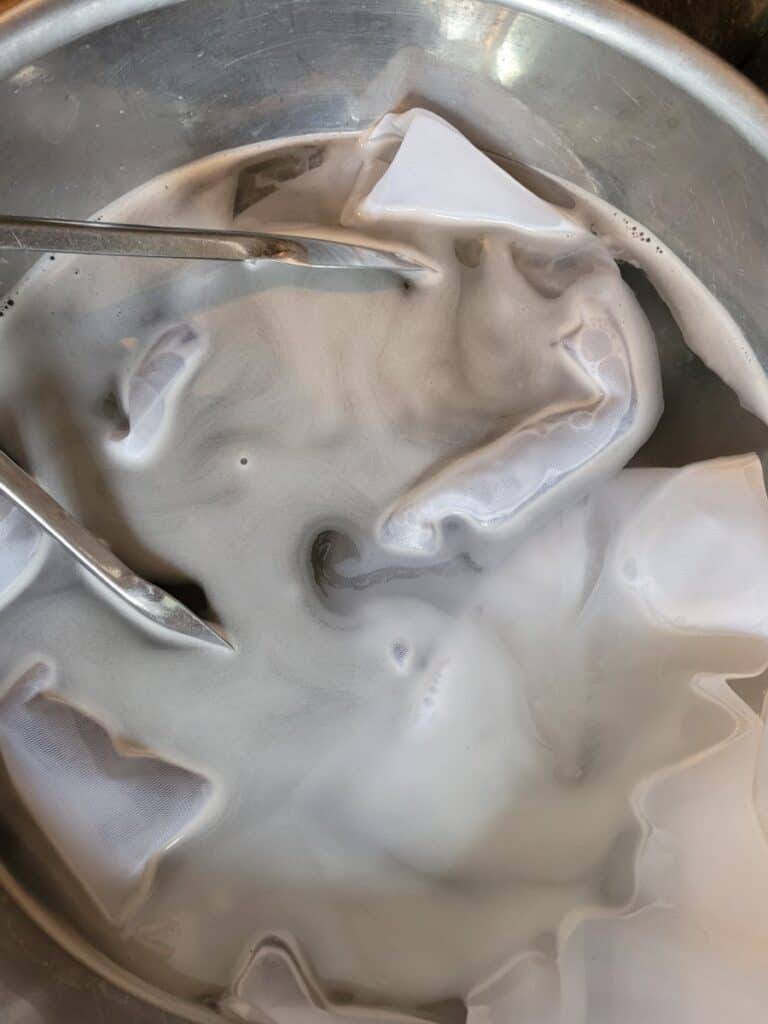
First wash
Now, it’s time to actually wash your wool.
Keep in mind that you are working with easily feltable wool, so no agitation or abrupt temperature changes! Have patience and be gentle.
Fill a roomy container with hot water, you want enough room for the wool to have plenty of water and soap touching it.
I use hot tap water. Whatever you use, you’ll want to continue your additional washes and rinses with the same temperature water.
Put in your fiber wash according to the directions on the bottle. There are multiple brands available, pick one that sounds good to you.
Unicorn Power Scour is the wool wash I use on raw fleece. Occasionally, I also use a drop or two for wet setting yarn.
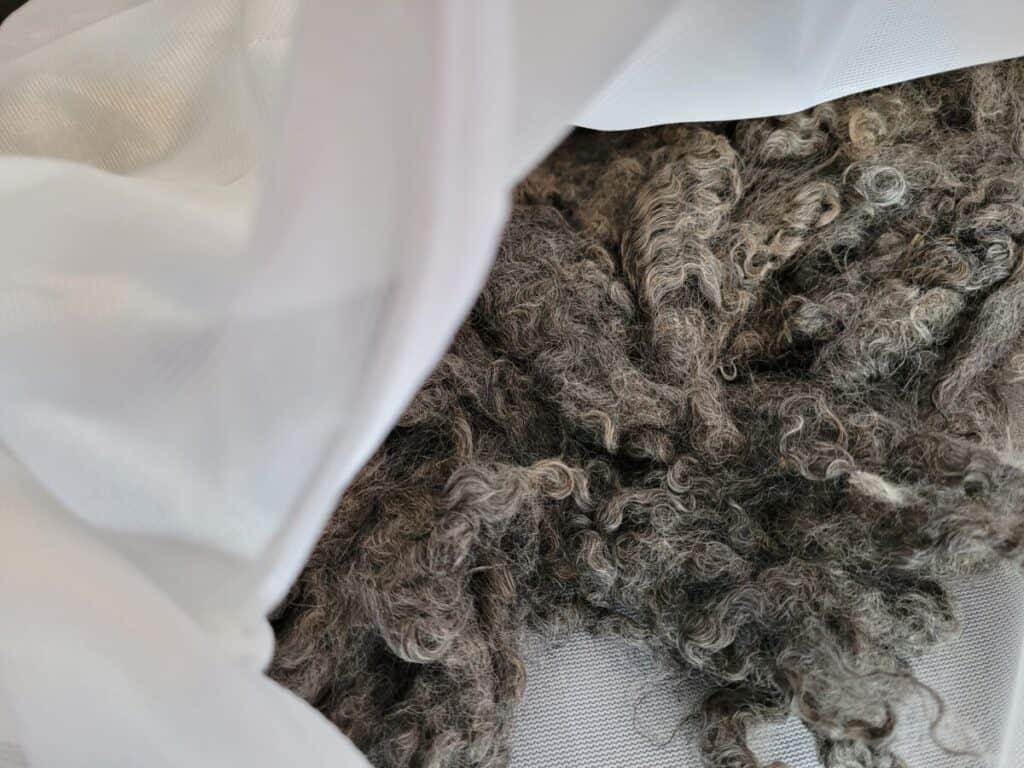
Gently stir the fiber wash into the water and put in your wool. If you are worried about felting the wool during washing, have your wool in a mesh bag.
Let the wool sink into the wash water and set your timer for 20 minutes.
You don’t need to do anything with the wool during this 20 minute period, you are just waiting.
Second wash
After 20 minutes, you need to do a second wash. If you have a second container, fill it with your hot water and fiber wash now, then put in the wool.
If you do not have a second container, take out your wool out and set it aside to drain as you dump out the first wash water.
Refill the wash container with hot water and fiber wash and add the wool.
This wash goes for 20 minutes, as well.
Now, you have a choice to make: is your wool clean enough to rinse or do you need to wash it again?
If you decide to wash again, the same rules apply as before.
Rinse until water runs clear
Rinse the wool until the water is clear.
For me, this takes two rinses, unless I was packing in more wool than I should have, which means I need more rinses to get all the wool clean.
How clean do you need the wool to be? Well, you are the one to decide that!
If you feel you need to do another round of washing, go for it. If you like how the wool has turned out, it’s time to move on to dyeing or drying.

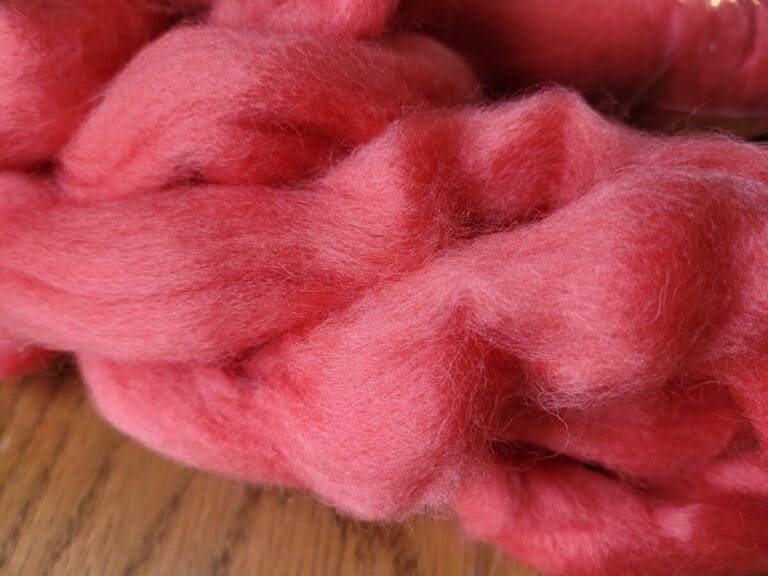
Dye the wool
If you are planning to dye the wool, now is a good time to do so. Of course, you can dry the wool and dye it later if that better suits your plans.
When Should You Dye Wool? goes over your options for dyeing wool from fleece to finished project. This article was written with handspinners in mind and will give you some things to think about.
A dye kit gives you a number of color choices and comes with instructions, it’s a simple and fun way to get started with dyeing protein fibers.
Dyeing now will work well if you want to dye the entire fleece or a large section of it one color. This will save you the extra step of drying the wool again.
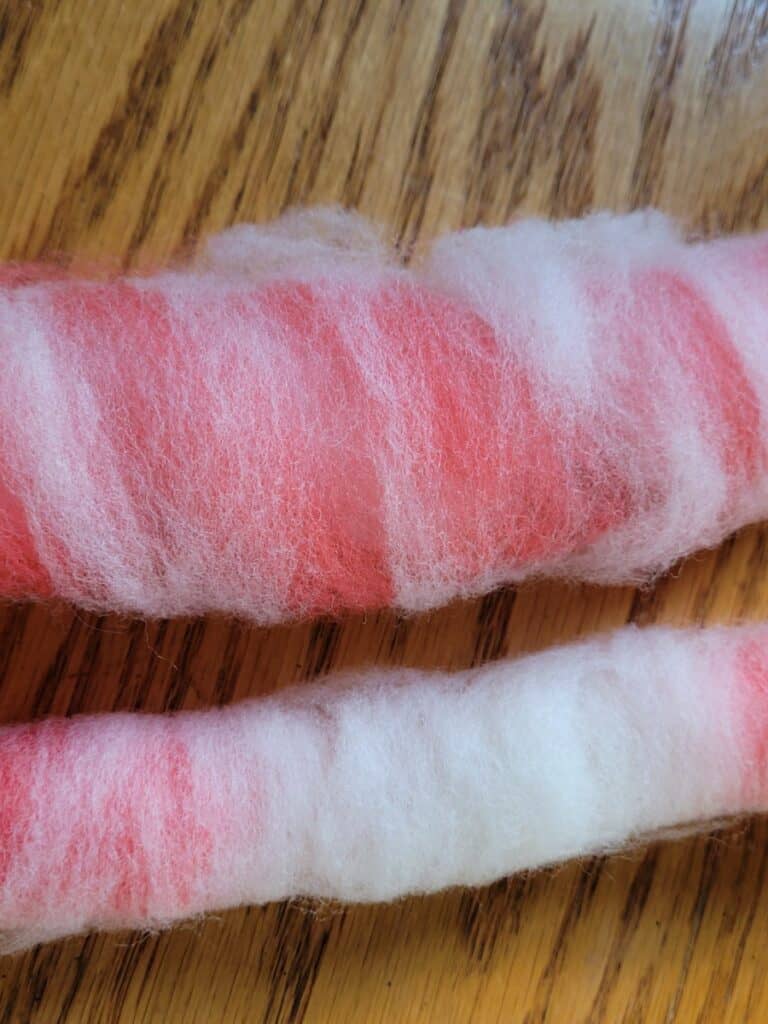
You’ll want to dry the wool and dye it after carding if you want to do more of a specialty dye, for instance something similar to how a multi colored braided roving is dyed.
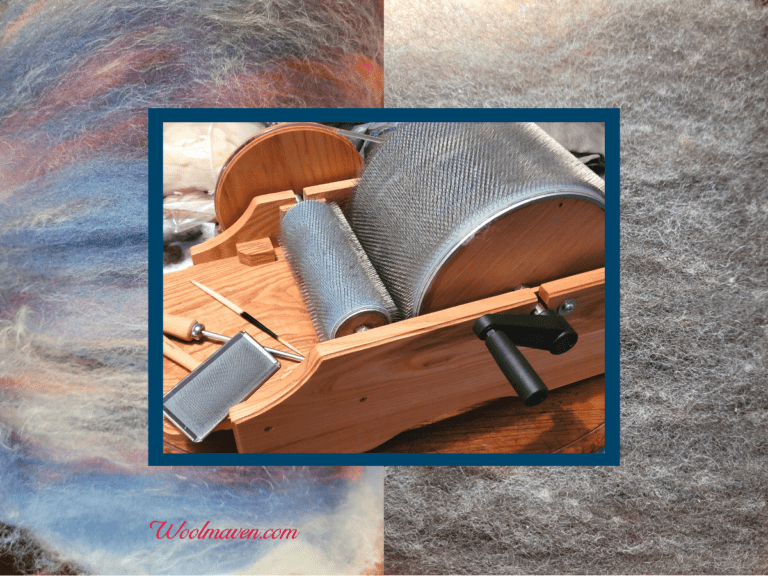
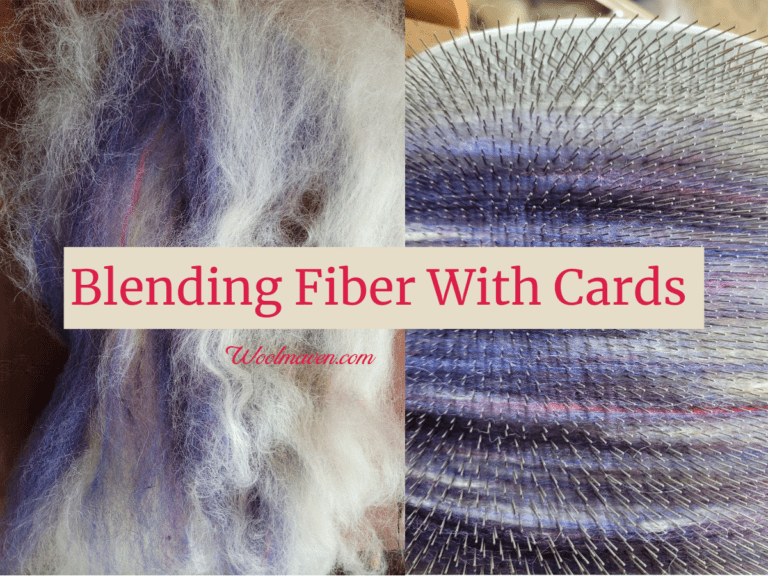
Card the dry wool
To card the wool it needs to be dry. This means that you’ll have a day or two between the washing and carding stages of preparing your felting wool.
I find that using a drum carder is tons easier. I know not everyone has one, but, wow, do they make a huge difference in the amount of wool you can easily card!
The other bonus that I find with a drum carder is that it does a pretty good job of getting out any VM bits that are left in the wool.
A few passes through the carder, normally two or three, and wool that had debris in it is fairly clean, with little to no specific bits picked out by me, the drum carder got most of them.
The drum carder will not get all the bits, you’ll still have some work to do. Drum Carder vs Hand Carders will show you the high points and limitations of each.
Hand carders will work here, too. Hand carders just take significantly longer, but if that’s what you have, that’s what you use!
The hand cards that I use are Clemes & Clemes Curved Back Wool Cards. I’ve had them for almost 20 years and use them for all of my hand carding.
Be super particular about debris, you want to get all of it. No one likes poky bits sticking out of their felt!
Looking for more information on wools for felting?
Needle Felting with Different Breeds of Wool is a series of articles by Teresa Perleberg of Bear Creek Felting that gives you some insight into working with specific breeds, like Romney, Shetland, Icelandic, Jacob, Blue Faced Leicester, Gotland and more.