How To Make Roving Out Of Your Own Wool
Making your own wool into spinnable roving! Cool idea, but how do you make your own wool roving at home? And what about using wool from your own sheep, does that work too?
Make wool roving by combing or carding wool, as determined by end use and staple length, then use a diz to remove the fiber from the card or comb into a long strand of ready to spin roving.
This is exciting stuff! Making your own roving or combed top (if you are working with long wools), is a big step for any handspinner!
Once you get this make your own roving thing figured out, the world of spinnable fibers opens up to you and you can spin most any fiber prepared the way you like!
New to spinning and want some help? Try my Beginning Spinner Course, it has simple, step by step instructions and is designed to take you from beginner to confident spinner!
5 Tips To Match A Fleece And Your Handspinning Project gives you tips on how to find that perfect for you fleece!
Note: most folks are using the word roving to mean all ready to spin fibers, even ones that are actually top. Most roving sold today, even for the finer wools, are actually combed top, not true roving, at all!
While true roving and true top are both actually very specific fiber preparations, we’ll be using the term roving more generically to mean most any ready to spin fiber.
You can make wool roving at home
You can make your own wool roving at home with just a few tools, a bit of time and some patience!
If you are using washed wool, your own or purchased from a fellow fiber enthusiast, you are all set to get started.
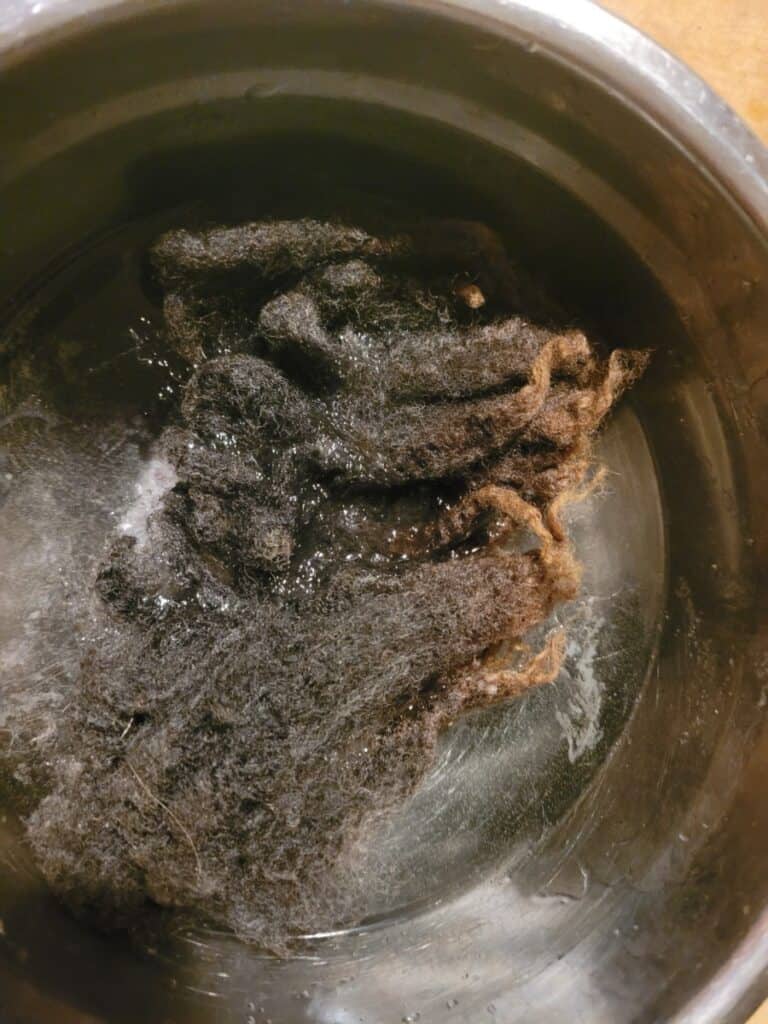
If you are using a raw fleece, you may want to wash the fleece first before starting.
Of course, this is your project so you can work with your wool however you please, but if you use your cards on grease wool then on washed wool later, some of the grease will get on the clean wool next time.
If that’s okay with you, carry on. If you would prefer to keep your cards clean, either wash the fleece or consider spinning right from the fleece, instead of carding or combing it.
Plan your wool preparation
I know that this is potentially the boring part, stick with me here, take a second here and think about your plan for your wool then decide what way to prep it for spinning.
You’ve got some options and planning out what you are doing from the start will increase the likelihood that you’ll get roving you like and will be happy to use!
The main things you need to decide are:
- what type of wool are you working with, long, fine, medium?
- what are your plans for spinning?
While it’s your wool and your time, so you can choose to prep your wool any way you want to, if you follow some general guidelines you are more likely to get good results.
Generally speaking, shorter and finer wools are prepped for woolen spinning by carding and longer wools are prepped for worsted spinning by combing.
You can mix this around a bit, by how you spin, as well.
New to spinning and want some help? Try my Beginning Spinner Course, it has simple, step by step instructions and is designed to take you from beginner to confident spinner!
Feel free to use the methods that work best for you, just know that if you want a true worsted yarn, you need to have worsted prepped wool, the same goes for a true woolen yarn.
I have to admit, I am more of a work with what I have and see how it goes kind of gal, so I either spin directly from the fleece, buy premade roving or use my handcards, even though I tend to spin worsted.
Carding the wool then spinning worsted is not a purist approach, but works well for me. When I want something different, I’ll have to change my ways!
This post contains affiliate links, which means I receive commissions if you choose to purchase through links I provide (at no extra cost to you).
Use combs to make top for worsted style spinning
Making top for worsted style spinning is the longer stapled wool version of roving. It is called top because it comes off of combs, not cards like roving.
While folks are using the word roving to mean any prepared fiber, you should know that worsted style spinning is actually done with top.
You make top by taking your clean long staple wool and combing it with a set of those wicked looking wool combs!
This wool comb set looks the most beginner friendly to me, and, as a bonus, they come with a holder. I purchased a different set, which are fine, but if I had it to do over again, I’d get these instead.
You take each lock of wool, skewer it on the comb as close to the cut end of the lock as will hold and repeat.
Load the whole comb then comb using a perpendicular motion, meaning swing the free comb across the secured comb.
Start at the ends of the locks and slowly work up. If you snag and can’t pull out, you took too big of a swipe. Work up the locks slowly with multiple swings of the free comb.
Chances are you’ll want to switch the combs and comb the fibers again, at least once, but go until you are happy with how well separated out the fibers are.
New to spinning and want some help? Try my Beginning Spinner Course, it has simple, step by step instructions and is designed to take you from beginner to confident spinner!
Now take your diz and put a small amount of combed fiber through the hole in the diz and start making your top! Go back and forth with the diz to get as much combed wool as you can into the top.
Once you have all of the fiber but the very last few shorter bits, you can roll up your section of top to be ready for spinning later or get right to spinning, it’s ready to use!
Making top aligns all of the fibers in the wool like a river of fibers, ideal for spinning worsted yarn.
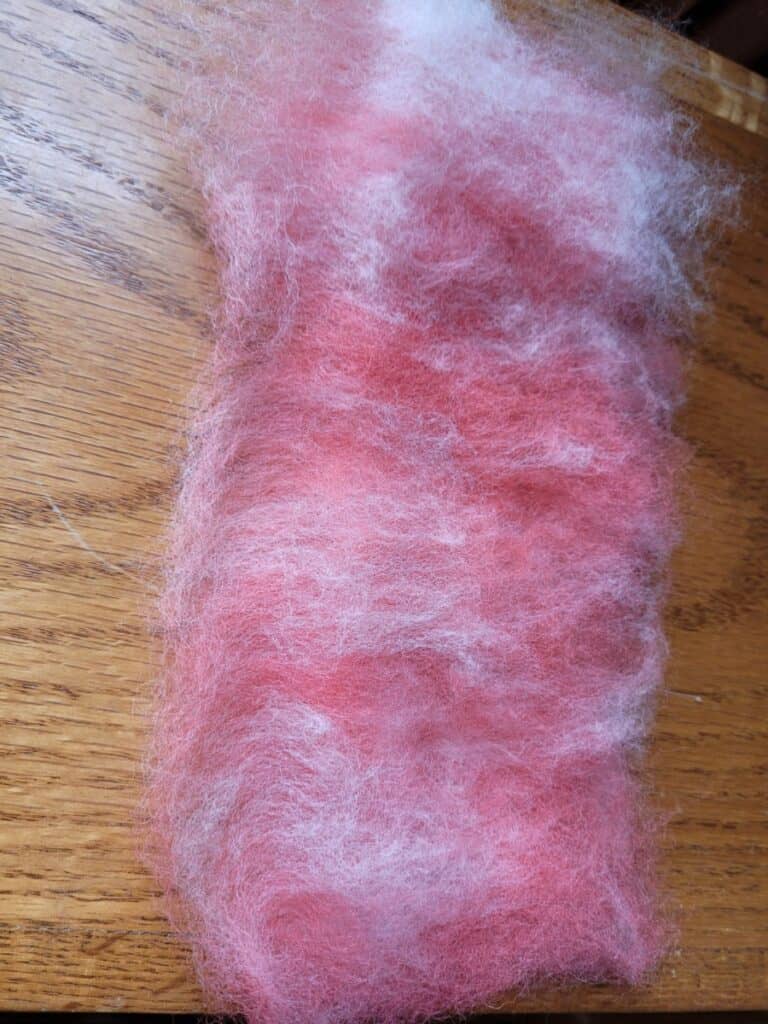
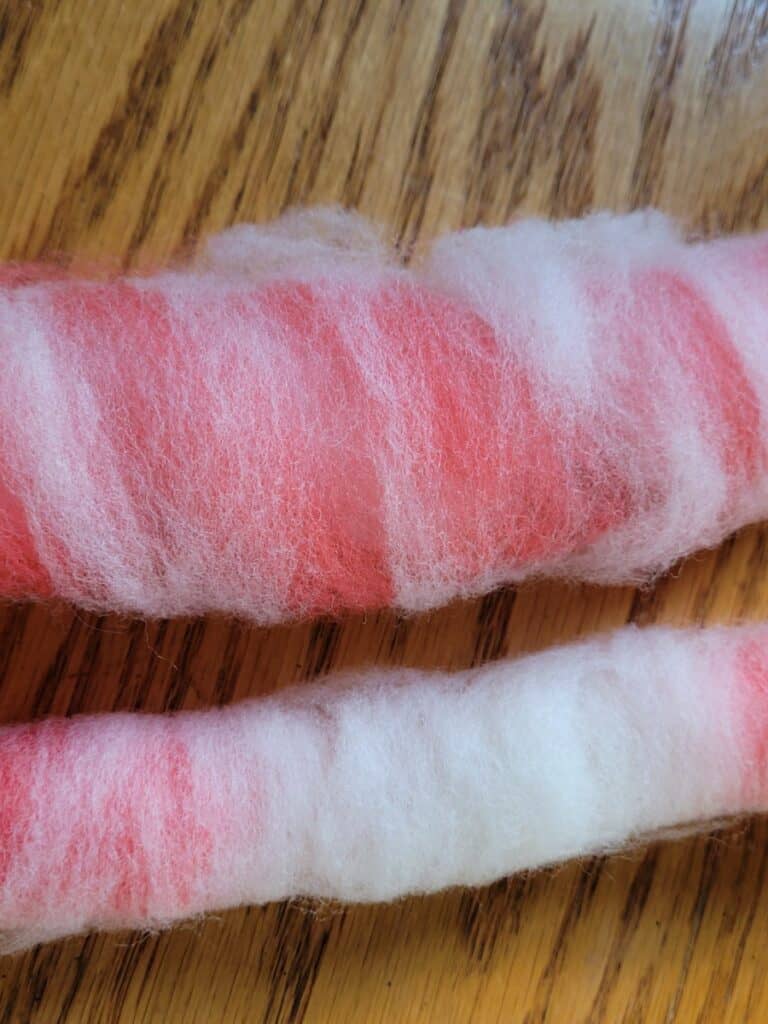
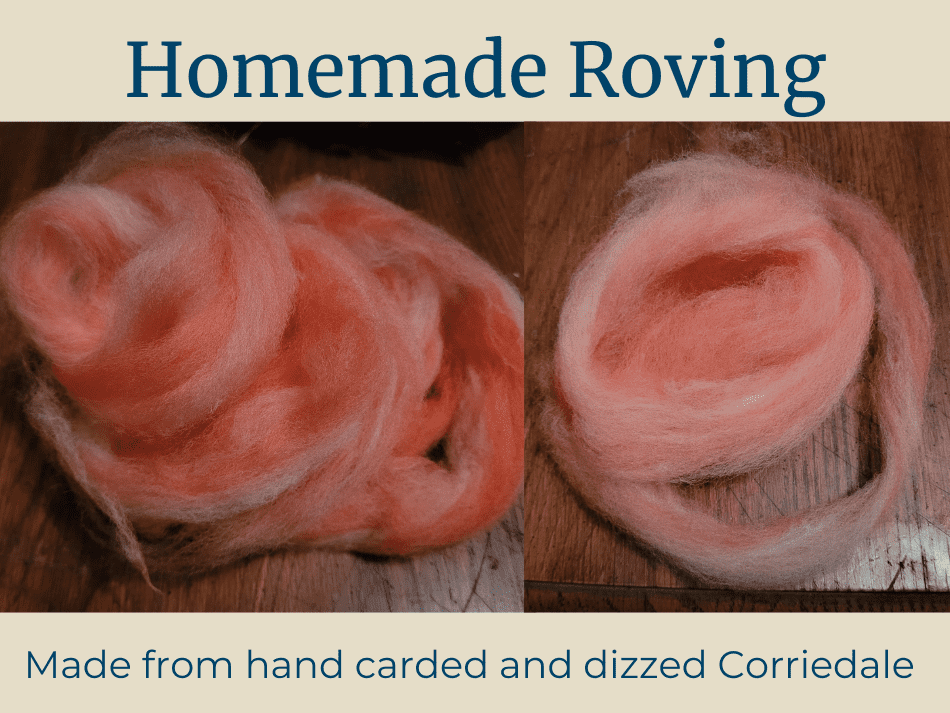
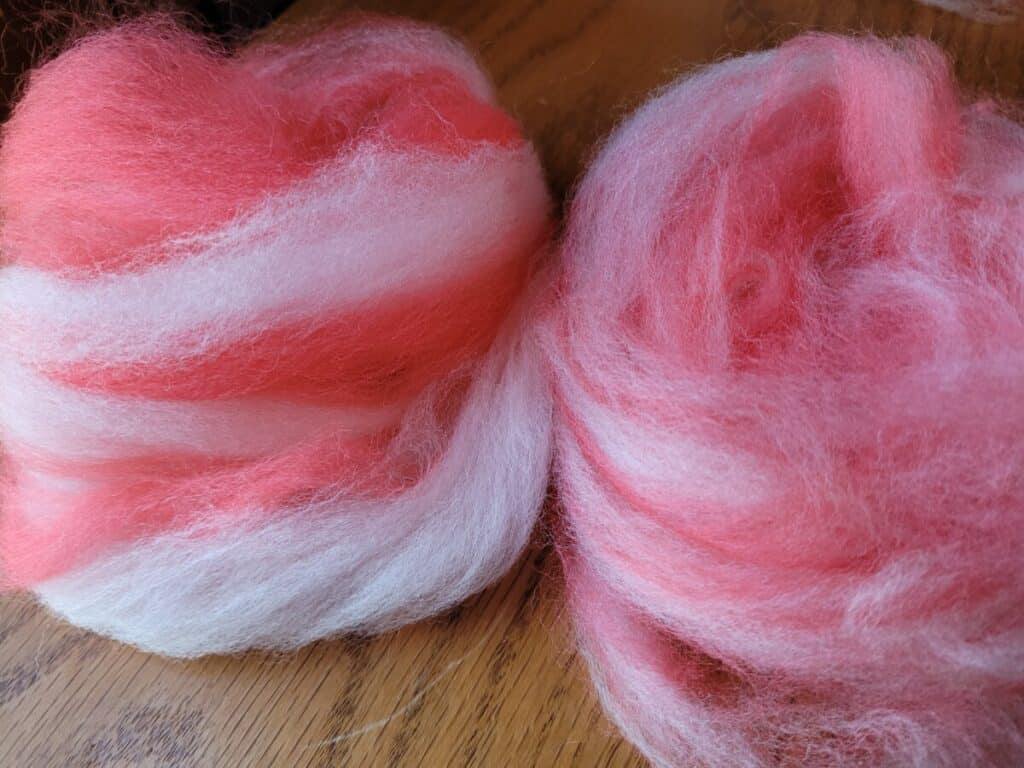
Make roving for woolen style spinning with hand cards
To make roving for woolen style spinning, or to just make roving period and spin it how you want to, you are going to be carding the wool then forming it into roving or rolags.
The hand cards that I use are Clemes & Clemes Curved Back Wool Cards. I’ve had them for almost 20 years and use them for all of my hand carding.
To get started, you’ll need some hand cards or a drum carder.
A drum carder would be super and will make more roving for your time, but I’m figuring you are using hand cards so we’ll start with them.
Put the wool you are planning to use on the carding surface, just use a few locks at a time, then card and then add a few more.
Keep adding wool and carding in between until the card is getting full.
The more thorough job you do with each section of carding, the more even your roving will be.
This is where it pays to take your time and be sure you are carding well after each wool addition.
Once your cards are full, now it’s time to take off the roving using a diz. A diz is a circular tool that looks a lot like a big button with a few holes in it.
Put a small section of wool through the hole on the diz and the rest of the wool on the hand cards will follow the leader wool out through the diz, while you keep the diz moving back and forth across the card.
Keep your pulling gentle and even and keep moving across the card to keep more wool headed into your roving.
If you break the roving, no worries, just restart another section and go a bit slower this time or make sure to keep an even flow of carded fiber coming into the diz.
Do You Need To Wash Wool Before Carding It? goes over the times when you might consider using unscoured wool for your carding.
Making roving with a drum carder
If you are fortunate enough to have a drum carder, you can make some great roving blends and get quite a bit of length in your roving by peeling the wool off of the drum in more of a spiral shape.
You get a nice, long roving by taking a small section of the carded wool at the outer edge of the seam and pulling it up. This is the start of your roving.
Put the ends of the small section of carded wool you just pulled up through the diz, you might need to give the ends a bit of a twist to make them cooperate, then gently pull up some roving.
As you pull more roving from the drum, you’ll need to turn the drum back to give you more fiber or you’ll break the roving.
If you do break the roving, just use a crochet hook or something similar to grab a bit more wool and get going again.
Keep working around the drum until you get all of the wool off of the drum.
Classic Carder has a nice article and video all about using drum carders for making your own batts and roving.
New to spinning and want some help? Try my Beginning Spinner Course, it has simple, step by step instructions and is designed to take you from beginner to confident spinner!