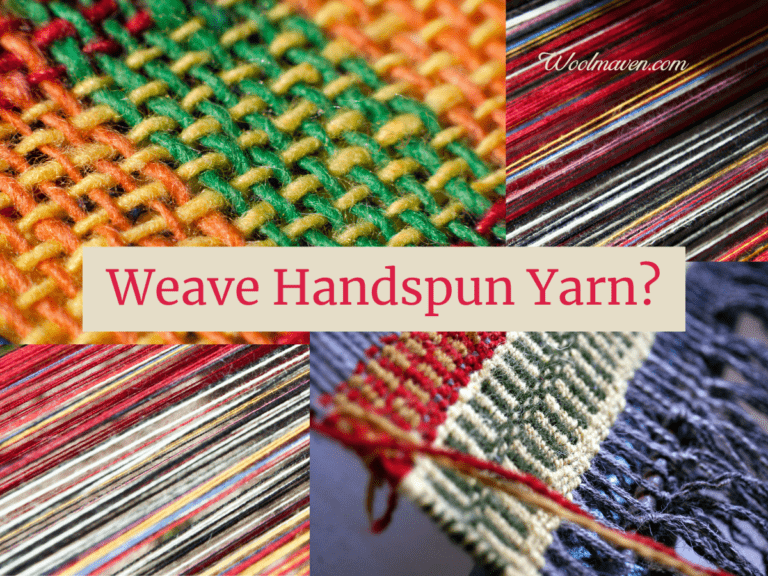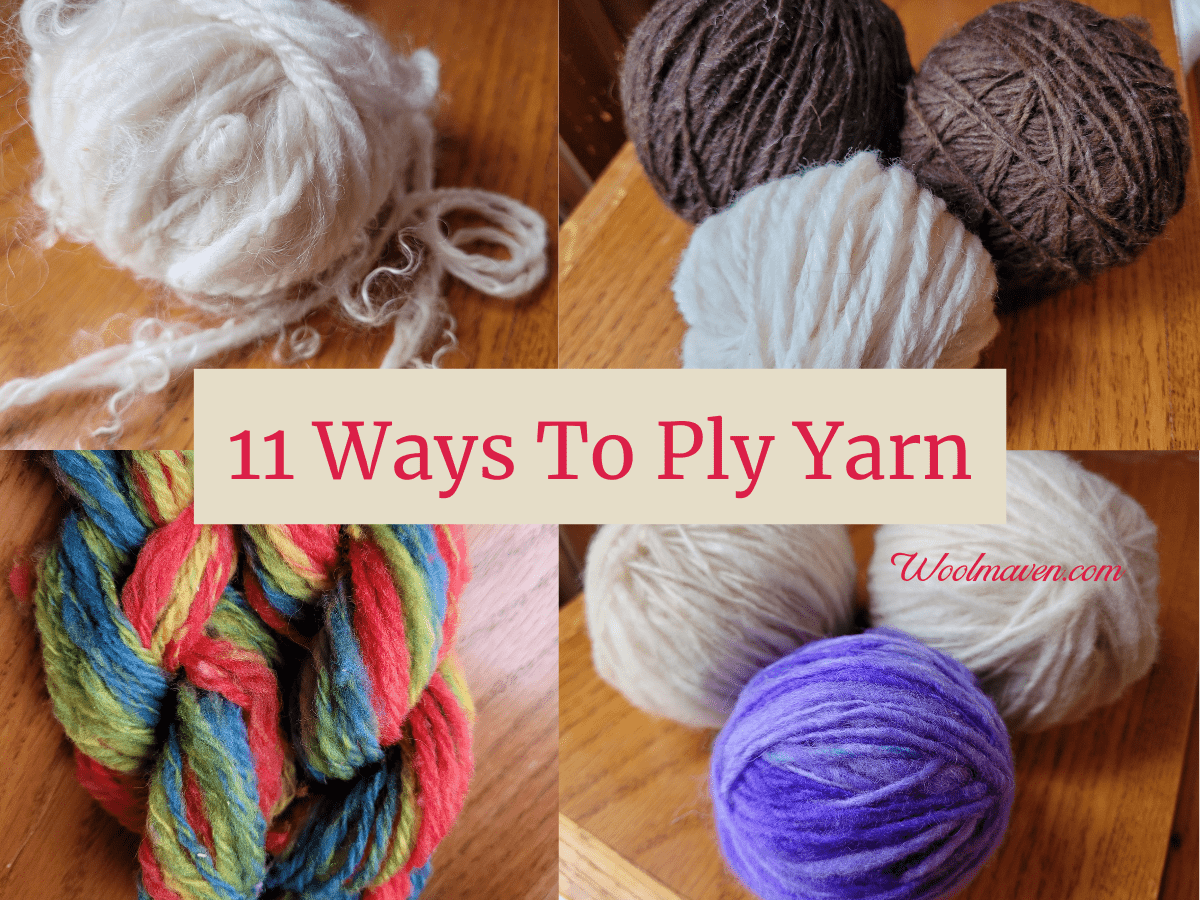
11 Ways To Ply Handspun Yarn
Are you considering plying your handspun yarn but not really sure where to start? I used to avoid plying but now I enjoy it! I just needed to find a method that suits me and most of my spinning.
Let’s go over your options so you can pick a few that will work for your next project!
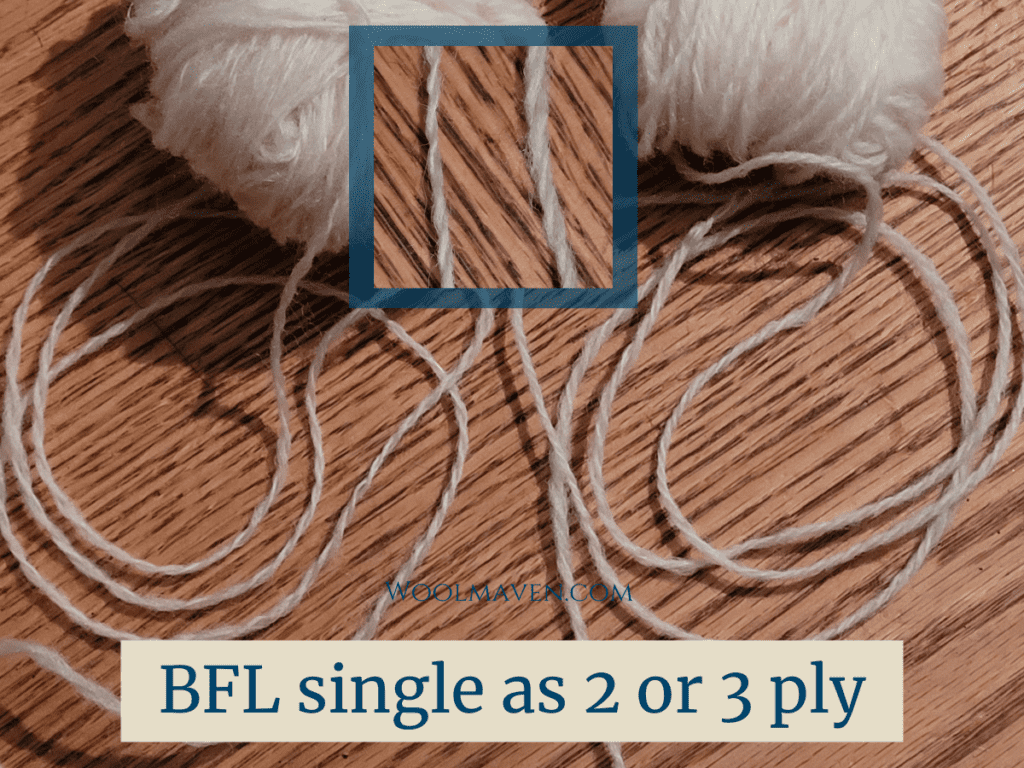
Two ply from two singles
Bobbins needed: 3 bobbins in total, 2 with singles already on them and an empty bobbin to fill
You can make a two ply yarn from two single spun yarns. This is one of the easiest plied yarns to make and a common first try for anyone new to plying.
To make a two ply yarn from two singles, you’ll need a total of three bobbins, one for the plied yarn to go on to and two that are holding the singles you are plying.
New to spinning and want some help? Try my Beginning Spinner Course, it has simple, step by step instructions and is designed to take you from beginner to confident spinner!
All you need to do is to spin two separate single spun yarns, each on their own bobbin. Both of the singles should be spun in the same direction, which is normally clockwise.
You’ll want to spin these with a bit more twist than normal, since when you ply them you’ll go in the opposite direction and somewhat undo the twist of the singles.
Test your plying as you go by stopping your treadling and dropping down the plied yarn into a U shape to see if it hangs nicely.
If it does, great! If it doesn’t hang nicely, adjust your plying now to fix it for the rest of the spin. Stop to test frequently at first, just until you get the hang of it.
Is Spinning Your Own Yarn Worth It? goes over the costs of spinning versus buying your project yarns.
Two ply from one single
Bobbins needed: 1 in total, you take the single from the bobbin then ply it back onto the same bobbin
You can make a two ply from one single. There are two main ways to do this: bracelet plying and center pull. Both involve rearranging the yarn a little bit before you can ply it.
Bracelet plying involves winding the yarn around your hand and wrist in a specific way to make on long loop that is pulled back over the wrist and spun as a two ply yarn.
Interestingly enough, this two ply is made by holding both ends together to begin and ending in what was the middle!
Center pull plying involves making center pull ball on a ball winder or homemade style by using a toilet paper tube or the like, and grabbing both ends to start plying.
The yarn pulls off from the outside of the ball and the inside of the ball at the same time. The key here is to keep the center of the ball open by keeping your thumb inside the yarn ball.
Three ply from one single
Bobbins needed: 2 in total, one with the single and one to ply on to
A really fun and easy way to make a three ply yarn out of one single is to do what is called a chain ply. I love to chain ply!
It makes a nice round yarn that is easy to keep color changes together, if that is what you’d like to do, of course!
Once you see chain plying, it’s easy to understand, but the short version is it is just like making a chain in crochet.
You are just pulling through a loop while spinning counterclockwise. Right before the loop closes, you pull through another loop and away you go. Try it, you’ll like it!
This method of plying gives you some control over how long the yarn is for each section you ply so color changes can be kept together.
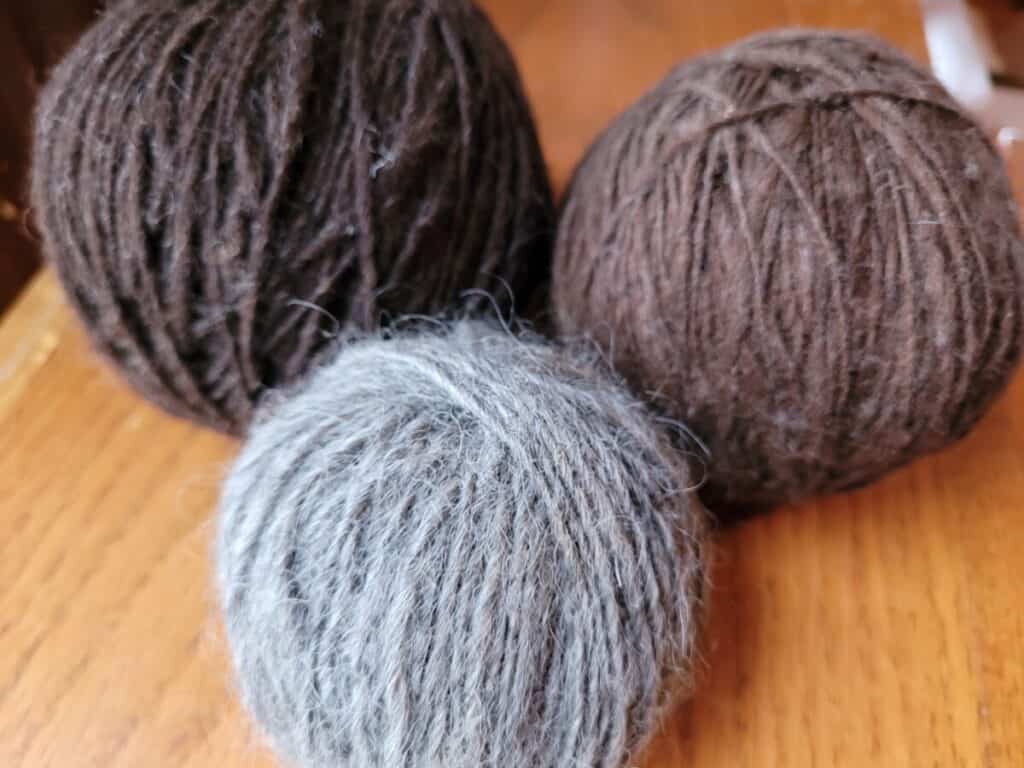
Three ply from three singles
Bobbins needed: 4, three with singles and one to ply on to
The other obvious way to make a three ply is to use three singles and to ply them together. This is just like a two ply, but with an extra single added in.
This plying method can be used for three of the same singles or three different fiber or color singles.
You’ll want to keep the singles separated by putting one single between each finger, to make sure they feed into the yarn evenly and under similar tension.
As with chain plying, you’ll get a nicely rounded three ply yarn when you are finished.
New to spinning and want some help? Try my Beginning Spinner Course, it has simple, step by step instructions and is designed to take you from beginner to confident spinner!
Four ply from four singles
Bobbins needed: 5 in total, four with singles on them and one to ply on to
The four ply from four singles is just like the two and the three but with one more added in. Make sure to keep the incoming yarns separate with your fingers to the best of your ability!
By plying four strands at once, you’ll get a cool barber pole look to the yarn, which will be especially pronounced if you use different colors for each ply.
Four ply from two plies
Bobbins needed: 3 in total, two with a two ply on them and one to ply on to
Making a four ply from two separate two plies is called a cable.
The neat thing about a cable yarn is that you’ll get more of a checkerboard look to the yarn rather than the barber pole look of four ply done from four strands at once.
A cable will have nearly endless variables, as far as color combinations. Neat stuff!
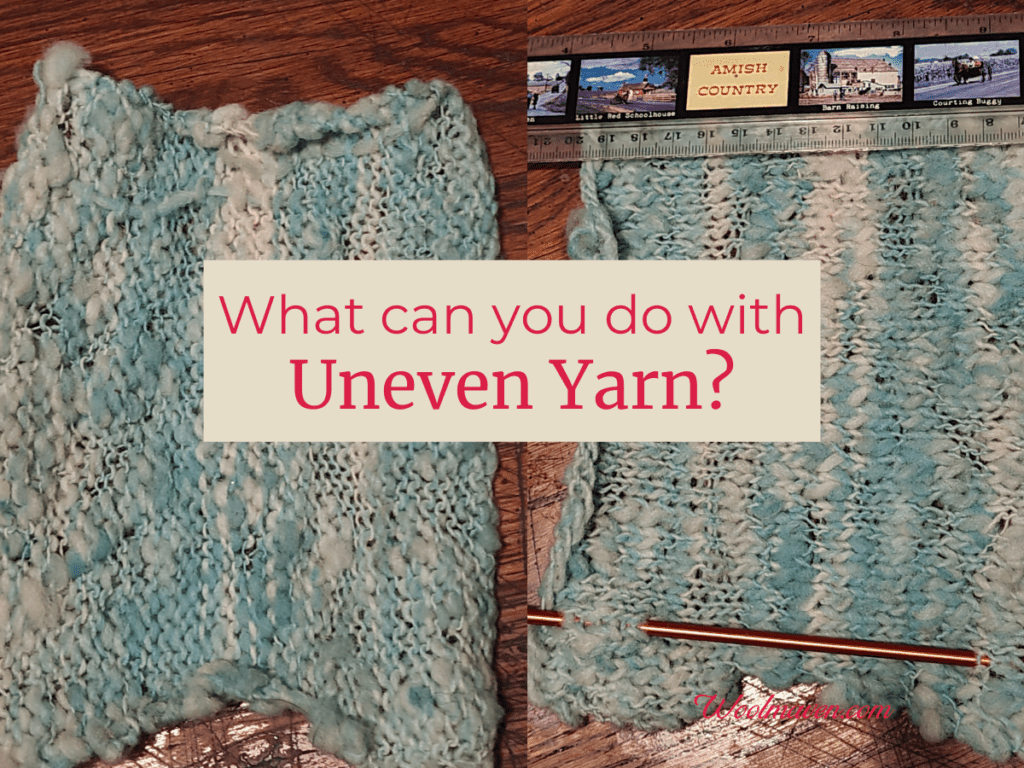
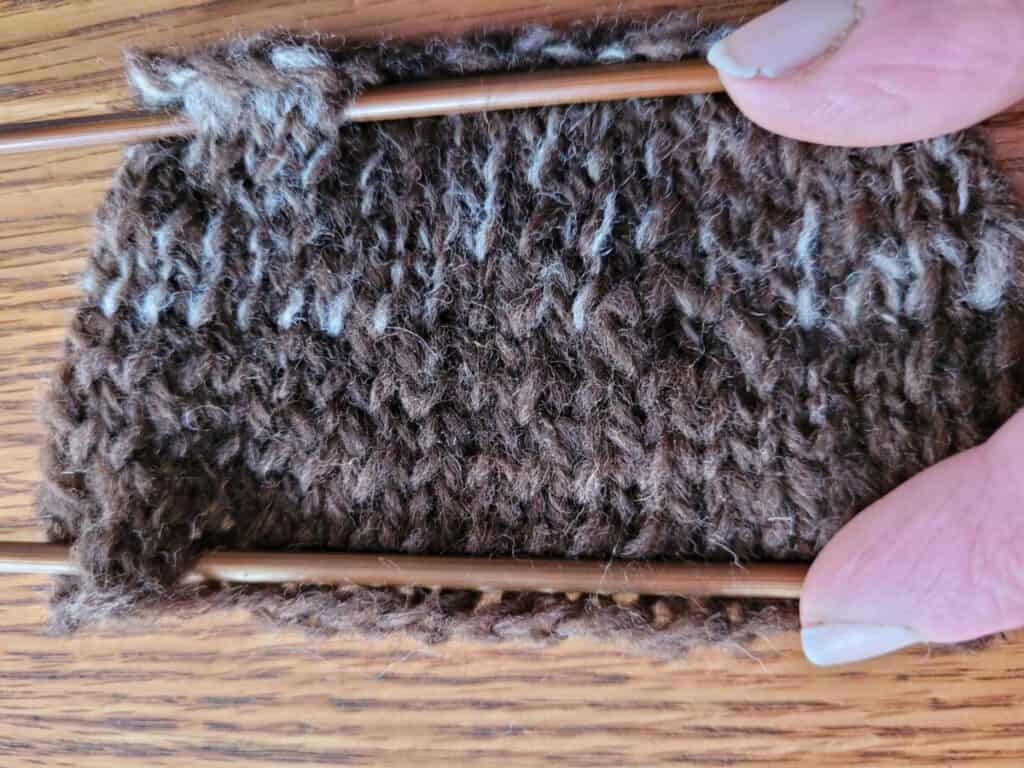
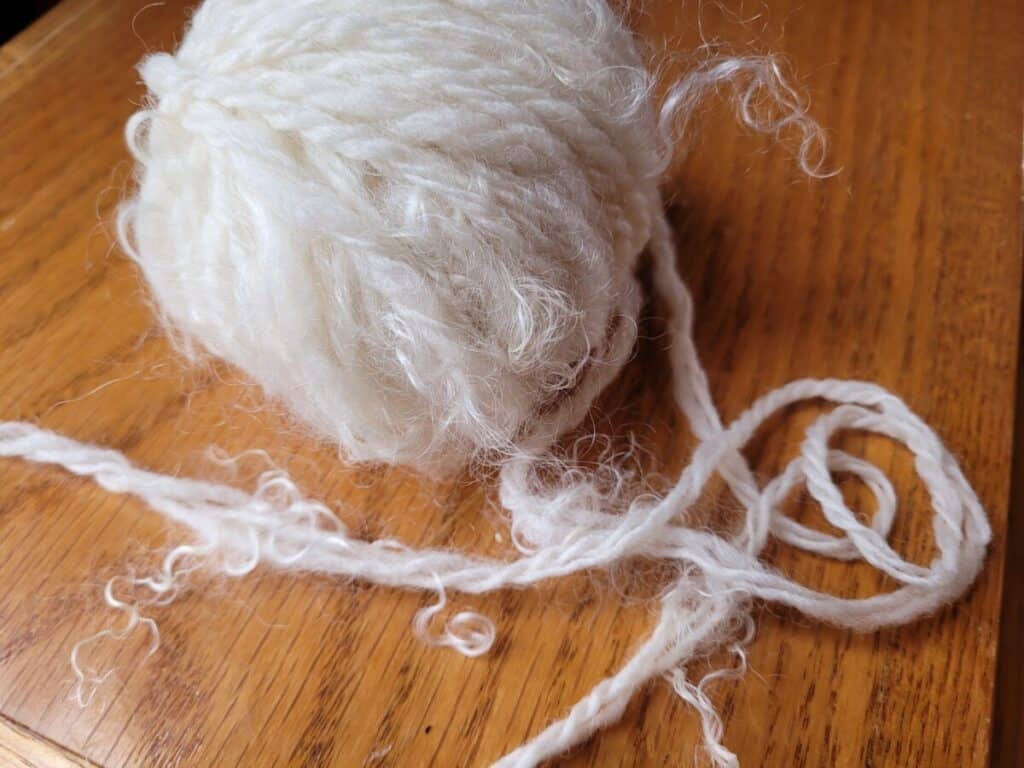
Uneven plying
Bobbins needed: source yarns plus 1, to ply on to
Uneven plying can be done with all sorts of neat yarns and yarn combinations. Really, the sky is the limit here!
You can ply two very different sized yarns, you can ply yarns that are themselves very uneven, so you’ll end up with thin spots and bulky spots in the same yarn, etc.
I know that uneven yarn for knitting or crochet is not for everyone, but I love the look.
Unevenly plied yarn works particularly well in an otherwise plain item, like a scarf or anything else where you are basically just making a kind of boring shape.
Those uneven spots add interest with no extra work as far as the stitch goes.
What Can You Do With Uneven Yarns? gives you some options and ideas.
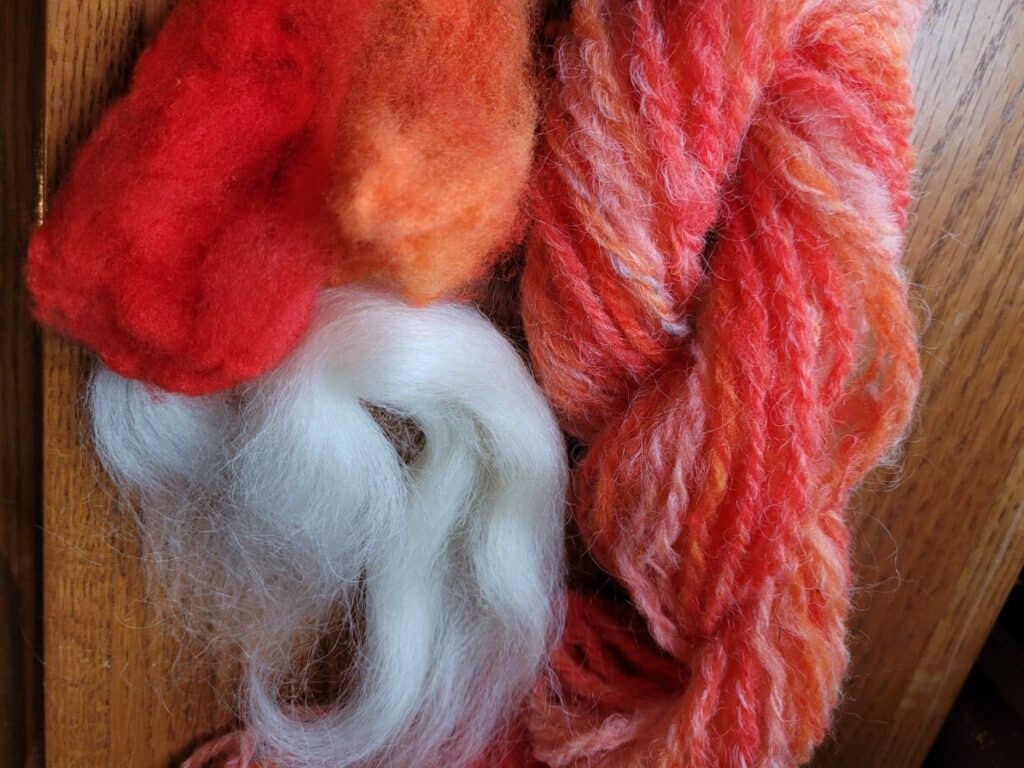
Ply for color or color correction
Bobbins needed: source yarn(s) (singles or plied) plus 1 to ply on to
Depending on the project, I like to take the singles and ply them together for color. This is generally a three ply (from three singles) where one of the plies is a different color.
This gives a nice effect to my knitting or crochet without making a crazy “in your face” kind of yarn, just a bit more personality than a three ply from all the same color singles.
Occasionally, I ply a yarn for color correction, basically I’m trying to salvage something out of a disasterville idea, which is what happens when a “good” idea turned out pretty ugly.
Sadly, this is not a hypothetical situation!
I have been experimenting with color and sometimes a “let’s see what will happen if I do this” start with ends up as a mess resembling ugly confetti. Now what?
I have found that plying this not so great yarn with a neutral color makes what was an ugly mess, turn into a usable yarn.
If you can ply with another yarn of a main color that you love from the multi colored not so great ply, you can take the bleh single and turn it into the accent strand of a ply and it looks good.
Yarn and thread plying
Bobbins needed: 2, one for yarn and one to ply on to (the thread has it’s own bobbin)
You can ply your handspun yarn with a thread, metallic threads are especially lovely here, and take a nice base yarn up a notch by adding some pizzazz.
Another thread option is to use the thread and overlap it in interesting places on the handspun, so your ply is creating more interest in the final yarn.
This would be especially neat if the base yarn has bulky spots, you could accent the unevenness with the thread, making a cool art yarn.
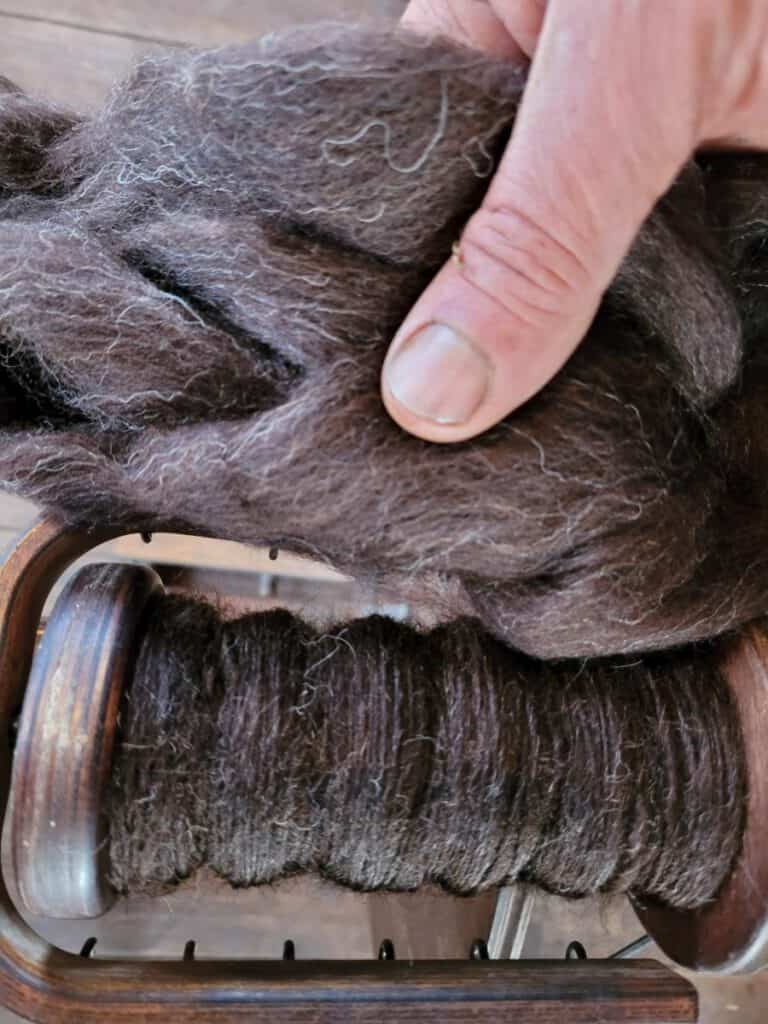
Plying without a lazy kate
Don’t have a lazy kate, yet you want to ply some yarn? Never fear, you can plan to ply your yarn with a bit of prep work and simple things you have around the house.
If you have a spare shoebox, you are in luck! Take the box and poke a knitting needle through the sides so you suspend the bobbin in the box and voila, you have a lazy kate!
You can probably put more than one bobbin in the shoebox, so space out your bobbins before you poke holes and make sure to leave a bit of space around each to give yourself room to work.
You can also put each single in a bowl or container of it’s own and ply from there. I have to admit, this is not as good of an option as making your own shoebox lazy kate, but it does work.
Make sure the container has higher sides than you think you’ll need. The bobbin roll around while plying, so can you end up with the bobbin escaping any shallow containers, at least, I do!
Don’t ply, make singles
Another option regarding plying is to not do it, make singles instead!
Of course, this will require a bit of planning on your part, since most folks would be spinning a bit more tightly to give room for the twist to relax when plying.
Since you are not plying, you need to be mindful of the twist you want as you are spinning the single.
I actually really like making singles and have been somewhat of a die hard singles spinner for years. I’m branching out now, but for ages I went with singles only.
I’m not saying that you should give up on plying, but I am saying that you don’t have to ply everything! Give handspun singles a shot and see if you like what you can do with them.
New to spinning and want some help? Try my Beginning Spinner Course, it has simple, step by step instructions and is designed to take you from beginner to confident spinner!
Plying yarn overview
Single spun yarns are plied into 2, 3 or 4 plies, generally speaking. You could put together as many plies as you want, these are just the normal amount of plies that most handspinners use.
You should know that every time you run yarn through the wheel, you treadle the wheel in the opposite direction of last time.
For example, if you spun the single clockwise, you need to ply counterclockwise. If you put the yarn through the wheel more times, keep changing direction each time you ply.
If you are looking for another take on plying, read Creative Ply Techniques by Kromskina.com, which is the helpful blog that goes with Kromski spinning wheels of Poland.
The Why Of Ply is a Modern Daily Knitting article giving you tips on what ply to use and why, with helpful pictures included.