3 Ways To Fix Over Spun Yarn (and 5 things to prevent over twisting)
Overspinning or over twisting yarn is one of the biggest hurdles for many beginning handspinners!
You add twist to keep the fiber together, so the yarn doesn’t fall apart (like last time!), and now it’s too much. That yarn is twisting all over the place like it’s a vine, yikes!
We’ll go over a few things you can do with any over twisted yarn that you have now and then get into things you can do to keep the over spinning from happening to begin with.
Ideas to help improve your control of the yarn twist and correct over spinning are covered in the second half starting with Prevent or reduce future over spinning.
Fix the over spun yarn you have already made
Over twisting yarn happens to everyone, especially beginners, so we’ll go over what you can do about the overspun yarns you have already.
Is Spinning Your Own Yarn Worth It? goes into the costs of making vs buying handspun yarns for your projects.
New to spinning and want some help? Try my Beginning Spinner Course, it has simple, step by step instructions and is designed to take you from beginner to confident spinner!
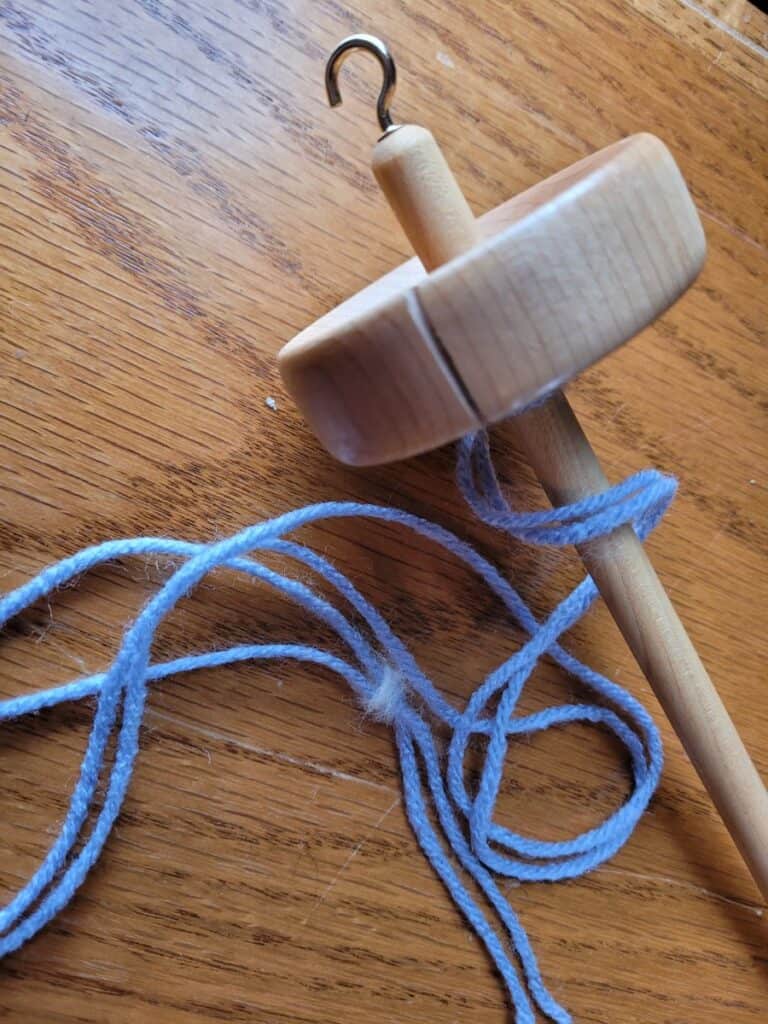
Let the yarn untwist
If you have already made a short section of super twisty yarn, you can just let it hang and untwist. If this is a longer section, this will be a tedious process.
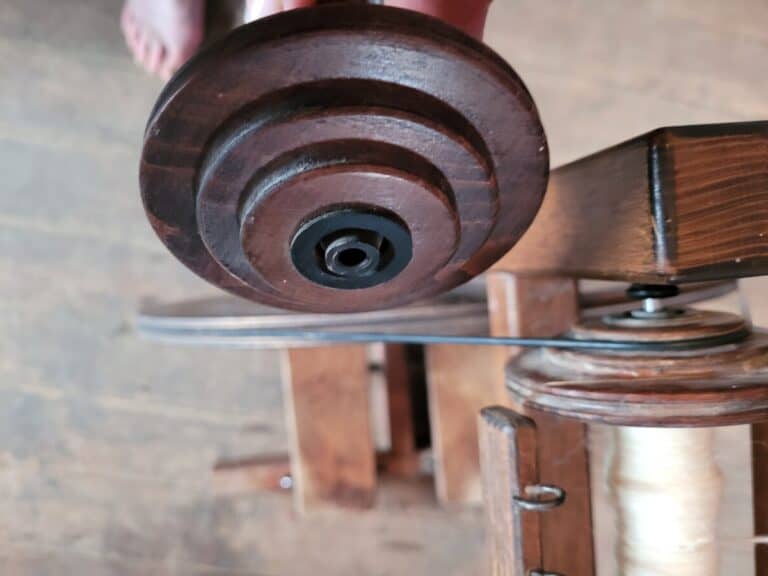
If you have an entire bobbin of super twisted, you can simply run it back through the wheel, spinning the wheel in the opposite direction, and take a bit of the twist out.
If you take out too much twist, the yarn will fall apart.
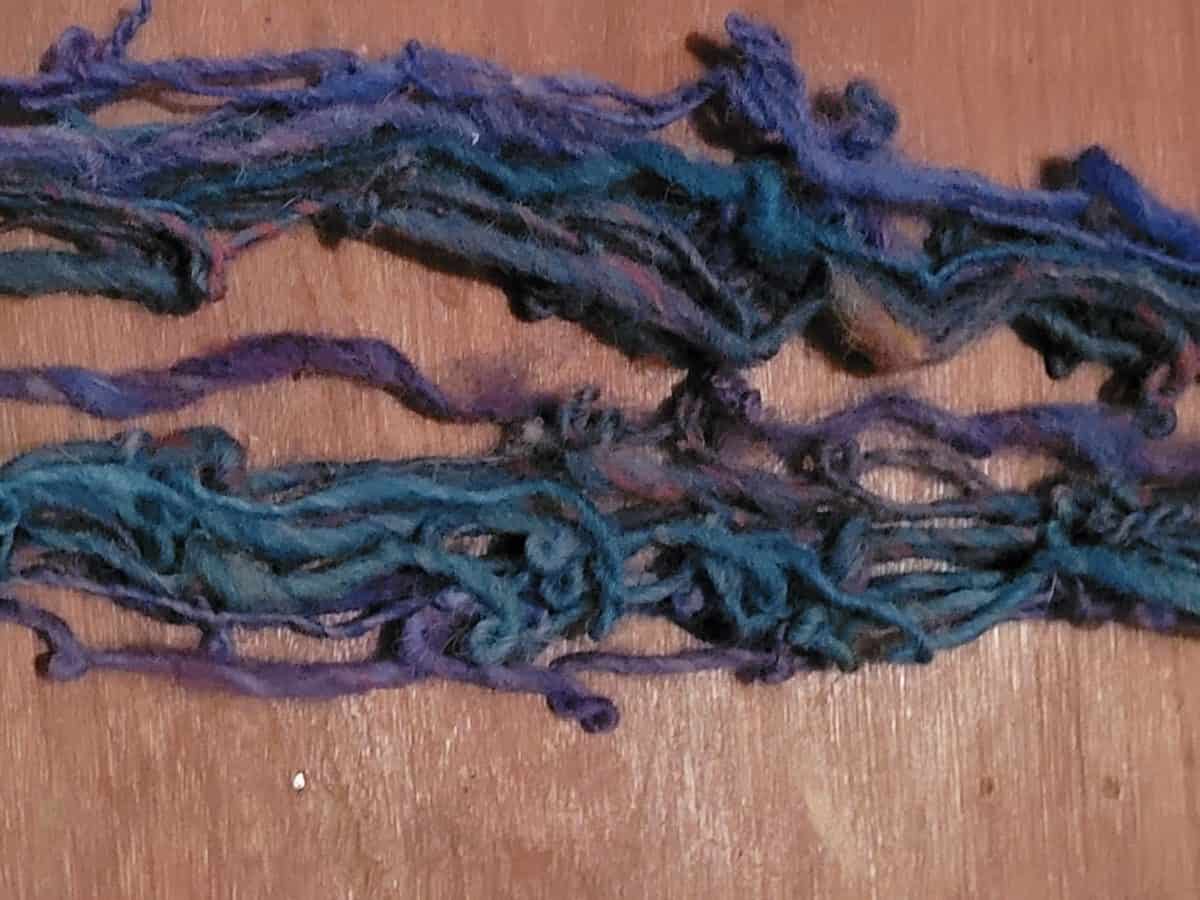
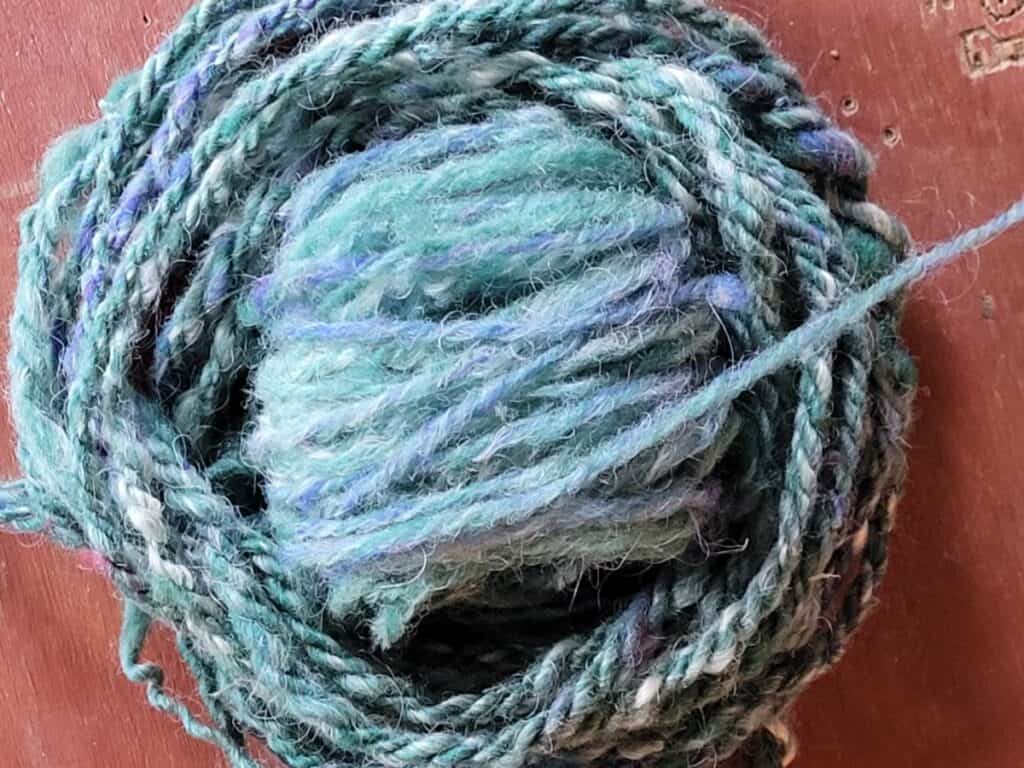
Ply the over spun yarn
If you are game, ply the over twisted yarn and this will take out some of the extra twist.
Since plying runs in the opposite direction as the main spin, you untwist as you ply. I don’t think of plying as untwisting, but it is, and this can be used to your advantage if you tend to over spin.
I was doing some test spins to make examples for this article and was over spinning like crazy and when I plied the yarn, I actually liked it! It’s very heavy and too tight, but it looks interesting.
A second side note is that the over twisting and heavy, dense yarn kept the colors together, with more stripes than blends and I like that part of the look, as well.
More importantly than these discoveries is that the yarn is less heavily twisted than it was before plying. If you have a yarn you like that is over twisted, try plying it and see how it goes.
Plying is the same as spinning in that you should test as you go. Ply a bit, then let the yarn drop down and see what you have. Adjust if you need to and carry on!
Add weights when drying yarn
You can add weights to the over spun yarn as it is drying (after setting) to pull out any extra twist. Be careful how you attach the weight or you’ll put a few dents in the yarn.
Anytime I have tried this, I put weight in a plastic grocery bag (it doesn’t take much, try a few pieces of gravel or marbles) then attach the bag to the yarn with clothespins.
The only catch here is that the twist will come back as soon as the yarn gets wet, since this is a temporary change, not a permanent fix.
Prevent or reduce future overspinning
To fix the tendency to over spin, you’ll need to change a few things about your spinning and, more than likely, your fiber preparation.
7 Tips To Spin Yarn With Less Twist will give you tips on improving your spinning so you can get the twist you want in your yarns!
Understand the twist you need for your yarn
First off, it’s important to understand that the right amount of twist for your yarn depends upon what you are spinning.
Thicker yarn needs less twist, thinner yarn or yarn that will be plied need more twist.
Not sure where you are at? No problem, stop spinning and let the yarn you have made hang down a bit, so it makes a dip from your hands to the orifice of your wheel.
How does the twist look? If you are making a single, it should look pretty good, as is. If you plan to ply, it should be a bit too much, which will come out when you ply.
Every once in a while, check the thickness of your yarn against a sample, if you are trying to do something specific.
This reminder check will help keep you on track as you go and if you find you are not spinning the way you thought you were, you’ll be able to correct it sooner.
New to spinning and want some help? Try my Beginning Spinner Course, it has simple, step by step instructions and is designed to take you from beginner to confident spinner!
Slow down your treadling!
Slow down your treadling! I’m talking really slow. This is the easiest thing to immediately fix overspinning, just slow down.
This might sound a bit crazy, but hear me out: practice slow treadling, just treadling, no hands, no fiber. Until you can work your feet slowly adding your hands will only add complication.
Practice your slow treadling and keep it extra slow until it is easy and, to be blunt, boring. Now you’ve got it and are ready to add back your hands and see how it goes.
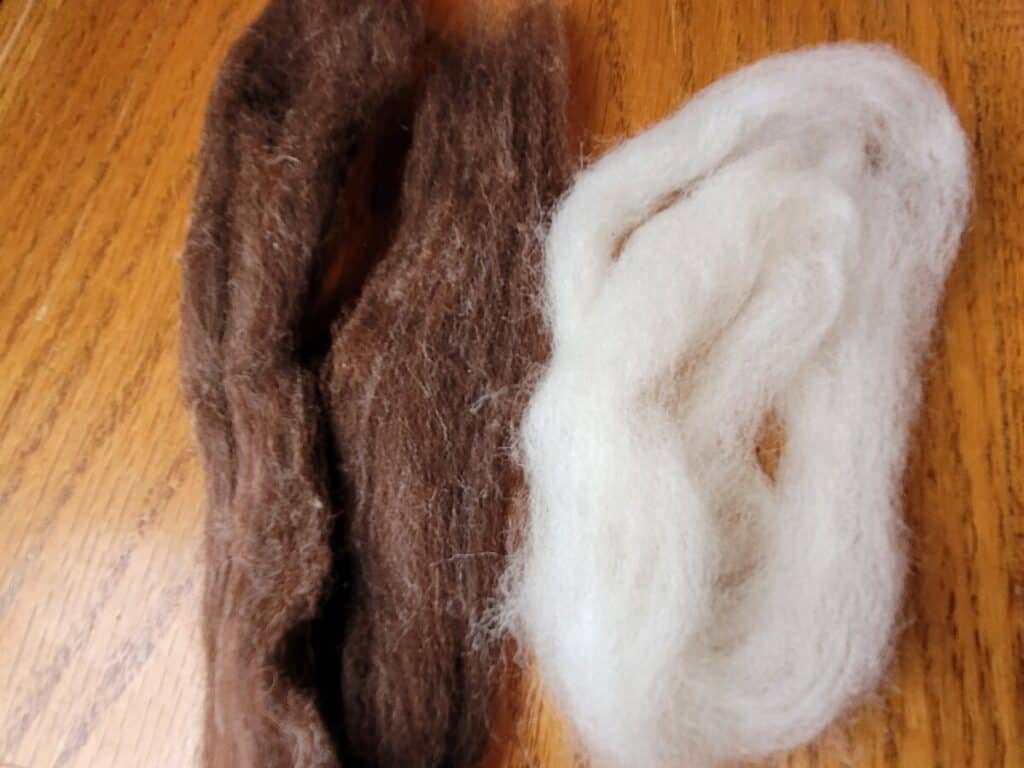
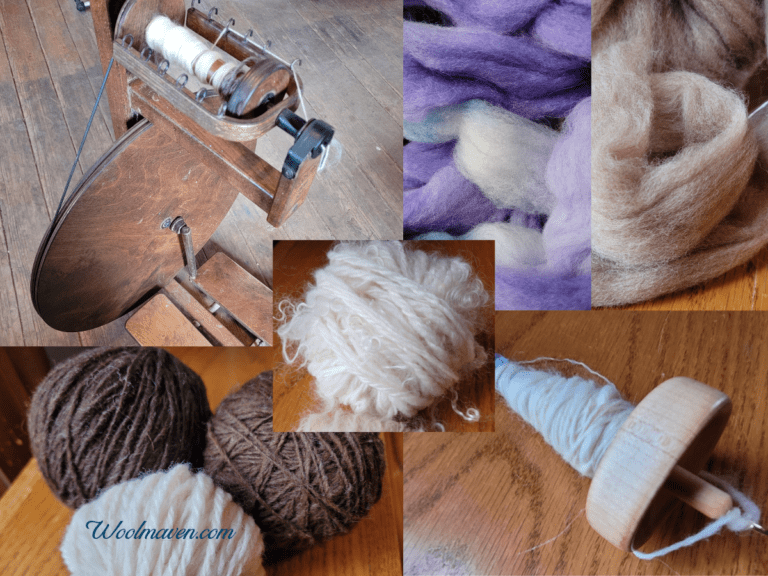
Use commercially prepared fiber
If you are carding or combing your own fiber, then trying to use it to spin, this could be adding to your overspinning. Use some commercially prepared fiber, at least for now.
Why? Chances are you are not carding or combing to the level or consistency that you need as a beginning spinner.
Roving or Combed Top? shows you which fiber is best for you depending upon the type of spinning you plan to do.
A more advanced spinner (which will be you soon, just not now) could work with the variability in the fiber, but that’s just one more thing that will add to your confusion and frustration.
Nothing wrong with carding your own fiber, I actually like to prepare my own fleeces and make unique or project specific mixes as I need or want them.
However, when you are having problems, the easiest thing to do is to eliminate variables, one of which may be your home prepared fiber, so you can focus on fixing the overspinning.
Use a commercially prepared fiber, ideally combed top, of a known to be easy to spin breed, like Corriedale, and try spinning with it.
I used to prepare all of my own fiber, mostly because we have sheep and I thought it was dumb to buy wool when I’ve got scads of it right here! I was wrong.
There are times when using mill prepared fiber is a better choice, especially if you’re having problems with your yarn. I was stubborn and made it harder on myself than it needed to be.
Learn from my mistakes and work with mill prepared fiber, at least until you are comfortable with the wheel, then move to preparing your own spinning fiber.
This post contains affiliate links, which means I receive commissions if you choose to purchase through links I provide (at no extra cost to you).
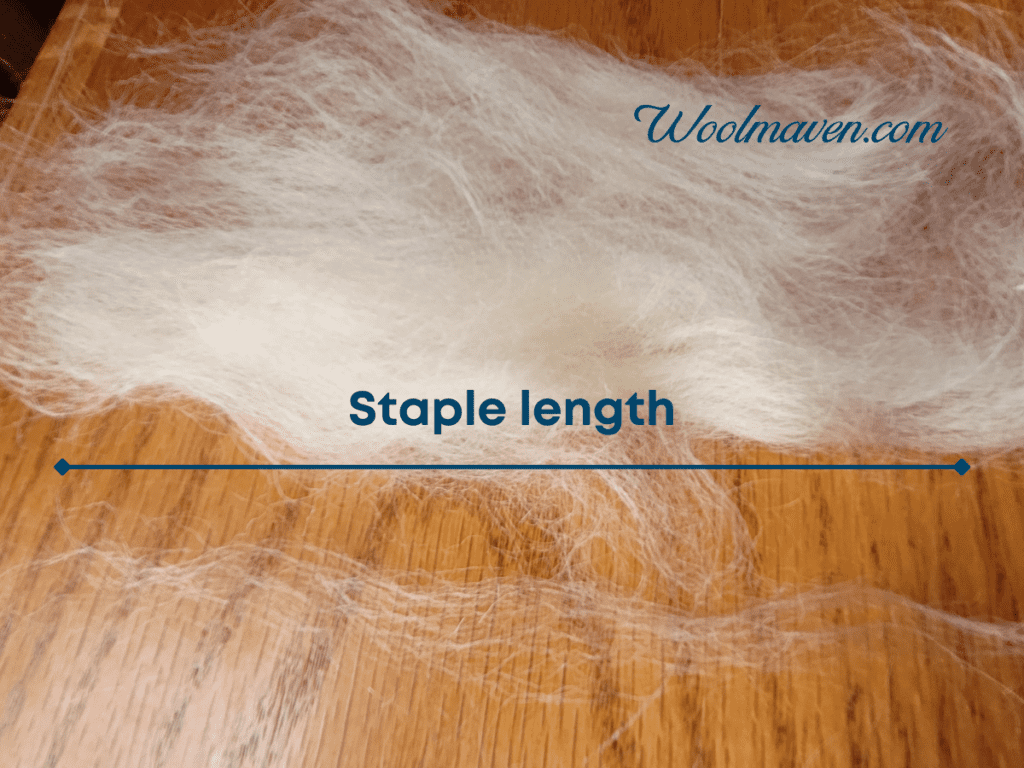
Choose fiber with longer staple length, 4 inches
Another thing that may help you is to work with fibers that have a bit of length to them, not long, but not overly short either.
I’d start in the medium wools and look for a staple length in the 4 inch range. Don’t go under 3.5 or over 5, both those lengths seem to add complication.
Stick with 4 inches or as close as you can.
If you are looking for a super easy to work with, longer staple length wool, consider Romney Top. It’s long enough for you to draft without adding too much twist, yet not slip out of your fingers!
What Is Staple Length? (and why it matters) gives you a more in depth look at fiber length and it’s relationship to spinning.
Measure the staple length
Once you have your fiber, measure the staple length so you can see for yourself how long most of the fibers actually are.
You’ll want to pull a few individual fibers out and see them, don’t just use the numbers on the website. It’s important to see right in front of you what lengths you are working with.
The reason I’m going on about this is, for me, the number 4 inches isn’t all that useful, but pull apart some of the fiber and see the staple length on my desk, now it makes sense.
Now I can see how far I can draft the fibers before they pull apart.
Do some practice drafting
Now that you have seen an individual fiber or two, practice some drafting, just drafting. Take the fiber in your hands just like you are spinning and draft a bit of it out, but don’t try to spin it.
You are just trying to get the feel for the grip of the wool and how much you have to pull to get the size of fiber supply that goes into the wheel that you want.
Not sure if that’s the thickness of fiber you need? Twist it up, just with your hands and see what you get. If you like it, you’re good to go. If you don’t, adjust and twist again.
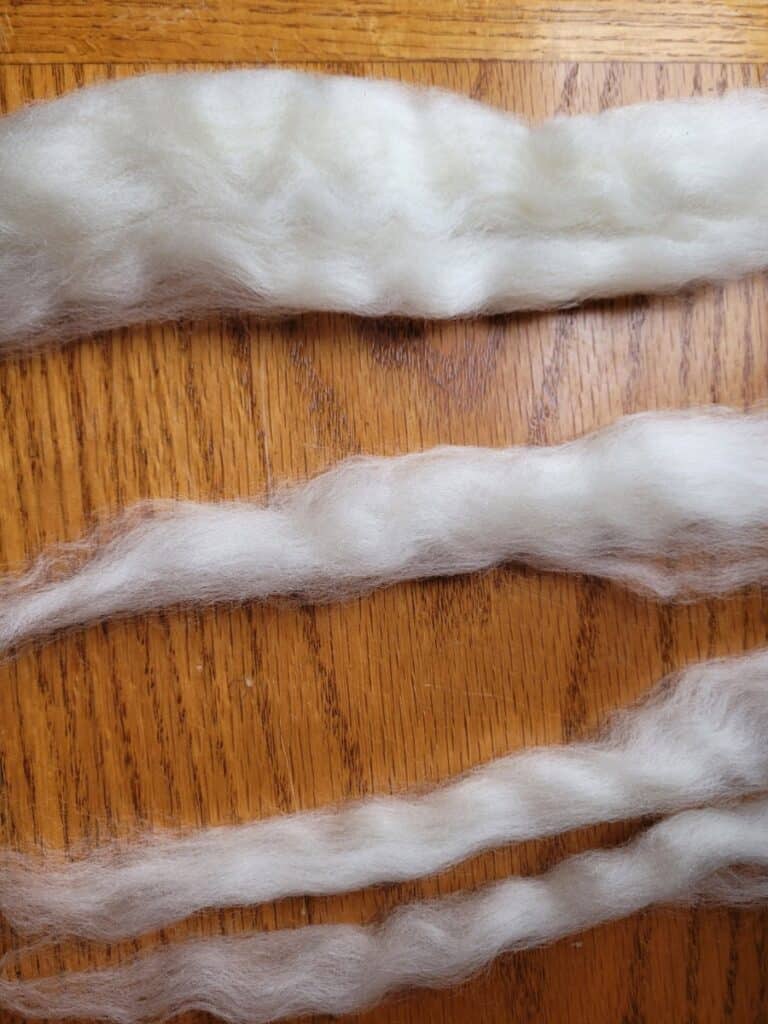
Pre draft your fiber
A great way to prevent over spinning is to pre draft your fiber. This means to get your ready to spin fiber pulled or split down to a thickness that is easier for you to work with.
The more you pre draft your fiber before you start spinning, the less drafting you have to do when you are spinning.
Keep in mind that if you are making a thin yarn, you will need to draft or pre draft more and the opposite for a thicker yarn.
There are basically two ways to pre draft, one is called pre drafting the other splitting.
Pre drafting by pulling
Most folks just call this drafting, it means taking the roving or combed top and pulling it lengthwise to make it thinner.
Thinner roving or top equals less fibers headed toward the wheel at once, which should be easier for you to work with.
You can pull the fiber apart and draft out sections or work your way down a length of the roving or top by drafting it thinner, but not so thin that it comes apart.
Pre draft by splitting
I actually prefer to pre draft by splitting the roving or top into sections lengthwise. Generally speaking, the thinner I plan to spin, the more I split the fiber.
I pull off a 12-18″ section of top and split it in half the long way, so I have two halves that are each 12-18 inches long. I usually split it at least one more time, to give me quarter splits.
Now, I test out the quarter split and see how it works for me on the wheel. Sometimes that’s fine, other times it needs to be split again.
It seems to me that the more slip the fibers have the less I need to split to make it workable for me.
For instance, I have some BFL that is fine split once, but I ordered an alpaca and wool roving that I had to split more than normal, I think I needed it split into 8.
Good news, if you split it too much and are spinning with too little fiber, just hold two of the splits together and see how that works. You’ve got options and the yarn will never know!
Switch fiber (at least for now)
You can and (in my opinion) should, switch fiber if you are having a hard time working with the fiber you currently have.
Once you get comfortable with your wheel, then you can come back to the fiber you are using now and see if you can work with it more easily, chances are you can.
Best Beginner Wools gives you some ideas on easy to work with wools that are perfect for beginners.
Trouble drafting grippy fiber? Use a fiber with a bit more slip
If you are having trouble drafting out your fiber while spinning, for me, this feels like the wool is sticking together and I’m pulling too hard to thin down the yarn, either pre draft more or switch fibers.
I would recommend all new spinners start with Corriedale. It’s a solid choice and a wonderful wool that is normally easy to find.
If, however, Corriedale is too grippy for you, consider BFL (Blue Faced Leicester-pronounced Lester), which is a bit more slippery.
This switch alone is what made a world of difference to me with my spindle.
I can work with either wool on my wheel, but for the spindle I needed something that was easier to draft and the BFL was the ticket.
Trouble drafting slippery fiber? Use a fiber with a bit more grip
If you feel that your fiber is too slippery, consider working with a fiber that has more grip or crimp. Grip is what you are feeling, crimp is the wavy pattern in the wool that provides grip.
If your fiber is shiny, lack of grip is probably your issue, go with something that has more grip, like Corriedale.
If you are using a crimpy fiber, like Corriedale, and you are still thinking the fiber is too slippery, it’s not, you probably will get more results from adjusting your wheel.
Loosen up the tension or uptake on your wheel, pre draft more and slow down your treadling.
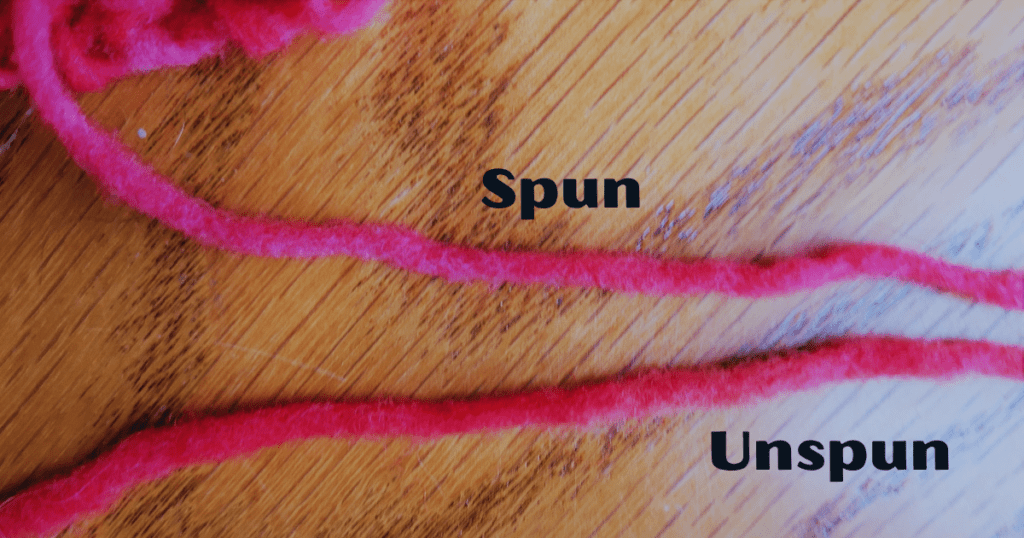
Don’t want to draft at all? Use pencil roving
If you do not want to draft at all, keeping in mind that it’s not something that you can put off forever, you may just be better off with pencil roving or unspun yarn.
Pencil roving and unspun yarn are technically a bit different, but the terms are often used interchangeably, so we’ll just go with pencil roving to keep it simple.
How To Spin Pencil Roving For Beginners goes into more details if you are interested in trying it.
Pencil roving is ready to spin roving that is in a really thin rope, almost like worsted weight yarn. You can easily use it to practice adding twist to your yarn.
Since pencil roving is already drafted, to use it you just spin. This will help you isolate and practice your twist so you can fix your overspinning tendencies.
Schacht has an article on General Spinning Wheel Troubleshooting, which includes some tips on setting your wheel correctly to get the correct twist for your handspun yarns.
New to spinning and want some help? Try my Beginning Spinner Course, it has simple, step by step instructions and is designed to take you from beginner to confident spinner!